If your desk setup has grown into a tangle of chargers, hubs, and dangling cords, downsizing your cable management system can feel risky. Will you lose the extra power outlets you rely on? Will your monitor arm or headset stand suddenly have nowhere to plug in? The good news is that a smaller, tighter cable management setup can actually work better than a sprawling one — as long as you downsize with a plan instead of just ripping everything out. This guide walks you through how to simplify your desk cable management without sacrificing the function you actually use every day.
Why Downsize Your Cable Management Setup?
Over time, most desk setups accumulate more gear than they were ever designed to hold: extra monitors, a docking station, a headset hanger, USB hubs, a desk lamp, and a handful of chargers for phones and tablets. Each addition usually comes with its own cable, power brick, or clip-on organizer. The result is a setup that looks (and functions) more like a server closet than a workspace.
Downsizing isn’t about deprivation — it’s about efficiency. A leaner cable setup is easier to clean around, easier to troubleshoot when something stops working, and far less visually distracting. It also makes it much simpler to move your desk, swap furniture, or reconfigure your workspace later, since you’re not untangling a dozen zip-tied bundles every time.
What You’ll Need
- A few hours of uninterrupted time (rushing leads to mistakes)
- Labels or masking tape and a marker
- Zip ties, velcro straps, or reusable cable clips
- A slim power strip or compact surge protector
- A cable tray, raceway, or under-desk basket (optional but helpful)
- A notepad or phone to record what plugs into what before you disconnect anything
Step 1: Audit Every Cable and Device
Before you touch a single cord, unplug nothing. Instead, walk around your desk and make a simple list of every device that’s currently connected: monitors, speakers, a dock, a lamp, chargers, a webcam, and so on. Note which ones you use daily, which you use occasionally, and which you honestly haven’t touched in months.
This audit is the single most important step in downsizing, because it tells you what “function” actually means for your setup. If you rarely use a second monitor or a desktop speaker system, those cables are prime candidates for removal, not just tidying.
Step 2: Separate Essential From Optional Gear
Once you have your list, sort it into two categories: essentials (things you use every single workday) and optional extras (things you use occasionally or could relocate). Essentials typically include your monitor, keyboard, mouse, and primary charging cable. Optional items often include secondary displays, decorative lighting, or gadgets you keep “just in case.”
Anything optional doesn’t have to be thrown away — it can be stored nearby and plugged in only when needed, which immediately shrinks the number of permanent cables on your desk.
Step 3: Consolidate Power With Fewer, Smarter Outlets
Most bulky cable setups exist because people spread power across multiple strips, adapters, and extension cords. Replace that sprawl with a single compact power strip or a small surge protector mounted under the desk. Modern slim power strips with USB-A and USB-C ports can often replace two or three separate chargers at once, cutting down both cable count and clutter.
If your desk wobbles or shifts slightly when you plug and unplug things, it’s worth checking that the desk itself is stable before you finalize your cable routing — a set of desk anti wobble kits can keep everything steady so your newly organized cables don’t get yanked loose every time the desk moves.
Step 4: Shorten and Reroute Cables
Long cables are one of the biggest reasons cable management setups feel oversized. Swap out extra-long cords for shorter ones that match the actual distance between your device and its outlet. A six-foot charging cable snaking across a desk that only needs two feet of slack is wasted length that has to be coiled, clipped, or hidden somewhere.
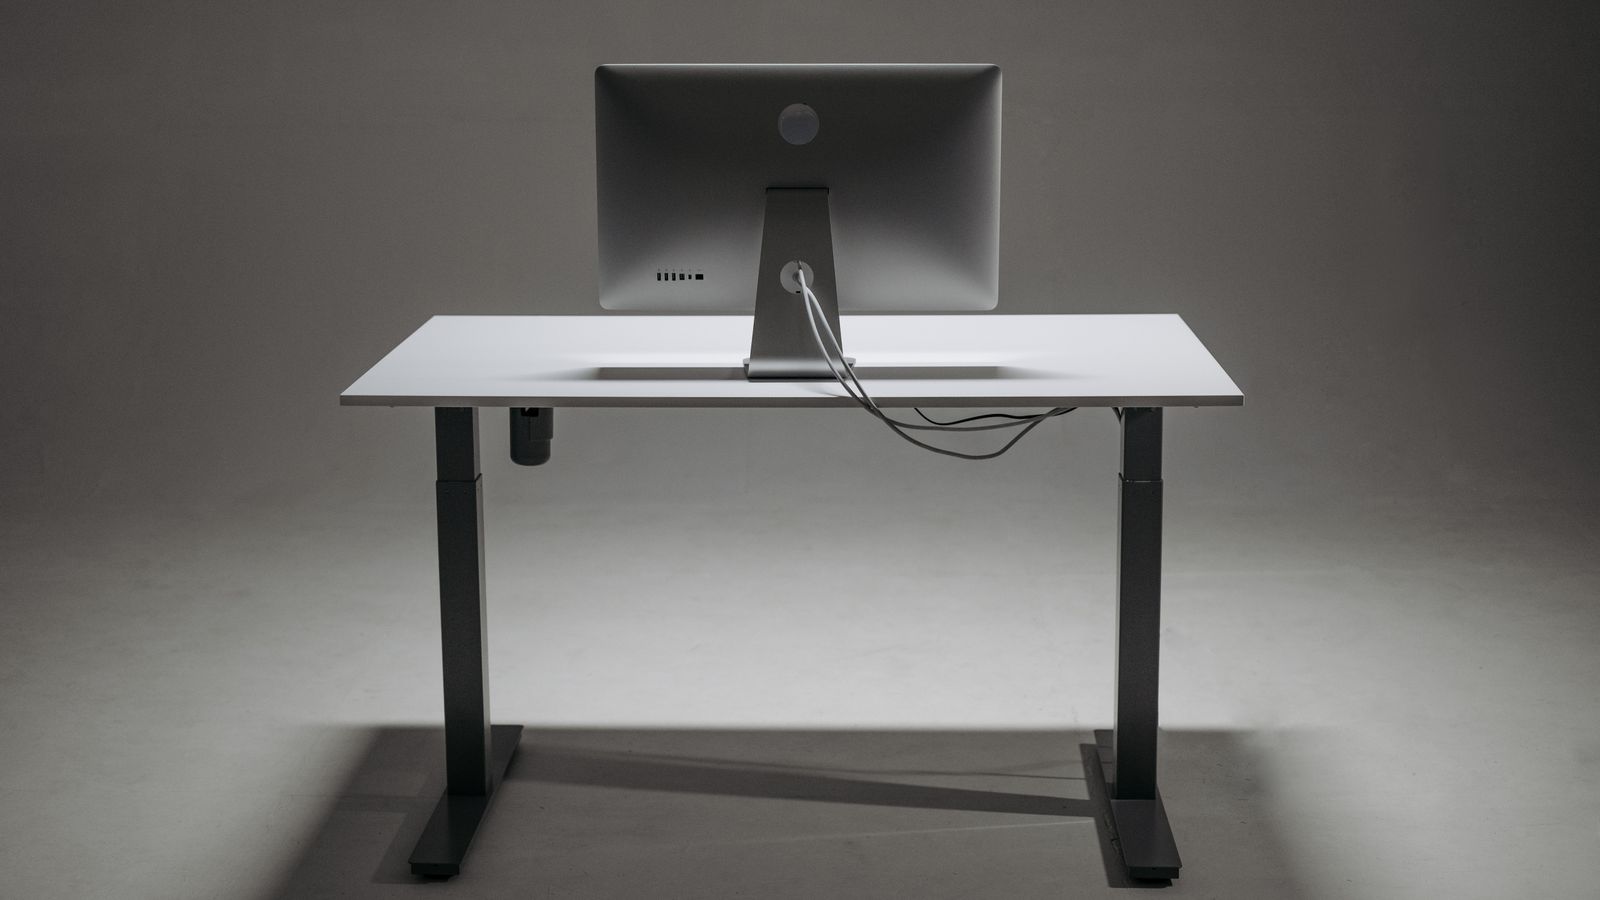
Route the remaining cables along the back edge of the desk or through a single cable raceway rather than letting each cord find its own path. Bundling cables that run the same direction with a velcro strap every 8–10 inches keeps them tidy without needing a dozen separate clips.
Step 5: Simplify Vertical and Peripheral Storage
A downsized cable setup should also cut down on the peripheral clutter around it. If your desk currently has multiple hooks, stands, or trays for headphones, cables, and small accessories, consolidate them where you can. A single, well-placed accessory can often replace two or three smaller ones.
For example, if you’re currently using loose hooks or a bulky stand just to keep your headset off the desk, one of the best headset hangers mounts directly to the desk edge and keeps both the headset and its cable out of the way in a fraction of the space. Similarly, if you’re working in a cubicle and rely on separate trays or bins for supplies, a set of cubicle shelves can consolidate storage vertically instead of spreading cables and accessories across your entire desk surface.
Step 6: Label Before You Finalize
Once cables are shortened, bundled, and rerouted, label each one near the plug end with a small piece of tape or a reusable cable tag. This step feels unnecessary in the moment, but it saves significant time later when you need to unplug a single device without disturbing the rest of the bundle.
Step 7: Test Everything Before You Tidy the Last Details
Before you zip-tie the final bundle or tuck cables permanently out of sight, power everything on and confirm each device still works as expected. It’s much easier to fix a loose connection now than after everything is bundled and hidden behind the desk.
Safety Notes
- Never overload a single power strip beyond its rated wattage, even if it looks like it has “room” for more plugs.
- Keep cable bundles away from heat sources, including the back of monitors or power adapters that run warm.
- Leave a little slack in every cable — pulling cords too tight can strain the connectors over time.
- Avoid running cables across walkways or chair paths, even temporarily, while you’re reorganizing.
Common Mistakes to Avoid
- Downsizing before auditing: Removing organizers or cables without first mapping what’s actually essential often means you end up re-adding items a week later.
- Bundling cables of different lengths together: This creates uneven bulges instead of a flat, clean bundle.
- Choosing a power strip with too few ports: Buying for your current needs instead of leaving one or two spare ports means you’re back to clutter the moment you add a new device.
- Skipping labels: A tidy-looking bundle with unlabeled cables becomes a frustrating guessing game the next time you need to troubleshoot.
How to Maintain a Downsized Setup
Once your cable management is streamlined, keep it that way with a quick monthly check: unplug and remove anything you haven’t used in the past few weeks, confirm labels are still legible, and make sure new gadgets aren’t quietly re-adding clutter. A downsized setup only stays downsized if new cables go through the same audit process as the original ones.
FAQ
How many cables should a minimal desk setup have?
Most simplified desk setups can run on four to six cables: power for the computer or dock, a monitor cable, and chargers for one or two peripherals. Anything beyond that usually indicates gear that could be consolidated or relocated.
Do I need a cable management box or tray?
Not necessarily. A tray or raceway helps hide bundled cables, but if you’ve already shortened and consolidated your cords, a few velcro straps along the desk’s back edge may be enough.
What if I still need extra ports later?
Choose a power strip or hub with one or two spare ports when downsizing so you have room to grow without immediately reintroducing clutter.
Will downsizing my setup affect my desk’s stability?
It shouldn’t, but if you notice more wobble once cables are rerouted underneath, double-check that your desk legs and connectors are still tightened properly.
Final Thoughts
Downsizing your desk cable management setup isn’t about giving up functionality — it’s about making deliberate choices so every remaining cable and accessory earns its place. By auditing your gear, consolidating power, shortening cables, and choosing space-saving accessories, you can shrink your setup considerably while keeping your workspace just as capable as before.