

A cluttered desk is one of the fastest ways to kill creative momentum. If you record video, edit audio, stream, or juggle multiple client projects from home, your workspace needs to work as hard as you do. Simplifying your setup isn’t about owning less gear — it’s about choosing the right desk, the right surface, and a layout that keeps your tools within reach instead of buried under cables. This guide walks you through a practical approach to streamlining a home office desk setup built specifically around the needs of content creators.
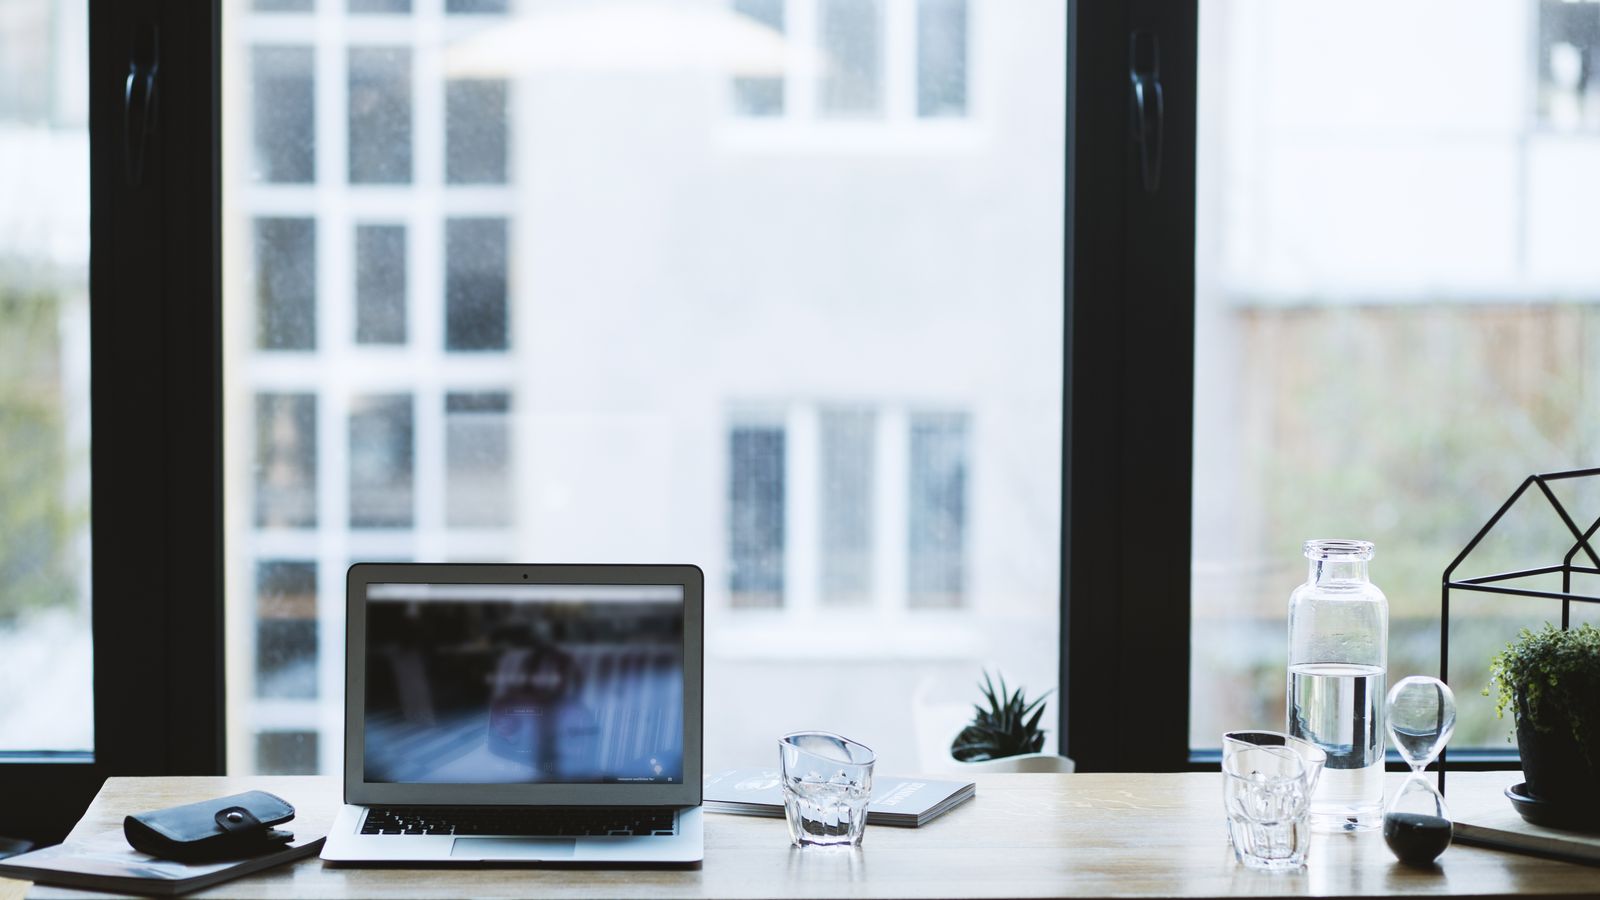
Why Content Creators Need a Different Desk Setup
Most standard desks are designed for basic computer work: a monitor, a keyboard, and maybe a lamp. Content creators need more. Between cameras, ring lights, microphones, capture cards, external drives, and a second or third monitor, the average creative workstation carries far more hardware than a typical office desk. Without a plan, cables tangle, gear gets knocked over, and your desk becomes a source of daily friction instead of a place where you actually want to sit down and work.
Simplifying doesn’t mean stripping your setup down to nothing. It means matching your furniture and surfaces to your actual workflow so every piece of equipment has a defined place. That starts with the desk itself.
Start with the Right Desk Foundation
The desk is the backbone of your whole setup, and it needs to handle weight, width, and cable routing better than a generic table. Look for a surface at least 55 to 63 inches wide if you run dual monitors plus a camera arm, and prioritize models with built-in cable trays or grommet holes so wiring doesn’t spill across the surface. If you also want the option to stand while recording or editing, it’s worth comparing best standing desks with drawers, which combine height adjustability with dedicated storage for smaller accessories like SD cards, lens caps, and lav mics.
For creators who need a desk purpose-built around dual-monitor arms, overhead lighting mounts, and heavier equipment loads, it’s worth browsing dedicated Desks for Content Creators before settling on a generic office model. These desks are engineered with the reinforced weight capacity and cable management features that a typical home office desk simply wasn’t built for.
Key Desk Features to Prioritize
- Weight capacity: A camera arm, two monitors, and a light stand can easily exceed 60 lbs combined — check the desk’s rated load before buying.
- Cable management: Built-in trays, grommets, or a rear channel keep HDMI, USB, and power cables from crossing your workspace.
- Surface depth: At least 24 to 30 inches of depth gives you room for a monitor arm plus a few inches of clearance for your keyboard and mouse.
- Stability: If you type or click during recordings, a wobbly desk will show up as camera shake or noise on a mechanical keyboard.
Protect the Surface with a Leather Desk Pad
Once the desk itself is sorted, the surface you actually work on matters more than most people realize. A leather desk pad does two things at once: it protects the desktop from scratches, spills, and heat marks from lighting equipment, and it visually anchors your setup, making a mix of mismatched gear look intentional and put together on camera.
Leather pads are also quieter than a bare wood or laminate surface — mouse movement, tapping, and setting down accessories all produce less noise, which matters if you’re recording audio nearby. Browse a curated list of leather desk pads to find one sized to your desk and finished in a tone that won’t clash with your backdrop if your desk appears on camera.
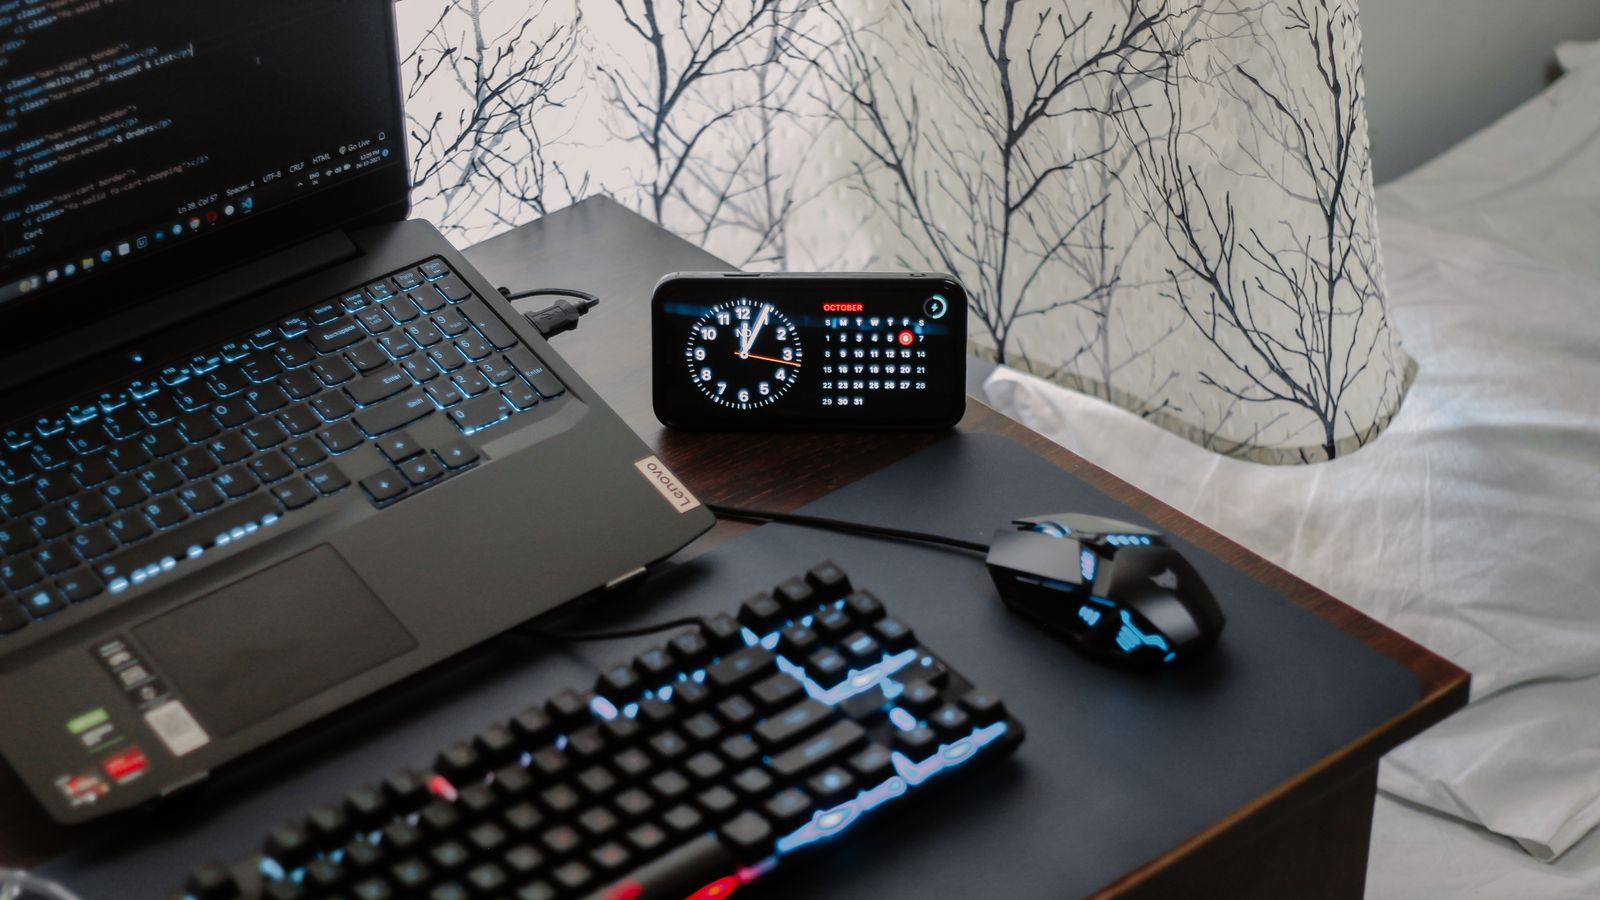
Choosing the Right Size and Finish
Measure your desk’s usable surface before ordering — most leather pads run between 31 and 47 inches wide, and you want enough coverage for your keyboard, mouse, and a small notepad without leaving bare wood exposed at the edges. A matte, neutral-toned pad (black, brown, or grey) tends to read best on camera and won’t create glare under ring lights the way a glossy finish can.
What You’ll Need Before You Start
- A tape measure to confirm desk width, depth, and cable-port locations
- Zip ties or reusable velcro straps for bundling cables
- A power strip with USB ports, ideally one that mounts under the desk
- A leather desk pad sized to your surface
- A monitor arm or camera arm clamp, if you’re consolidating stands
Step-by-Step: Simplifying Your Desk Setup
- Audit what’s actually on your desk. List every item currently on or near your workspace — monitors, lights, mics, drives, notebooks. Anything you haven’t touched in the last two weeks is a candidate to store elsewhere.
- Measure before you buy. Confirm the depth and width you need for your monitor count, camera arm reach, and lighting setup so your new desk isn’t undersized on day one.
- Choose a desk with real cable management. Prioritize built-in trays or grommets over a desk that merely looks clean in photos.
- Add the leather desk pad. Lay it centered on the desk, leaving equal margins on either side, and use it as the anchor point for keyboard and mouse placement.
- Mount what you can. Monitor arms, camera arms, and light stands with desk clamps free up surface space that would otherwise go to bulky stands and tripod feet.
- Route and bundle cables. Run everything through the desk’s cable tray or a single channel along the back edge, grouping cords by device with velcro straps.
- Designate zones. Keep a clear “recording zone” directly in front of your camera and a separate “storage zone” off to the side for drives, notebooks, and accessories.
- Do a final walkthrough on camera. Sit down, hit record for 30 seconds, and check whether anything in frame still looks cluttered — adjust before you commit to the layout long-term.
Common Mistakes to Avoid
- Buying a desk that’s too narrow. A 47-inch desk might look fine empty, but once you add a camera arm and second monitor, you’ll run out of usable surface fast.
- Skipping cable management until later. Cables multiply quickly once you add lighting and audio gear — plan the routing before your first recording session, not after.
- Choosing a glossy or light-colored desk pad. Reflective surfaces under studio lighting create glare that shows up on camera and in product photos.
- Overloading a single power strip. Cameras, lights, and computers draw more power than a basic office setup — use a strip rated for your actual equipment load.
- Ignoring desk height. If you switch between sitting and standing during long recording sessions, a fixed-height desk will slow you down and hurt your posture over time.
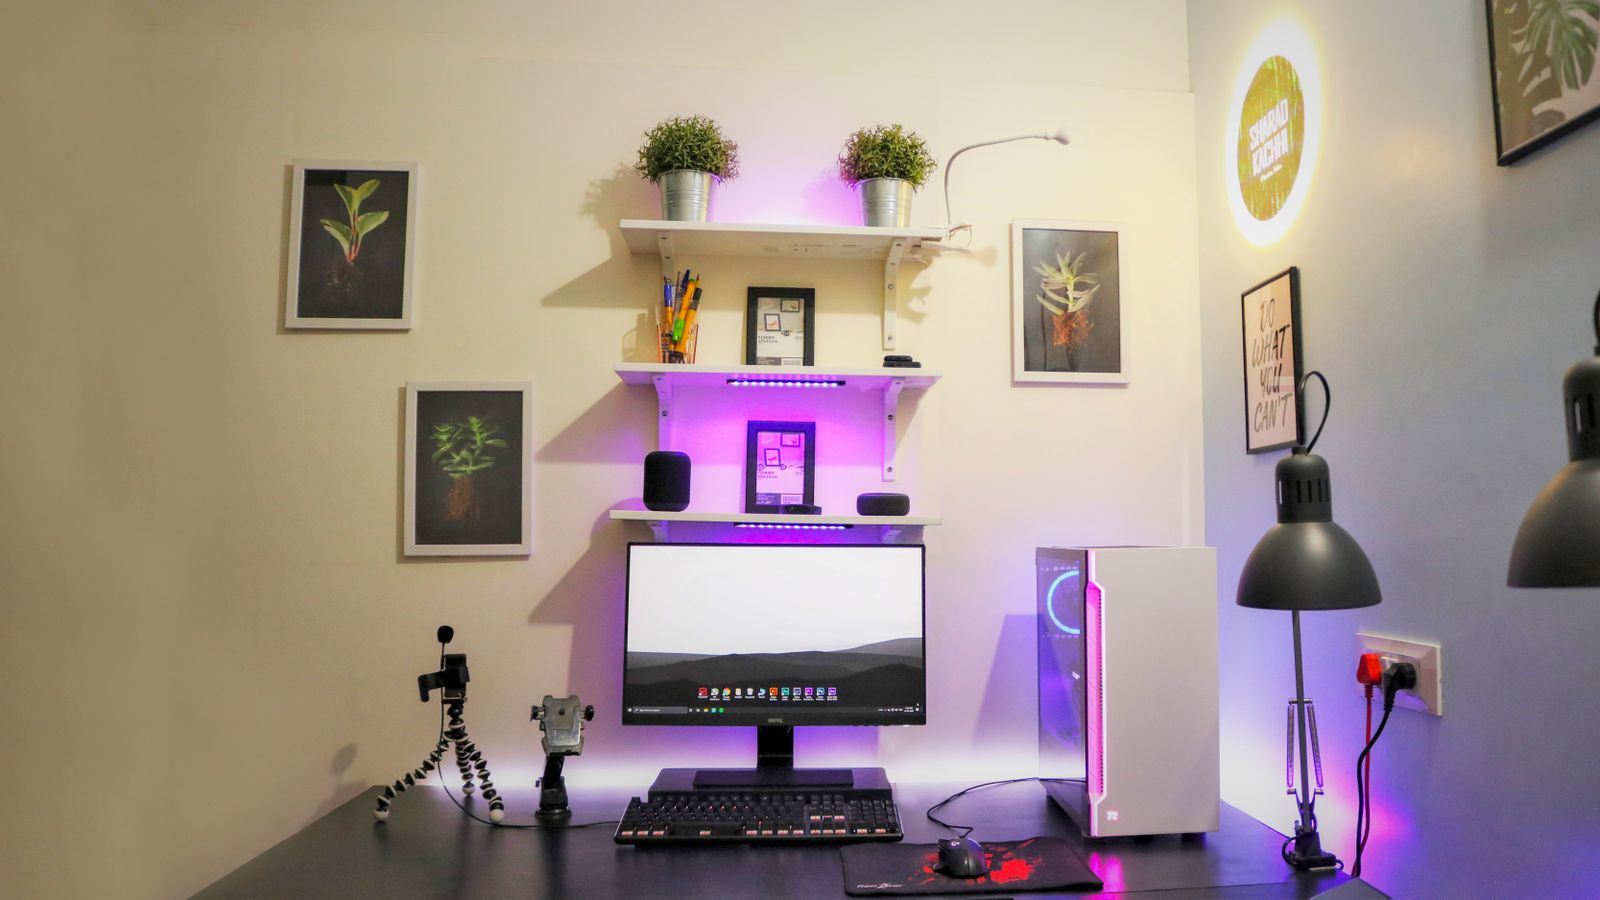
Maintaining a Simplified Setup Over Time
A clean desk setup doesn’t stay clean by accident. Wipe down your leather desk pad weekly with a dry or slightly damp cloth to prevent buildup from hand oils and dust. Recheck your cable bundles every month or so, since new gear tends to sneak in gradually. If you notice your surface filling back up, revisit your original audit list and ask whether a new accessory truly needs permanent desk space or can live in a drawer until it’s needed.
It also helps to review your layout any time your content format changes. Someone who shifts from talking-head videos to hands-on product demos, for example, may need a different camera angle and more open desk space in front of the keyboard. Treat your setup as something you revisit periodically rather than something you configure once and forget.
Budget-Friendly Ways to Simplify Without a Full Overhaul
Not every creator is ready to replace their entire desk setup at once, and that’s fine — simplification can happen in stages. Start with the two changes that deliver the biggest visual and functional impact for the least cost: a leather desk pad and a basic cable management kit. Together these two upgrades typically run well under the cost of a new desk, yet they immediately reduce visual clutter both in person and on camera.
From there, prioritize mounted arms over freestanding stands wherever possible. A single monitor arm or camera arm clamp can eliminate two or three bulky bases from your desk surface, which frees up far more usable space than buying a larger desk would on its own. Once your budget allows, move on to the desk itself, choosing a model sized correctly for the gear you’ve already narrowed down.
Building a Layout That Scales with Your Content
One reason desk setups become cluttered in the first place is that creators tend to add gear reactively — a new light here, an extra mic there — without revisiting the overall layout. A more sustainable approach is to plan your desk zones around your content format rather than around individual purchases. Reserve the center of the desk for whatever sits directly in your camera frame, keep supporting gear like audio interfaces and lighting controllers to one side, and push reference material, notebooks, or a second laptop entirely off the primary surface.
This zone-based approach also makes it easier to swap gear in and out as your content evolves. If you upgrade your microphone or add a capture card next year, you already know exactly where it fits instead of having to redesign your whole desk around one new item.
FAQ
Do I need a standing desk for content creation?
Not necessarily, but many creators find it useful for long editing sessions or for recording standing presentations. If you’re on the fence, a desk with drawers built in gives you adjustability and storage in one piece of furniture.
Will a leather desk pad damage my desk’s finish?
No — a quality leather pad actually protects the surface underneath from scratches, spills, and heat from lighting equipment, and most are designed to sit flat without adhesives or residue.
How much desk space do I actually need?
For a typical single-camera setup with two monitors, aim for at least 55 inches of width and 24 inches of depth. Multi-camera or multi-monitor setups may need closer to 63 inches or more.
What’s the easiest first step to simplify a cluttered desk?
Start with the audit step: remove everything from the desk, then only put back what you use daily. Everything else gets a drawer, shelf, or storage bin instead of desk real estate.
Can I simplify my setup without buying a new desk?
Yes — a leather desk pad, better cable management, and mounted arms for your monitor or camera can dramatically clean up an existing desk before you invest in new furniture.









