

Buying a desk frame and a bamboo desk top separately gives you more flexibility than a pre-boxed desk, but it also means you are the one responsible for making sure every piece — frame, top, hardware, cable tools, and glide feet — arrives, fits, and gets tracked correctly. A little organization before you even open the boxes saves you from mismatched screws, a scratched bamboo surface, or a half-finished build sitting in your hallway for a week. This guide walks through how to organize a desk build kit around a desk frame and a bamboo desk top, from unboxing to final tightening, so the assembly goes smoothly the first time.
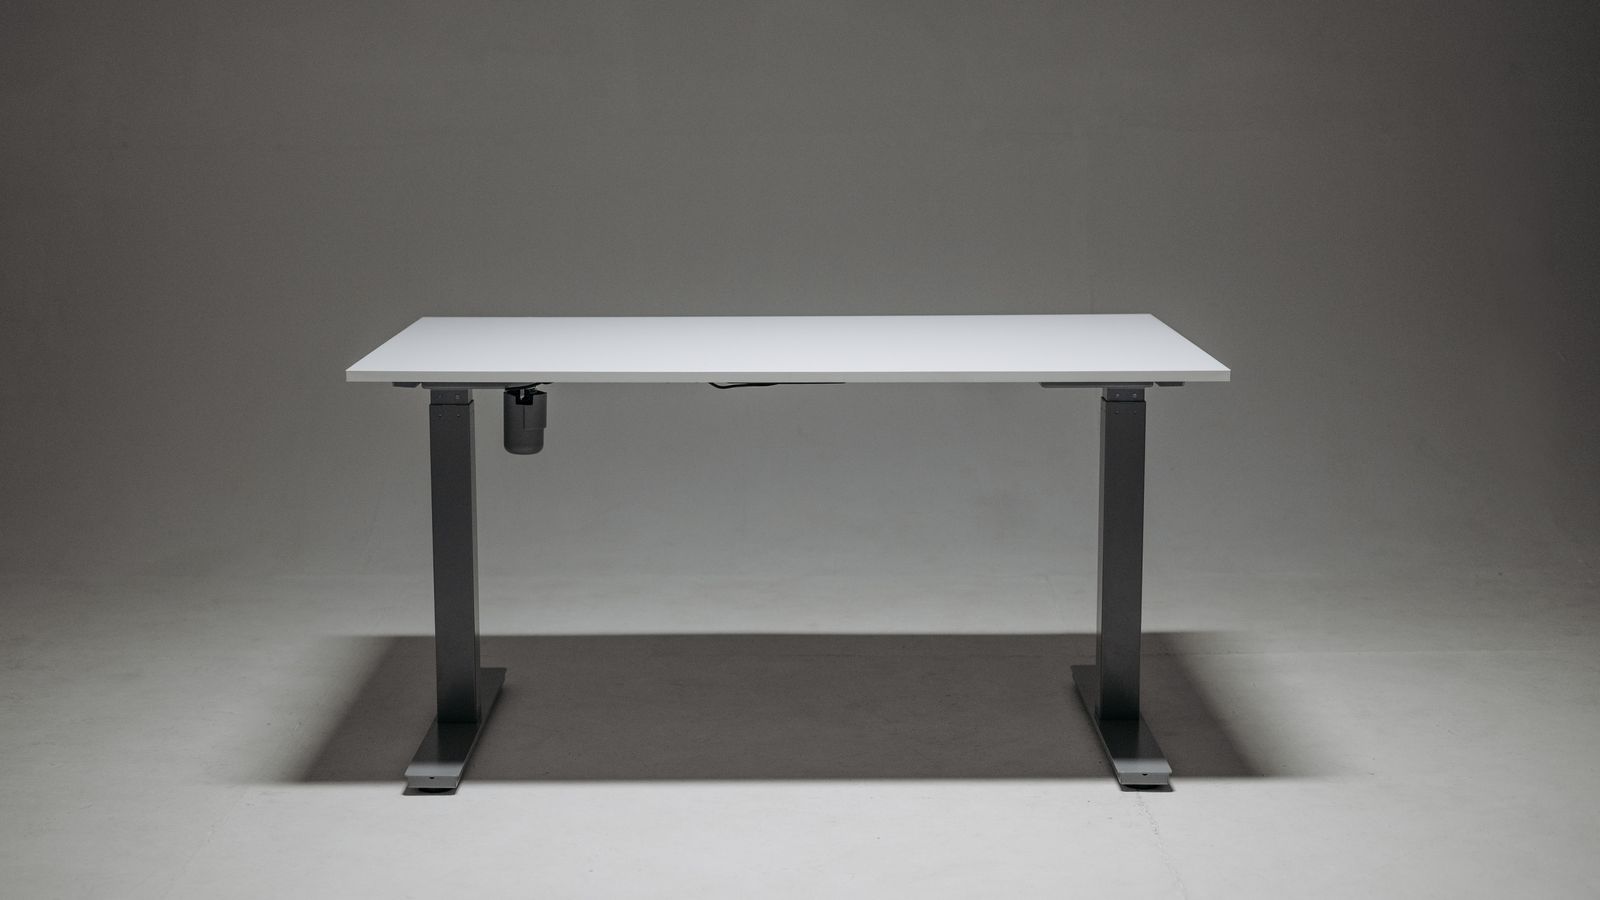
Why Organizing the Kit Matters Before You Start Building
A desk build kit is really two separate products shipped in two (or more) separate boxes: the metal or steel desk frame, and the bamboo desk top itself. Each ships with its own hardware bag, its own instruction sheet, and sometimes its own set of tools. If you unbox both at once without a system, small parts get mixed together, and you may not notice a missing bolt until you are halfway through tightening the frame to the top. Taking ten minutes to sort everything first turns a frustrating build into a straightforward one.
Organizing also protects the bamboo top itself. Bamboo is a natural material that can scratch, dent, or absorb moisture more easily than laminate if it is left leaning against a wall or dragged across a rough floor during assembly. Planning your workspace and hardware layout ahead of time keeps the surface protected from the moment it leaves the box until the desk is fully built.
What You’ll Need
- The desk frame kit (legs, crossbar or beam, motor/lift mechanism if it’s a standing desk, and control box if electric)
- The bamboo desk top, still wrapped in its protective film or foam corners
- All hardware bags — do not open more than one at a time
- A Phillips-head screwdriver or power drill with the correct bit (usually included, but a drill speeds things up)
- A soft blanket, moving pad, or old towel to lay the bamboo top on
- A small parts tray, muffin tin, or labeled zip bags to sort screws and brackets
- A tape measure and a pencil for marking screw positions on the underside of the top
- A second person, ideally — flipping and aligning a bamboo top solo is awkward and risks scratching the surface
Step 1: Inventory Every Box Before Opening Hardware Bags
- Lay out both boxes (frame and bamboo top) and check the packing slip or instruction sheet against what actually arrived.
- Count the number of legs, crossbars, and hardware bags for the frame separately from the top’s mounting brackets and screws.
- Photograph the hardware bags before opening them — if a screw type looks unfamiliar later, you can cross-reference the photo.
- Set aside any packaging inserts (foam, cardboard corners) — you may want them later if you ever need to ship or move the desk.
Step 2: Prep a Clean, Scratch-Safe Work Surface
- Choose a flat, open area with enough room to lay the bamboo top down flat, plus space to walk around it.
- Lay a moving blanket, thick towel, or the original packaging foam on the floor before placing the bamboo top face-down.
- Keep the top’s protective film on until the very last step of assembly to avoid scuffs from tools or hardware sliding across the surface.
- Avoid concrete or bare tile — a soft underlayer prevents grit from scratching the underside as you work.
Step 3: Sort Hardware by Function, Not by Bag
Manufacturers often ship several small bags of screws that look similar but are actually different lengths for different jobs (frame-to-frame vs. frame-to-top). Rather than working bag by bag, sort everything by what it attaches:
- Frame assembly screws — connect legs to the crossbar or beam
- Top-mounting screws — shorter screws that go up into the bamboo top from underneath (these matter most, since screws that are too long can punch through the top’s surface)
- Cable management clips or trays — often bagged separately and easy to overlook
- Leveling feet or glides — small plastic or rubber pieces that thread onto the base of each leg
Use a muffin tin, tackle box, or labeled zip bags to keep each group separate. This is the single biggest time-saver in the whole build, since most assembly mistakes come from grabbing the wrong-length screw.

Step 4: Assemble the Frame First, Independently of the Top
- Attach the legs to the crossbar or central beam according to the frame’s instruction sheet, following the numbered steps in order.
- If it’s an electric standing frame, connect the motor cables loosely at this stage — full cable routing happens after the top is mounted.
- Thread on the leveling feet or glides but don’t fully tighten them yet, since you’ll adjust for floor levelness at the end.
- Stand the frame upright on a flat section of floor to confirm it sits evenly before moving on.
Step 5: Mark and Pre-Drill the Bamboo Top (If Needed)
Some bamboo tops come with pre-drilled pilot holes matched to standard frame widths; others are blank and require you to mark hole positions yourself. If your top is blank:
- Center the frame upside down on the underside of the bamboo top, checking the overhang is even on all sides with a tape measure.
- Mark each mounting hole location lightly with a pencil.
- Use a drill bit slightly smaller than the mounting screws to pre-drill shallow pilot holes — this prevents the bamboo from splitting when you drive the screws in.
- Vacuum or brush away drilling dust before flipping the top over.
Step 6: Attach the Frame to the Bamboo Top
- With the bamboo top still face-down on its protective padding, position the assembled frame upside down on top of it, aligning it with your marked or pre-drilled holes.
- Hand-start each mounting screw before using a drill, to avoid stripping the pilot hole.
- Tighten screws in a diagonal pattern (not straight down one side) so the frame seats evenly against the top.
- Double-check none of the screws are pushing through to the visible surface of the bamboo before fully tightening.
Step 7: Flip, Level, and Finish Cable Management
- With help from a second person, carefully flip the desk right-side up, lifting from the frame rather than the top to avoid stress on the mounting screws.
- Adjust the leveling feet until the desk sits flat with no wobble — a rolled-up piece of paper under each corner is a quick way to check.
- Route power cables, monitor cables, or a power strip through any included cable trays or clips.
- Remove the protective film from the bamboo surface last, once all drilling, flipping, and adjusting is complete.
Safety Notes
- Never drill through the bamboo top without a shallow pilot hole first — bamboo can splinter or crack under direct screw pressure.
- If your frame is electric, keep the control box unplugged until the build is fully assembled and upright.
- Get a second person to help lift and flip the bamboo top; a solo lift on an off-balance surface is a common cause of dropped or scratched tops.
- Check every mounting screw length against the top’s actual thickness before driving it in — an oversized screw can punch through the visible surface.
Common Mistakes to Avoid
- Mixing hardware bags together before sorting by function, leading to wrong-length screws being used.
- Skipping pilot holes on a blank bamboo top, which risks cracking near the edges.
- Assembling on a bare floor without padding, leading to scratches on the underside or edges of the top.
- Over-tightening screws in one corner before the others, which can leave the frame sitting unevenly against the top.
- Forgetting to level the feet at the end, resulting in a desk that rocks on uneven flooring.
Keeping Your Desk Build Kit Organized Going Forward
Once assembly is complete, don’t toss the leftover hardware — every desk frame kit ships with a few spare screws for exactly this reason. Keep them in a labeled bag taped to the underside of the desk or the inside of a nearby drawer, so if you ever need to disassemble the desk for a move, you have the matching hardware on hand. If you’re building out a full workspace around this frame-and-top combo, it also helps to plan storage for accessories at the same time — a desk bookshelf mounted or placed beside the finished desk keeps books, files, and small items off the bamboo surface, which protects the wood from scratches and clutter in daily use.
If you’re still deciding on the frame itself, comparing options among the current desk frames before you buy can save you a return down the line — motor strength, leg width, and crossbar style all affect how well a given frame pairs with a bamboo top of a particular size. Likewise, if the bamboo top hasn’t been purchased yet, browsing a shortlist of the best bamboo desk tops first lets you match the top’s pre-drilled hole pattern (if any) to the frame you’re planning to use, which avoids the manual marking and drilling steps altogether.

FAQ
Do I need special tools to assemble a desk frame with a bamboo top?
Most kits only require a Phillips-head screwdriver, which is often included. A power drill with the correct bit speeds up the process significantly, especially if you need to pre-drill pilot holes into the bamboo.
Can I use a bamboo top from one brand with a desk frame from another?
In many cases yes, as long as the frame’s mounting hole spacing is compatible with the top’s width and depth, or the top is blank and you’re willing to mark and drill your own holes. Always confirm the top is wide and deep enough to fully cover the frame’s crossbar before mixing brands.
How do I know which screws are for the frame versus the top?
Check the instruction sheet’s hardware diagram closely — top-mounting screws are almost always shorter than frame-assembly screws, since they need to avoid puncturing the visible bamboo surface. When in doubt, sort by length and cross-check against the diagram before installing.
What if my bamboo top doesn’t have pre-drilled holes?
Center the frame upside down on the top, mark hole positions with a pencil, and pre-drill shallow pilot holes before driving in the mounting screws. This prevents the bamboo from splitting.
How often should I re-tighten the screws after assembly?
Check the mounting screws and leveling feet after the first month of regular use, since bamboo can settle slightly, then check every few months afterward, especially if the desk is raised and lowered often on a standing frame.









