

Building a home office that actually feels good to work in comes down to three pieces of furniture most people underestimate: the desk surface itself, how you handle the cable chaos underneath it, and the arm that holds your monitor at eye level. Get those three right and everything else — chair, lighting, decor — falls into place around a workspace that looks clean and functions even better. This guide walks through exactly what to buy and how to set it up, step by step.

What You’ll Need Before You Start
Before you touch a screwdriver, gather the core components. A well-planned home office desk setup usually includes:
- A desk surface — glass, laminate, or a standing desk with a motorized or manual lift
- A monitor arm (single, dual, or a heavier-duty version for standing desks)
- Cable management tools: raceways, sleeves, under-desk trays, and adhesive clips
- A power strip or surge-protected outlet within reach of the desk
- Basic tools: a screwdriver set, tape measure, level, and possibly a drill for wall anchors
Deciding on the desk itself is the first real fork in the road. Glass desks bring a sleek, minimal look and are easy to wipe clean, but they show fingerprints and dust more readily and need careful handling since the surface can chip at the edges if you’re not careful. If a glass surface is the aesthetic you’re after, browse a curated set of glass desks to compare thickness, frame material, and weight capacity before committing.
Step 1: Choose and Position the Desk
- Measure the space, leaving at least 30 inches of clearance behind the chair for movement.
- Decide between a fixed-height desk and a standing desk. If you plan to alternate sitting and standing, a standing desk with a stable frame is worth the extra cost.
- Place the desk near a wall outlet or run an extension cord safely along the baseboard, never across a walkway.
- If choosing glass, confirm the tempered glass thickness (8mm or thicker is sturdier) and check the frame’s weight rating before loading it with a monitor arm, which adds concentrated stress at the clamp point.
- Level the desk using a bubble level and adjust any leveling feet so a monitor arm won’t wobble later.
Step 2: Plan Cable Routing Before You Plug Anything In
Cable management is far easier to plan before your monitor, dock, and power strip are all connected — trying to retrofit a tidy setup after the fact usually means unplugging everything anyway. If a clean cable routing setup matters to you, it’s worth choosing a desk built with this in mind from the start; a good option is browsing desks with cable management that already include grommet holes, built-in trays, or a rear channel for routing.
- Identify every cable you’ll need: monitor power, monitor video (HDMI/DisplayPort/USB-C), keyboard, mouse, dock, charger, and any peripherals.
- Route power cables and data cables separately when possible to reduce electrical interference and keep bundles thinner.
- Use a cable tray or basket mounted underneath the desk to hold the power strip off the floor.
- Bundle cables loosely with velcro straps rather than tight zip ties, which can damage cable insulation over time.
- Label both ends of each cable with small tags if you frequently unplug and move equipment.
- Run vertical cables (from desktop to monitor arm) through a fabric sleeve or spiral wrap so nothing dangles loose.
Step 3: Install the Monitor Arm
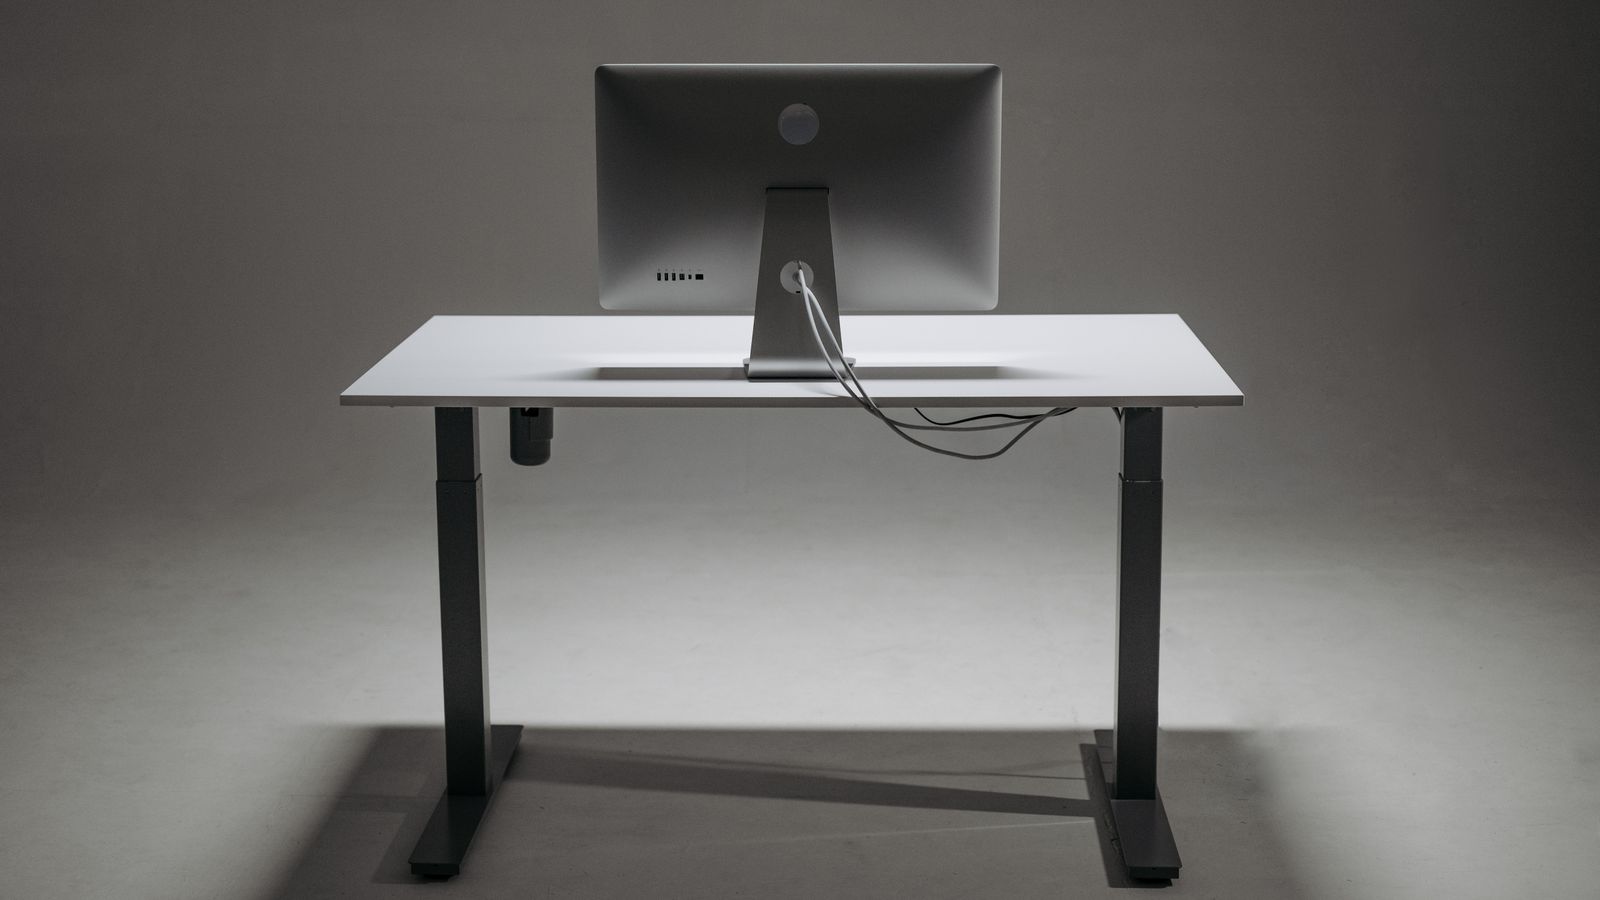
A monitor arm frees up desk space, lets you push the screen back for better ergonomics, and makes it far easier to adjust height and angle throughout the day — especially important if you’re switching between sitting and standing. If your desk is motorized, choosing an arm rated for movement and vibration matters more than it might seem; take a look at options built for monitor arms for standing desks, since these are tested for stability as the desk height changes.
- Check your desk’s edge thickness against the arm’s clamp range — glass desks in particular often need a clamp rated for thinner or tempered edges, and some arms include a grommet-mount option as an alternative to clamping.
- Attach the mounting plate to the monitor using the VESA screws included with the monitor or the arm kit (75x75mm or 100x100mm are the common VESA patterns).
- Clamp the arm base to the desk, tightening evenly and checking it doesn’t rock when you press down.
- Snap the monitor onto the mounting plate and test the full range of motion — height, tilt, swivel — before routing the cables through the arm’s internal channel.
- Set the monitor height so the top third of the screen sits at eye level, roughly an arm’s length away.
- If mounting two monitors, use a dual-arm crossbar rather than two separate single arms clamped side by side, which can crowd the desk edge and strain the frame.
Step 4: Final Cable Pass and Cleanup
- Once the monitor arm, dock, and power strip are all connected, do a final pass: tuck loose cables into the raceway or tray, and trim any excess slack with velcro ties.
- Test the full range of motion on the monitor arm and standing desk (if motorized) with all cables connected, to confirm nothing pulls tight or snags.
- Step back and check the desk from the front — cables should be invisible or minimal from a normal sitting position.
Safety Notes
- Never overload a monitor arm’s clamp weight rating; check the spec sheet against your monitor’s actual weight, including any add-on webcam or light bar.
- Keep power cables away from a standing desk’s moving legs to avoid pinching during height adjustments.
- Use surge protection for any setup with a monitor, dock, and charging accessories on one strip.
- Avoid running cables across floor walkways; use a floor cable cover if a run is unavoidable.
Common Mistakes to Avoid
- Skipping the weight check on glass desks. A monitor arm clamp exerts real pressure at one point on the edge — always confirm the desk’s rated load before drilling or clamping.
- Buying cable management add-ons after the fact. It’s much easier to select a desk with built-in grommets and trays than to retrofit one later.
- Mounting the monitor arm too low. This is the most common ergonomic mistake; the screen should never force you to look down for long periods.
- Ignoring desk height range for standing use. If you’re tall or short, check the desk’s minimum and maximum height before assuming it will suit a full sit-stand routine.
- Bundling power and data cables too tightly together. This can cause interference and makes future troubleshooting harder.
How Often Should You Reassess Your Setup?
A home office desk setup isn’t a one-time job. Revisit it every few months, especially after adding new peripherals like a second monitor, a webcam, or a desk light — each addition changes your cable load and may call for a bigger cable tray or a repositioned power strip. If you switch from sitting to a sit-stand routine, this is also the right moment to double check your monitor arm is rated for the added movement.
FAQ
Do I need a monitor arm if my desk already has a stand?
Not necessarily, but an arm gives you far more adjustability — height, depth, and tilt — and frees up desk surface space that a fixed stand takes up permanently.
Are glass desks sturdy enough for a monitor arm?
Most tempered glass desks rated for office use can support a properly clamped monitor arm, but always check the manufacturer’s specific weight and clamp guidance before installing one.
What’s the easiest way to hide cables on a desk I already own?
Start with an under-desk cable tray for the power strip, add a fabric sleeve for the vertical run to your monitor, and use adhesive clips to route anything left along the back edge.
Can I retrofit cable management into a desk that wasn’t designed for it?
Yes, though it takes more planning. Adhesive cable clips, an under-desk basket, and a rear cable spine can replicate most of what a purpose-built desk offers.
How do I know if a monitor arm will fit my standing desk?
Check the arm’s clamp range against your desktop’s edge thickness, and confirm the arm is rated for use on adjustable-height desks, since the added vibration during height changes calls for a sturdier mount than a fixed desk needs.
Final Thoughts
A great home office desk setup comes down to sequencing: choose the desk surface first, plan your cable routing before anything gets plugged in, then mount the monitor arm last so you can route its cables through an already-organized system. Take the time to match each component’s specs — desk edge thickness, clamp weight ratings, cable tray capacity — to what you’re actually using, and the setup will stay clean and functional well beyond the first week.









