Turning a spare room or a quiet corner into a functional creative workspace takes more planning than most people expect, especially when you’re juggling digital work, sewing projects, and hand-drawn art in the same space. A well-designed creative workspace setup isn’t just about buying furniture — it’s about matching each surface and tool to the task it needs to support, so your laptop, your sewing machine, and your sketchbook can all coexist without constant reshuffling. This guide walks you through exactly what you’ll need: a laptop docking hub for fast digital switching, a sewing table built for stitching and fabric handling, and an art desk that gives your hands and eyes the angle they need for detailed work.

Why a Multi-Purpose Creative Workspace Needs Dedicated Zones
Creative work rarely fits into one neat category. You might spend the morning editing photos on a laptop, the afternoon piecing together a quilt block, and the evening sketching in a notebook. Trying to do all three on a single desk usually means constant clutter, tangled cords, and half-finished projects getting knocked over. The solution isn’t a bigger desk — it’s separate, purpose-built zones connected by smart cable management and a shared laptop docking hub that lets you move digital work between stations without losing your setup each time.
Before you buy anything, sketch a rough floor plan of the room. Decide where natural light falls (art and sewing both benefit from strong, even light), where outlets are located, and how much walking space you need between stations. This ten-minute planning step saves hours of rearranging later.
What You’ll Need: The Core Equipment List
1. A Laptop Docking Hub
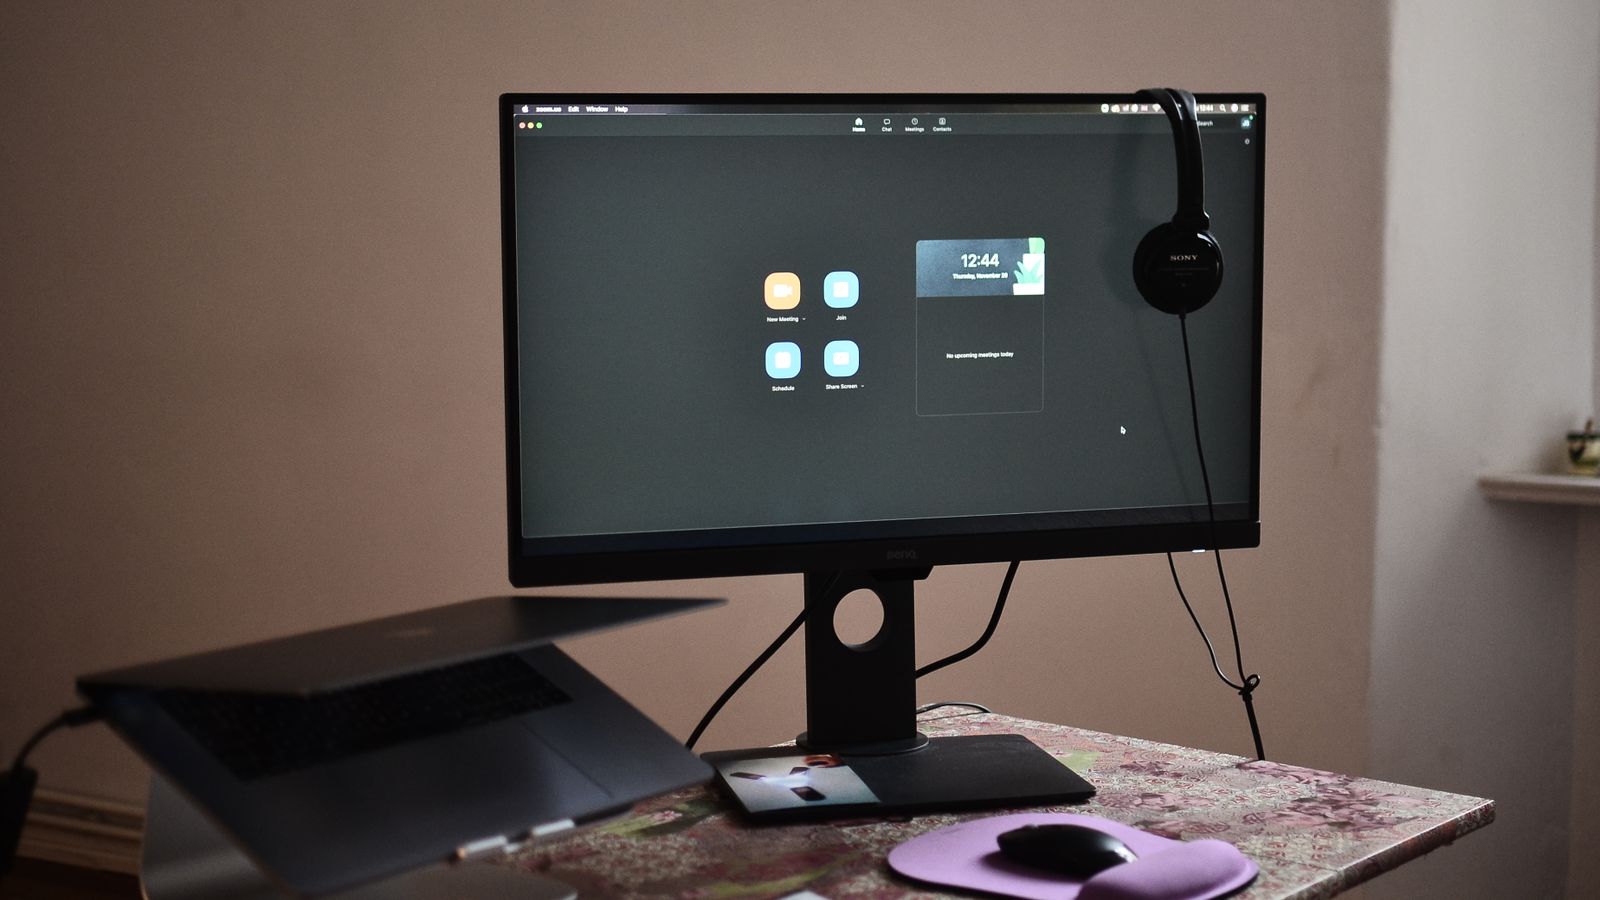
A docking hub is the connective tissue of a creative workspace. It lets you plug in a single cable and instantly get access to an external monitor, wired keyboard, mouse, external drives, and even power delivery — without hunting for a dozen individual cables every time you sit down. For creative work specifically, look for a hub with at least one HDMI or DisplayPort output for a secondary monitor (useful for reference images while you sketch or for pattern PDFs while you sew), a handful of USB-A ports for older accessories, and a USB-C or Thunderbolt pass-through for charging.
If you switch between a laptop at your digital desk and a laptop-free sewing or art session, a docking hub also makes it easy to relocate your laptop to a different room entirely and pick right back up where you left off. For a closer look at features, port counts, and pass-through wattage across current models, browse our Laptop Docking Hubs comparison before you buy.
2. A Sewing Table
Regular desks are almost always the wrong height and shape for sewing. A dedicated sewing table typically has a drop-in platform so your machine’s bed sits flush with the tabletop, giving you a continuous flat surface to feed large pieces of fabric across without them catching on an edge. Many also include fold-out wings for extra surface area when you’re working with quilts or larger garments, plus a stable base that won’t wobble under the vibration of a sewing machine running at speed.
Storage matters here too — a sewing table with built-in drawers or shelving keeps bobbins, thread, pins, and pattern pieces within arm’s reach instead of scattered across the room. If you’re outfitting a sewing corner from scratch, our roundup of sewing tables compares platform sizes, storage options, and folding designs for small spaces.
3. An Art Desk
Drawing and painting reward a surface that tilts. A dedicated art desk usually offers an adjustable-angle top, so you can work flat for detailed inking or tilt the surface upward for more natural wrist positioning during long sketching sessions. Built-in pencil grooves, a raised lip to catch stray supplies, and a lower shelf for paper storage are all common features worth prioritizing.
Lighting and desk height go hand in hand here — a desk that’s too low forces you to hunch, and one that’s too high strains your shoulders. If you’re shopping for a surface built specifically for illustration, painting, or drafting work, take a look at our guide to the best art desks for comparisons on tilt range, surface material, and storage.

Step-by-Step: Setting Up Your Creative Workspace
- Map your zones first. Walk the room and decide where the digital station, sewing station, and art station will sit relative to outlets, windows, and doorways. Leave at least two feet of clearance behind any chair that will get pushed back frequently.
- Install the docking hub at your primary digital station. Mount or place the hub within easy reach of where your laptop will sit, run your monitor and peripheral cables through a cable sleeve or under-desk tray, and label each cable so future swaps are painless.
- Assemble and position the sewing table. Set it near a power outlet for the machine, ideally with a window or task lamp positioned to the side rather than directly overhead, which minimizes shadows falling across the needle area.
- Set up the art desk with adjustable lighting. Position it so light comes from the non-dominant-hand side to reduce shadowing while you draw, and set the tilt angle to a comfortable middle position you can adjust later.
- Test the workflow between stations. Sit at each station and simulate a real task — undock the laptop, walk to the sewing table, check a pattern PDF, walk to the art desk, sketch a quick reference. Note any awkward transitions and adjust furniture placement accordingly.
- Add storage last. Once you know how you actually move between tasks, add bins, pegboards, or rolling carts to keep supplies close to where they’re used rather than centralized in one spot.
- Label and organize cables and supplies. A quick labeling pass on cords, thread spools, and art supply bins prevents the slow creep of clutter that undermines multi-purpose spaces over time.
Safety Notes for a Mixed Digital and Craft Workspace
- Keep sewing machine cords and laptop dock cables routed separately to avoid tangles that can pull equipment off the table mid-task.
- Position pins, needles, and small blades away from the edge of the sewing table where a laptop bag or dock cable might brush against them.
- Use a surge protector for your docking hub and monitor setup, especially if the sewing machine shares the same circuit — motors can cause voltage fluctuations.
- Make sure the art desk’s tilt mechanism is fully locked before leaning on the surface; an unlocked tilt top can shift unexpectedly under pressure.
Common Mistakes to Avoid
- Buying one desk for everything. A single flat surface can’t serve sewing, drawing, and computer work equally well — each task has different ergonomic needs.
- Skipping the docking hub. Without one, you’ll end up re-plugging monitors, keyboards, and drives every time you move your laptop, which discourages you from actually using separate stations.
- Underestimating storage needs. Fabric, thread, art supplies, and cables all multiply fast. Plan storage capacity for double what you currently own.
- Ignoring lighting per station. Overhead lighting alone rarely provides the directional light needed for detailed sewing or shading work.
- Placing stations too close together. Vibration from a sewing machine can jostle a nearby laptop or monitor stand if the stations aren’t given enough separation.
Maintaining Your Creative Workspace Over Time
Once your stations are set up, a little routine maintenance keeps everything running smoothly. Wipe down your art desk surface weekly to prevent pigment or graphite buildup from affecting future work. Clean lint and thread debris out of your sewing table’s storage compartments and check that folding mechanisms still move freely. For the docking hub, periodically check that all ports are still delivering full speed — dust buildup in USB-C ports is a common, overlooked cause of slow transfer speeds or intermittent monitor drops.
Revisit your zone layout every few months as your projects evolve. A workspace that felt perfect for small sewing projects might need reconfiguring once you start tackling larger quilts, and an art desk angle that worked for sketching may need adjusting for painting sessions.
Frequently Asked Questions
Do I need a separate table for sewing if I already have a craft desk?
If your craft desk doesn’t have a flush platform for your machine’s bed, a dedicated sewing table is worth adding. Fabric snags on raised edges are one of the most common frustrations reported by sewists working on general-purpose desks.
Can one laptop docking hub serve both my digital station and my art or sewing stations?
Yes, as long as it’s portable enough to move or you’re comfortable relocating your laptop. Many creators keep one hub permanently at the digital station and simply carry the laptop over when they need a second monitor elsewhere.
How much space do I need for a three-station creative workspace?
A comfortable setup typically needs a room or nook of at least 100 to 120 square feet, though smaller spaces can work with foldable sewing tables and wall-mounted art desks that fold flat when not in use.
What’s the biggest ergonomic mistake people make in a creative workspace?
Using the same chair height and desk height across all three stations. Sewing, drawing, and typing each favor slightly different postures, so adjustable-height furniture or separate chairs tuned to each task make a real difference over long sessions.
Final Thoughts
Building a creative workspace that supports a laptop docking hub, a sewing table, and an art desk comes down to treating each task as its own small studio rather than forcing everything onto one surface. Start with a clear layout, invest in the right dedicated furniture for each activity, and let your cable management and storage habits evolve as you learn how you actually move through your projects. With the right setup, switching between digital work, stitching, and sketching becomes seamless instead of a daily reorganization chore.