Building a home office that actually looks and works like one system takes more than buying a standing desk and calling it done. If your dual monitors wobble, your desk riser doesn’t match your desk’s height range, or your cables trail across the floor, the whole setup feels disjointed even if every piece was expensive. This guide walks through how to match a standing desk, dual monitors, and a desk riser so they work together mechanically and visually, creating a cohesive home office instead of a pile of mismatched gear.
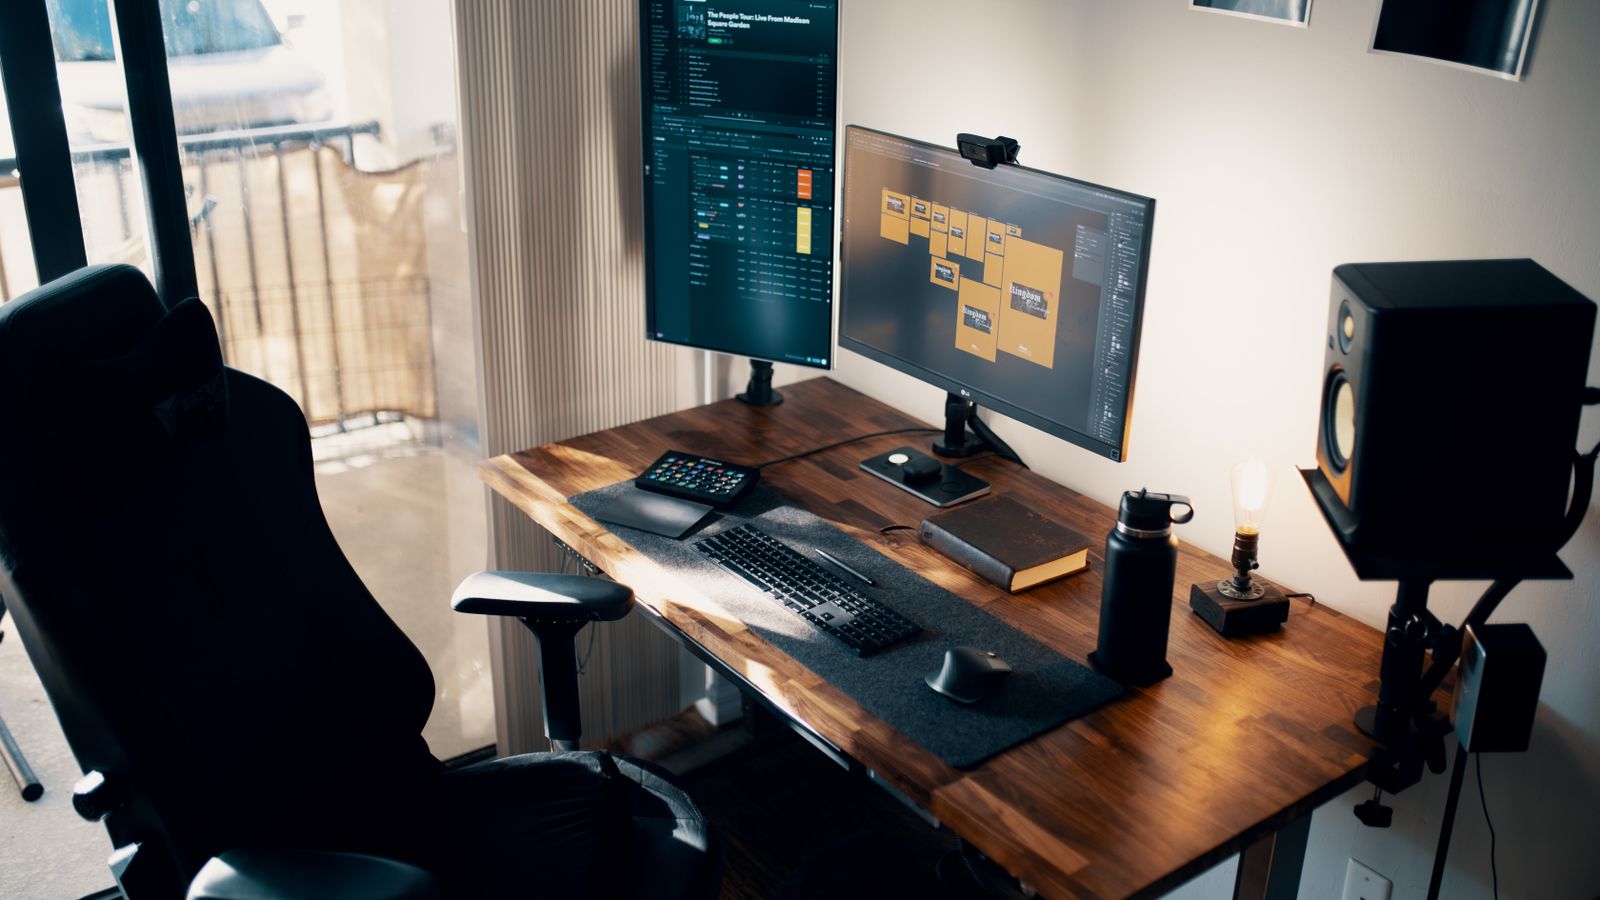
What You’ll Need Before You Start
Before shopping, gather the measurements and specs that actually determine whether your pieces will fit together. Skipping this step is the number one reason people end up with a desk riser that’s too shallow or a standing desk that can’t handle the weight of two monitors on arms.
- Tape measure for desk depth, width, and your seated/standing elbow height
- The weight and VESA mount specs of each monitor (usually on the box or manufacturer spec sheet)
- The desk’s stated weight capacity, especially at full extension height
- A rough sketch or photo of your current room layout, including outlets and cable runs
- A budget range that covers the desk, riser or monitor arm, and any cable management accessories
Step 1: Decide Between a Standing Desk or a Desk Riser
The first decision shapes everything else. A full standing desk for dual monitors replaces your existing desk with a height-adjustable frame, giving you a clean surface and consistent weight capacity across the whole range of motion. A desk riser sits on top of an existing desk and lifts your monitors and keyboard tray when you want to stand, then folds or lowers back down.
Choose a full standing desk if you’re furnishing a room from scratch, want the cleanest cable routing, or need a wider work surface for two 27-inch or larger monitors. Choose a desk riser if you already have a desk you like, you’re renting and can’t commit to a large furniture purchase, or you only need standing capability part of the day. Both paths can look cohesive if you plan the next steps carefully.
Step 2: Match Weight Capacity to Your Monitor Setup
Dual monitors on arms typically add 15 to 30 pounds of load concentrated near the back edge of the surface, plus the weight of a keyboard, laptop, and any desk accessories. Standing desks list a maximum weight capacity, but that number often drops at full extension height because the motor and frame have less mechanical leverage. Look for a desk rated comfortably above your actual load, not right at the limit.
The same rule applies to desk risers: cheaper models are rated for a single monitor and a laptop, not two full-size displays. Before buying, add up the weight of both monitors, their stands or arms, your keyboard, and anything else that lives on the surface permanently, then compare that total against the riser’s stated capacity with some margin left over.
Step 3: Get the Depth and Width Right for Two Monitors
Dual monitor setups need real estate. A single 24-inch monitor sits comfortably on a 24-inch-deep surface, but two monitors side by side, or one plus a monitor arm’s clamp footprint, usually need at least 28 to 30 inches of depth to leave room for a keyboard and mouse in front without crowding the edge.
If you’re going with a desk riser rather than a full standing desk, measure its platform width against your two monitors placed side by side with an inch or two of breathing room between them. A riser that’s too narrow forces monitors to overhang the edge, which looks cluttered and risks tipping. If your existing desk is already tight on space, a folding desk with a slightly larger folded-out footprint can sometimes solve the space problem more affordably than replacing a fixed desk.
Step 4: Match Height Ranges Between Desk and Riser
This step is where cohesive setups usually fall apart. If you’re using a desk riser on top of a fixed-height desk, the riser’s own height range needs to put your monitors at eye level and your keyboard at elbow height when you’re standing. Measure your standing elbow height, subtract your desk’s fixed height, and check that the riser’s adjustable range covers that number with a few inches to spare in both directions.
For a motorized standing desk, the relevant range is usually 24 to 50 inches, which covers most seated and standing positions for people between 5’0″ and 6’5″. Shorter or taller users should double-check the minimum and maximum height listed by the manufacturer rather than assuming a “standard” desk will fit.
Step 5: Choose the Right Monitor Mounting Method
How your monitors attach to the surface affects both stability and how clean the setup looks. Three common approaches:
- Stock monitor stands placed directly on the desk or riser. Simplest option, but takes up more surface depth and makes cable routing messier.
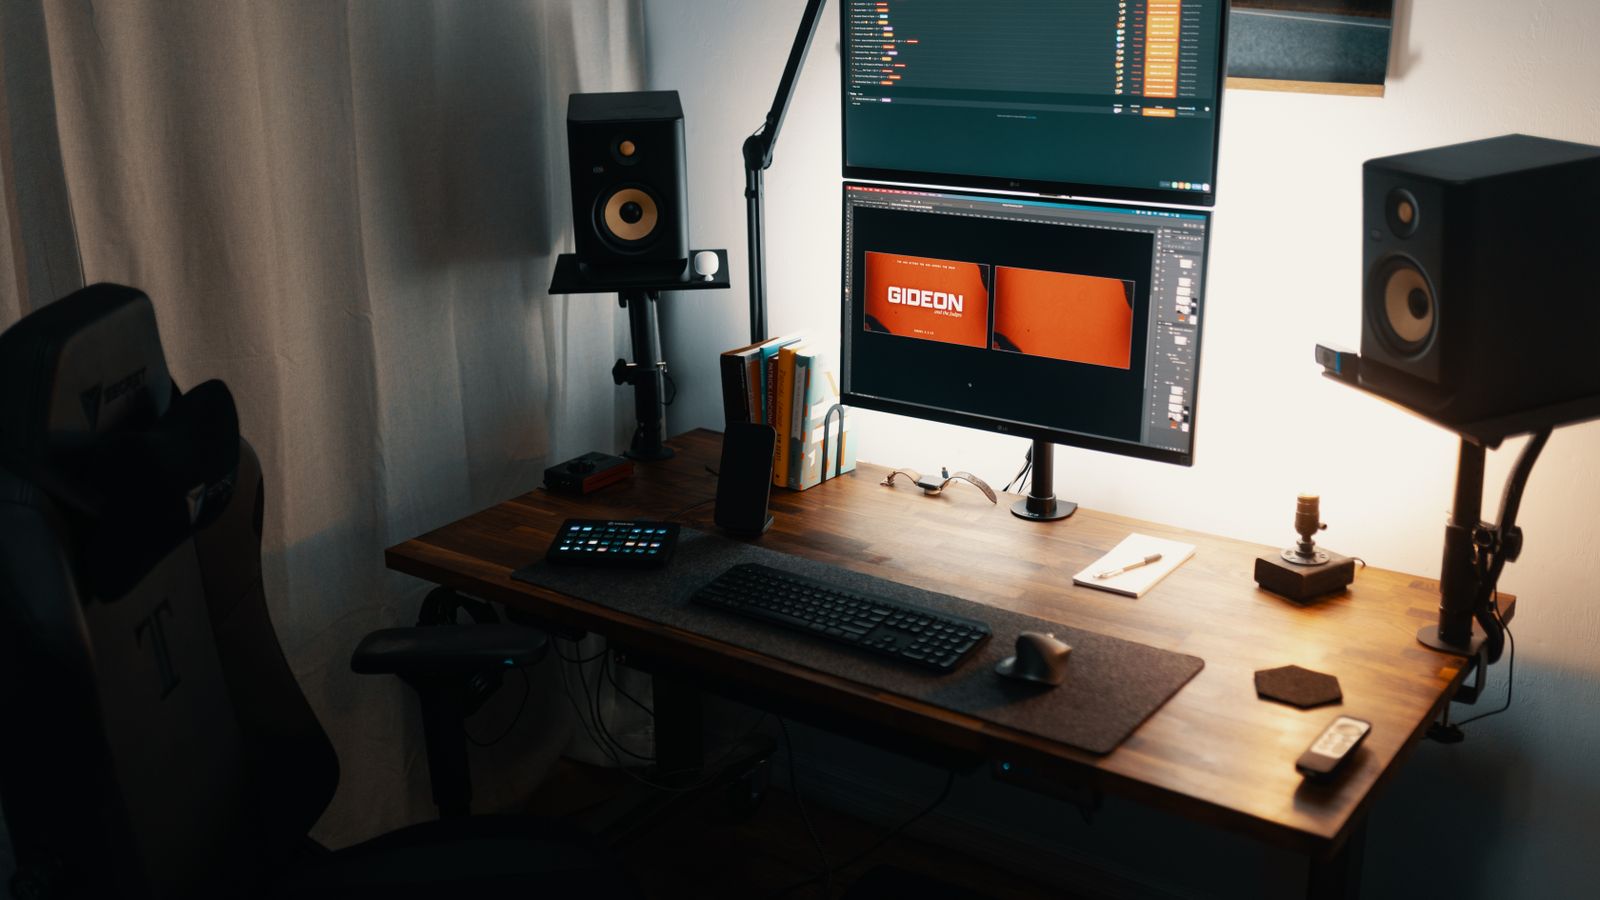
- A dual monitor arm clamped to the back edge, which frees up desk space and lets you adjust height and angle independently of the desk’s own height. This pairs especially well with a standing desk since the arm moves with the surface.
- VESA mounting directly on a riser’s built-in monitor shelf, common on higher-end desk risers that include a dedicated top tier for displays.
If you go with a monitor arm, confirm the clamp works with your desk’s edge thickness and that the desk or riser surface is rated to handle a clamped point-load, not just evenly distributed weight.
Step 6: Plan Cable Management for a Clean Look
Nothing undermines a cohesive setup faster than a tangle of cables swinging every time the desk moves. If you’re using a motorized standing desk, route power and monitor cables through a cable sleeve or spine that has enough slack to handle the full range of motion without pulling tight at the highest setting. Under-desk cable trays keep power strips and hubs out of sight, and Velcro ties at regular intervals stop cables from sagging into a visible mess.
For a desk riser setup, the challenge is different: cables need to travel from the riser platform down to outlets on the floor or wall without draping across your main desk surface. A vertical cable clip run along one leg of the riser, paired with a small under-riser tray for the power brick, usually solves this cleanly.
Step 7: Coordinate Materials and Finish
Once the mechanics are sorted, the visual side is what makes the setup read as “cohesive” rather than “assembled from parts.” Match the desk’s finish (laminate, bamboo, painted MDF) to the riser or monitor arm’s color and material as closely as possible. Black steel frames pair well with black or dark gray monitor arms; light wood desktops look better with white or silver risers rather than stark black ones.
If you’re keeping an existing desk and adding a riser, consider that the riser’s platform will likely become the dominant visible surface, so matching it to the desk matters more than matching the desk to your chair or shelving.
Common Mistakes to Avoid
- Buying the riser or desk first, then measuring monitors after. Always measure your actual displays before ordering anything.
- Ignoring weight capacity at full height. A desk rated for 200 pounds at the lowest setting may drop well below that at maximum extension.
- Underestimating cable slack needed for a motorized desk’s full travel range. Test the full up-and-down cycle before tidying cables permanently.
- Choosing a riser too shallow for two monitors plus a keyboard tray, forcing a cramped typing position.
- Mismatching finishes, such as a warm wood desktop with a stark white riser, which makes the setup look thrown together even when everything functions well.

Putting It All Together
Start with your monitors’ actual dimensions and weight, work backward to a desk or riser with matching capacity and depth, and only then think about color and finish. If you’re building from the ground up, a dedicated standing desk built for dual monitors gives the cleanest result because the whole surface moves as one unit. If you’re upgrading an existing desk, a well-matched desk riser can achieve nearly the same functionality at a fraction of the cost, as long as you’ve checked height range, depth, and weight capacity carefully.
FAQ
Can I use a desk riser with a standing desk instead of buying a monitor arm?
Yes, though it’s less common. Some people stack a compact monitor riser on top of a standing desk simply to raise eye level without going through a full arm installation. Just confirm the combined height of desk plus riser still keeps your standing desk within a comfortable range and doesn’t push monitors above eye level.
How much desk depth do I actually need for two 27-inch monitors?
Plan for at least 30 inches of depth if the monitors sit on stands, or around 26 to 28 inches if they’re mounted on an arm that keeps the base clamped to the rear edge rather than taking up surface space.
Will a cheap desk riser support two monitors safely?
Only if its stated weight capacity comfortably exceeds the combined weight of both monitors and stands, with margin. Budget risers are often rated for a single display; check the spec sheet rather than assuming “monitor riser” means it can handle two.
Does the desk frame color need to match the monitor arm exactly?
Not exactly, but staying within the same tone family (all black, all white/silver, or all wood-toned) reads as intentional. Mixing a black frame with a bright white arm and a wood desktop tends to look mismatched even if each piece is good quality on its own.
Should I buy the desk and monitors at the same time?
If possible, yes. Knowing your monitor weight and VESA specs before choosing a desk or riser prevents the most common fitting mistakes, especially around weight capacity and surface depth.