

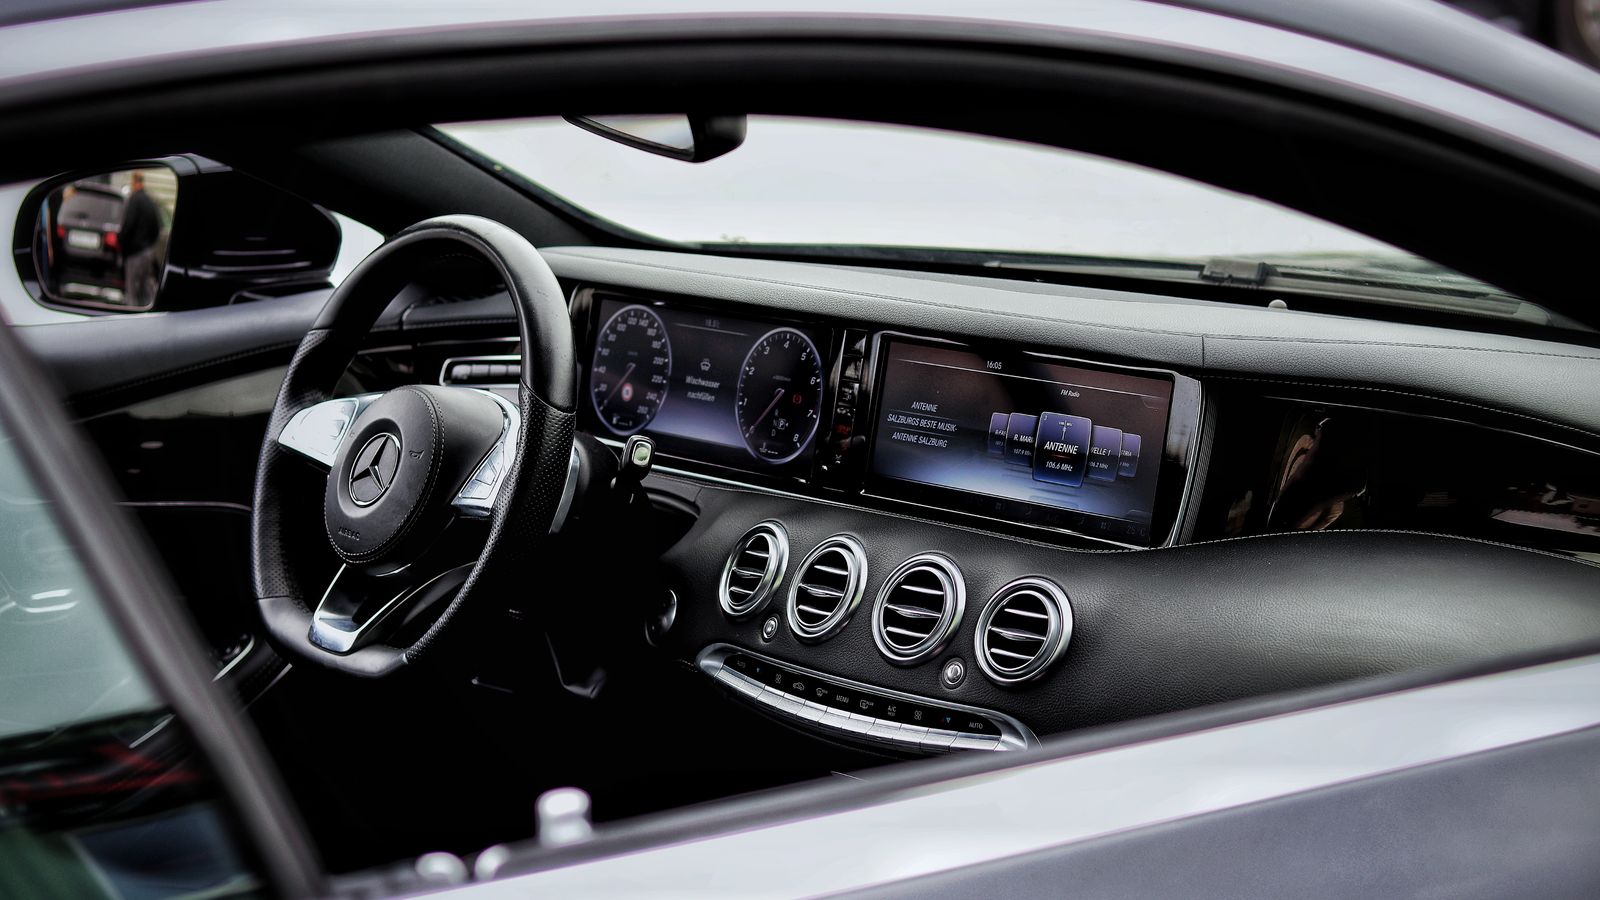
Every car benefits from a handful of smart accessories, but it is easy to overspend or end up with gadgets that never get used. A well-planned starter kit solves that problem by focusing on three items that deliver real, everyday value: a budget dash camera, a bottle of quality car wax, and a car trash can. Together they cover safety documentation, paint protection, and everyday cleanliness — the three pillars of practical car ownership. This guide walks you through choosing each item, assembling your kit, and using it correctly from day one.
What You’ll Need for This Starter Kit
Before you start shopping, it helps to know exactly what belongs in a beginner-friendly car accessory kit. Keeping the list short and focused makes it easier to actually finish the project instead of getting overwhelmed by dozens of options.
- A dash camera priced under $100, ideally with a suction or adhesive mount
- A microfiber cloth or two for wiping surfaces
- A bottle of car wax (liquid, paste, or spray formula)
- An applicator pad and a clean buffing towel
- A compact car trash can with a lid or liner
- A 12V power outlet or USB port for the dash camera
- A microSD card (if the dash camera does not include one)
None of these items require professional tools or mechanical skill. Most can be installed or applied in under an hour combined, which makes this an ideal weekend project for new car owners or anyone upgrading an older vehicle.
Step 1: Choose and Install a Dash Camera Under $100
A dash camera is one of the most valuable low-cost additions you can make to any vehicle. It records continuous video of the road ahead (and sometimes behind), which can be critical evidence in the event of an accident, a parking dispute, or a false insurance claim. At the sub-$100 price point, you can still get reliable 1080p recording, loop recording, and basic G-sensor crash detection.
To find a model that fits your budget and needs, browse our roundup of the Dash Cameras under $100, which compares video quality, night vision performance, and ease of installation across several affordable options.
- Clean the section of windshield behind your rearview mirror with a dry microfiber cloth so the mount adheres securely.
- Attach the suction cup or adhesive mount, positioning the camera so it captures a clear, unobstructed view of the road.
- Insert the microSD card before powering on the unit — most cameras will not record without one.
- Route the power cable along the headliner and A-pillar trim, tucking it out of sight, then plug it into a 12V outlet or USB port.
- Power on the camera, set the date and time, and enable loop recording so old footage is automatically overwritten once the card fills up.
- Take a short test drive to confirm the camera angle captures the full width of the lane and that footage saves correctly.
Once installed, periodically check that the mount is still secure, especially after temperature swings, since heat and cold can loosen adhesive pads over time.
Step 2: Apply Car Wax to Protect the Paint
While a dash camera protects you legally, car wax protects your vehicle’s finish. A quality wax layer shields the clear coat from UV rays, road grime, and minor environmental contaminants, while also giving the paint a deeper shine. This step does not need to happen the same day as the dash camera installation, but it belongs in the same starter kit because it is one of the easiest ways a new car owner can start proper maintenance habits.
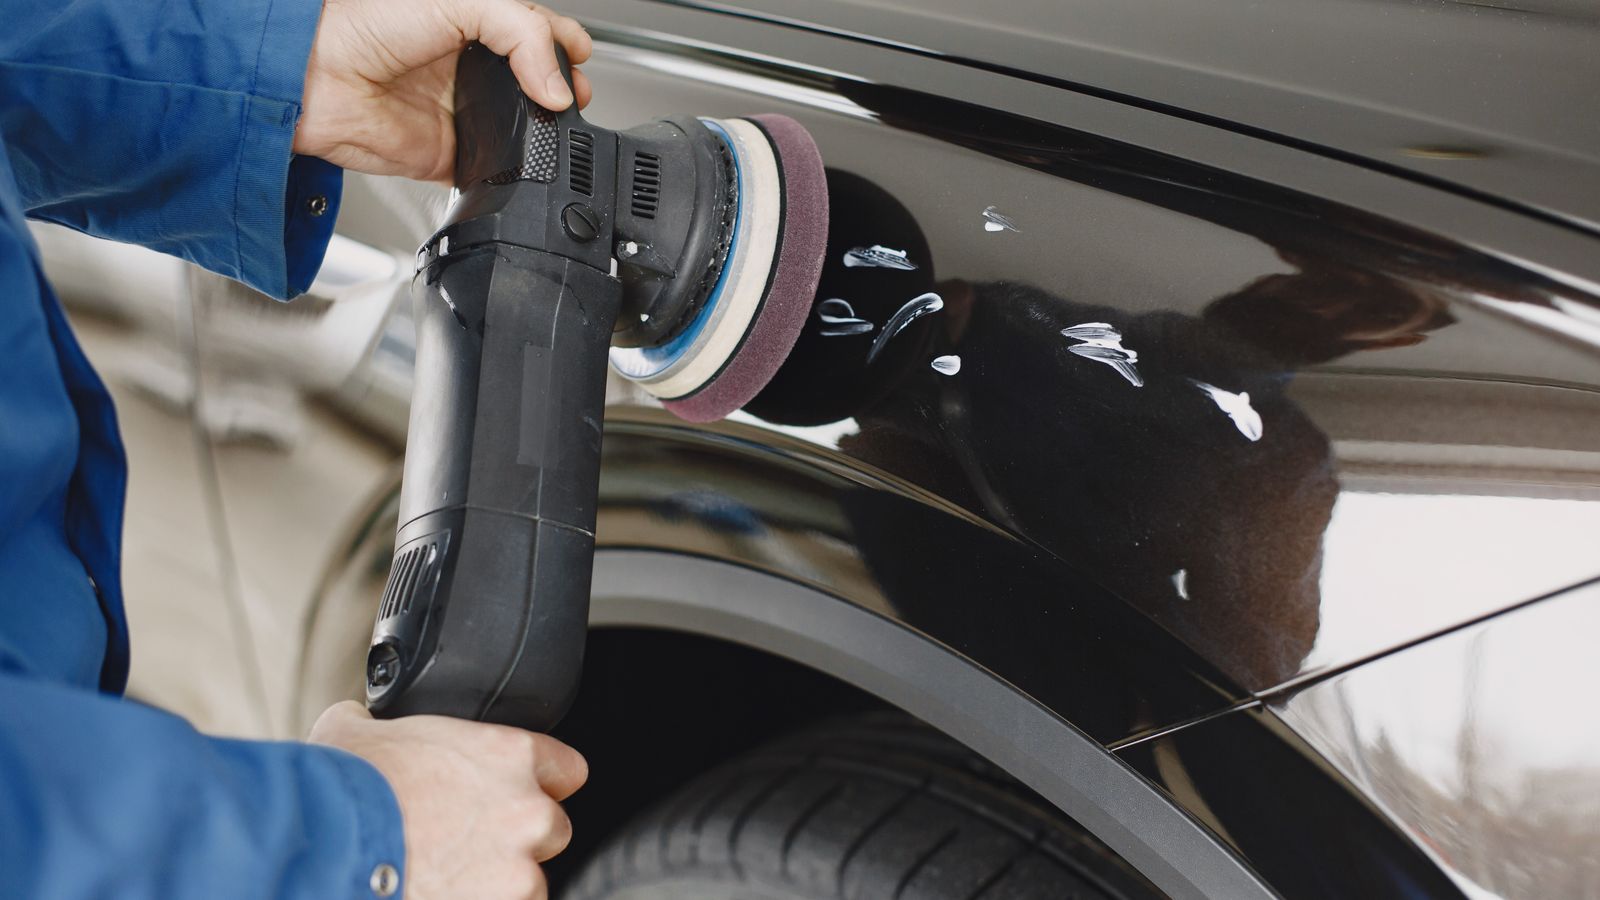
If you are unsure which formula suits your vehicle and climate, our guide to the best car wax options breaks down the differences between paste, liquid, and spray waxes, along with which ones hold up best in hot or humid conditions.
- Wash and dry the car thoroughly. Applying wax over dirt or dust can scratch the paint.
- Work in a shaded area, since direct sunlight can cause wax to dry too fast and streak.
- Apply a small amount of wax to the applicator pad and spread it in overlapping circular motions across one panel at a time.
- Let the wax haze over according to the product’s instructions, usually a few minutes.
- Buff the hazed wax off with a clean microfiber towel until the surface feels smooth and looks glossy.
- Repeat panel by panel until the entire car is coated, then inspect under good light for any missed spots.
Most waxes last several weeks to a few months depending on the formula and weather exposure, so plan to reapply on a regular schedule to keep the protection active.
Step 3: Add a Car Trash Can for Everyday Cleanliness
The final piece of the starter kit is the simplest but often the most immediately useful: a dedicated car trash can. Without one, receipts, wrappers, and cups tend to pile up on the floor or in cupholders, which makes the cabin feel cluttered and can even become a distraction while driving. A small, purpose-built trash can gives every piece of trash a home and takes seconds to empty.
Compact models are designed to fit between the front seats, hang from a headrest, or tuck into a door pocket without interfering with driving controls. Check out our comparison of the best car trash cans to find a size and mounting style that matches your vehicle’s layout.
- Decide on a mounting location — console, headrest, or seatback — based on where trash accumulates most in your car.
- Line the trash can with a small bag or disposable liner if the model does not include a removable insert.
- Secure it using the built-in straps, hooks, or adhesive base included with the product.
- Empty and re-line it at least once a week, or more often if you eat in the car frequently.
Putting the Full Kit Together
With all three items installed, your car now has meaningful upgrades in three separate categories: documentation and safety from the dash camera, protection and appearance from the wax, and day-to-day organization from the trash can. Total spend typically stays well under $150 depending on which specific products you choose, making this one of the most cost-effective upgrade projects available to any car owner.

Safety Notes
- Never mount a dash camera in a position that blocks your view of the road, especially near the top center of the windshield where airbags may deploy.
- Keep power cables away from the steering wheel, pedals, and airbag covers.
- Avoid waxing a hot hood or panel, as this can cause the product to bond unevenly and become difficult to remove.
- Do not overfill a trash can to the point where it blocks visibility through the rear window or interferes with gear shifting.
Common Mistakes to Avoid
- Skipping the memory card check. Many new dash camera owners assume the camera is recording, only to find later that no card was inserted or it was never formatted correctly.
- Waxing dirty paint. Applying wax without washing first traps grit against the clear coat and can cause fine scratches.
- Choosing a trash can that is too large. An oversized bin can tip over, spill, or block the console, defeating its purpose.
- Forgetting cable management. Loose dash camera wires can rattle, obstruct pedals, or get caught on other items.
Frequently Asked Questions
Do I need a professional to install a dash camera?
No. Most budget dash cameras use suction mounts or adhesive pads designed for simple do-it-yourself installation, and cable routing along interior trim panels requires no special tools.
How often should I wax my car?
Most synthetic waxes last two to three months, while natural carnauba waxes may need reapplication every four to six weeks, especially if the car is parked outdoors.
Can I use any trash bag in a car trash can?
Small kitchen or car-specific liners generally fit best. Standard household trash bags are often too large and bulky for compact car trash cans.
Is a $100 dash camera good enough for daily use?
Yes, for most drivers a sub-$100 dash camera provides clear enough footage for insurance and incident documentation, though higher-end models add extra features like GPS tagging or 4K resolution.
What is the total cost of this starter kit?
Depending on the specific products chosen, a complete kit with a dash camera, wax, and trash can typically costs between $60 and $150.
Final Thoughts
Building this starter kit is one of the easiest ways to make a noticeable difference in how your car looks, performs, and protects you on the road. Start with the dash camera for peace of mind, follow up with a wax application to protect your investment, and finish with a trash can to keep the cabin tidy. Once all three are in place, you will have a car that is safer, better protected, and more pleasant to spend time in every single day.









