

A car accessory kit can quietly make every drive safer, cleaner, and easier to manage — but only if you upgrade the right pieces at the right time. Three items consistently deliver the most value for the money: a reliable dash camera under $100, a good coat of car wax, and a proper car trash can. Each one solves a different everyday problem, from proving fault after a fender-bender to protecting your paint job and keeping fast-food wrappers off the floor. This guide walks you through how to evaluate, choose, and install all three so your kit actually earns its keep instead of collecting dust in the trunk.
What You’ll Need Before You Start
Before you buy anything, take stock of what your car actually needs. Not every driver needs all three upgrades at once, and knowing your priorities keeps you from overspending on features you won’t use.
- A budget cap for each item (dash cameras under $100 are widely available and perform well for daily driving)
- Your vehicle’s paint condition — faded or swirl-marked paint needs a different wax approach than a newer finish
- A sense of how much loose trash accumulates in your cabin during a typical week
- Basic tools: microfiber cloths, a foam applicator pad, and a soft-bristle interior brush
- A cigarette lighter adapter or hardwired kit if you plan to run a dash camera continuously
Step 1: Choose the Right Dash Camera Under $100
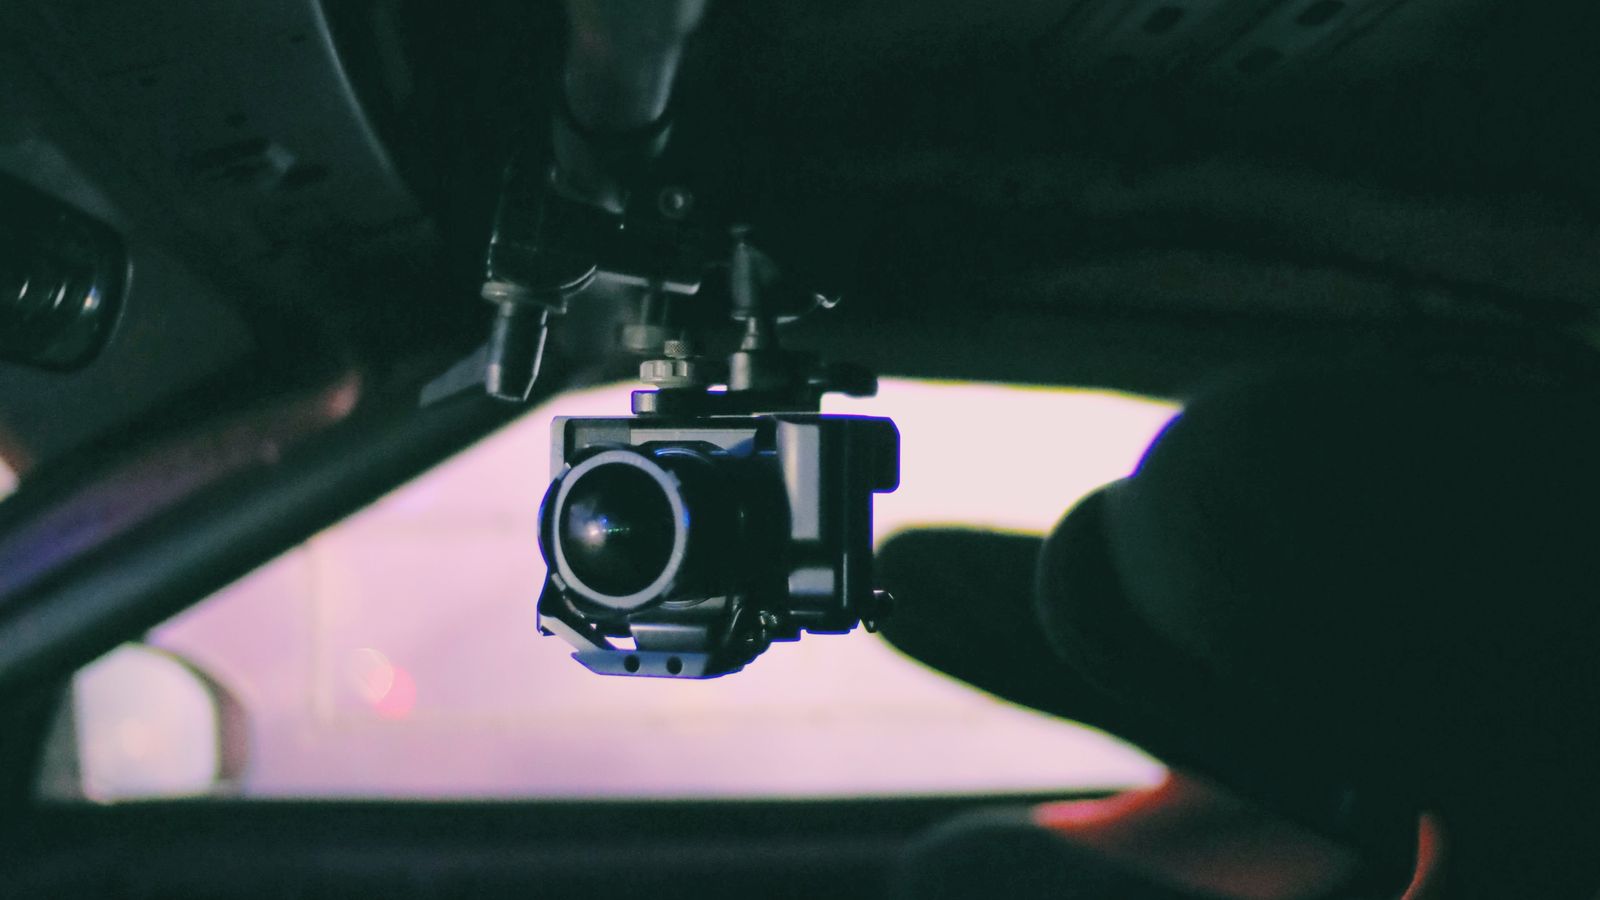
A budget dash camera doesn’t have to mean a bad one. At this price point you can still get 1080p or even 1440p footage, a wide field of view, loop recording, and a G-sensor that automatically locks footage during a sudden stop or impact. What you typically give up compared to premium models is a built-in GPS overlay, cloud syncing, or a second rear-facing lens — features that are genuinely nice but not essential for most drivers.
When comparing options, look for a model with at least a 32GB microSD card included or supported, since low-resolution footage or a card that fills up too fast defeats the purpose. Night recording quality matters more than most buyers expect; test footage samples before buying whenever possible. If you want a curated shortlist instead of sorting through dozens of listings, our roundup of dash cameras under $100 breaks down the top performers by video quality, mounting style, and ease of setup.
Installing Your Dash Camera
- Clean the section of windshield behind your rearview mirror with a lint-free cloth so the adhesive mount bonds properly.
- Attach the mount and camera, angling the lens so it captures the road and roughly a third of the hood for reference.
- Route the power cable along the headliner and down the A-pillar, tucking it behind the trim so it doesn’t dangle near the driver’s sightline.
- Plug into a 12V outlet or wire it through a fuse tap if you want the camera to run even when parked.
- Insert the microSD card, power on, and confirm the date, time, and loop-recording length are set correctly.
- Do a short test drive and review the footage to check focus, exposure, and audio if the camera records sound.
Step 2: Refresh Your Paint with Car Wax
Wax does two jobs at once: it adds a glossy, water-repelling layer on top of your clear coat, and it acts as a sacrificial barrier against UV rays, bird droppings, road grime, and light scratches. A car that’s waxed every few months resists fading and oxidation far better than one that’s washed but never protected.
Not all waxes behave the same way. Paste waxes tend to last longer and give a deeper shine but take more elbow grease. Liquid waxes and quick spray waxes are faster to apply and better for drivers who want to top up protection between full details. Synthetic sealants last the longest of all but produce a slightly different, more “wet-look” finish than a traditional carnauba wax. If you’re not sure which formula suits your paint and climate, our guide to the best car wax compares application styles, durability, and finish so you can match a product to your driving habits.
Applying Wax the Right Way
- Wash and dry the car fully; waxing over dust or grime traps particles and can create fine scratches.
- Work in the shade or when the paint is cool to the touch — direct sun makes wax dry too fast and streak.
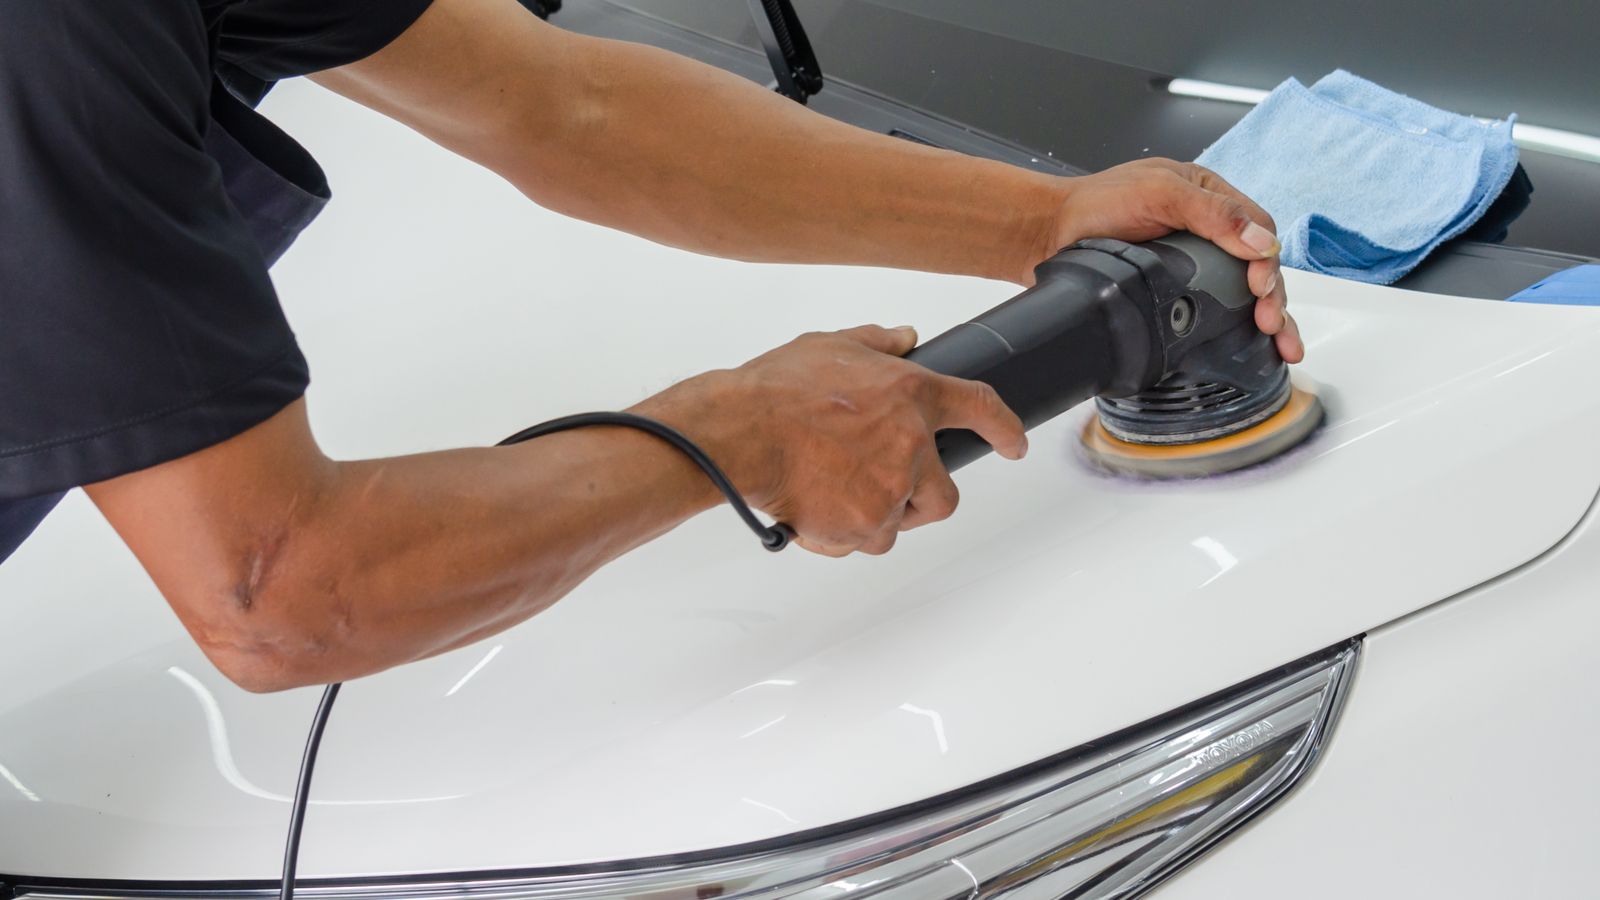
- Apply a thin, even layer with a foam applicator pad in small circular or straight-line motions, one panel at a time.
- Let the wax haze over, which usually takes a few minutes depending on the product and temperature.
- Buff off the residue with a clean microfiber towel, flipping to a fresh side as it loads up with product.
- Inspect panel edges, mirrors, and door handles for leftover residue and wipe clean.
Step 3: Add a Car Trash Can to Keep the Cabin Clean
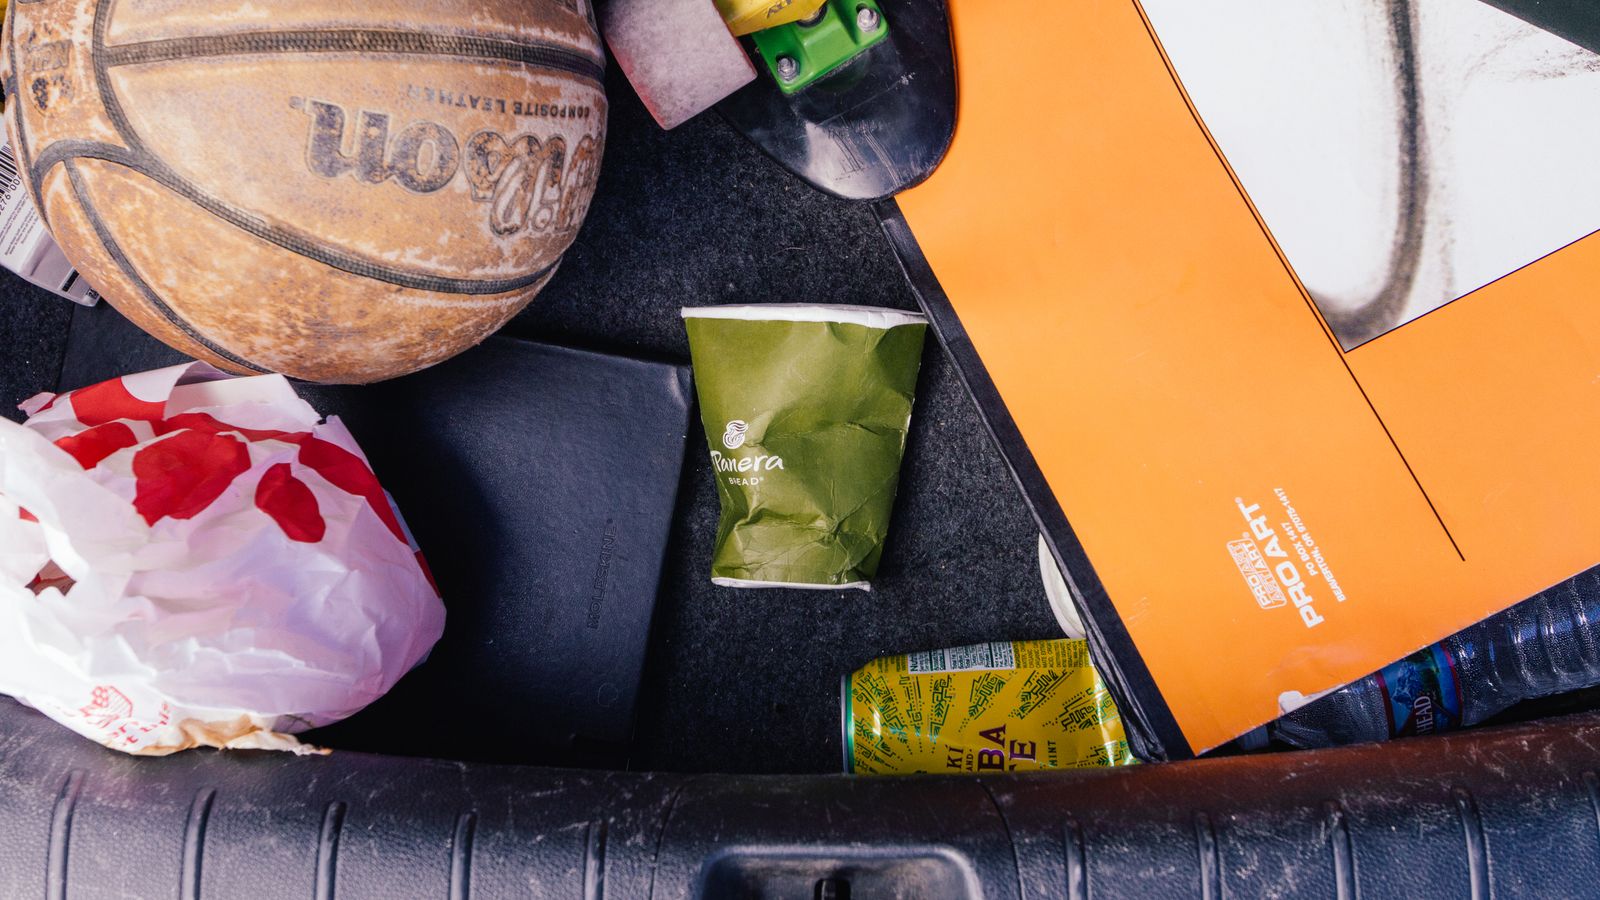
Of the three upgrades, a car trash can is the cheapest and arguably the one that improves daily comfort the most. Loose wrappers, cups, and receipts sliding around the footwell are distracting and, over time, they stain upholstery and clog under-seat tracks. A dedicated trash bin solves this instantly and also protects your resale value, since a clean interior is one of the first things buyers notice.
Look for a trash can that’s leak-resistant, easy to wipe out, and sized to fit between the front seats or hang from a headrest without blocking your view or the gear shifter. Some collapsible designs fold flat when not in use, which is handy if trunk space is tight. Our comparison of the best car trash cans covers capacity, mounting options, and materials that are easiest to clean after a spill.
Mounting and Maintaining Your Car Trash Can
- Decide on a location — console-mounted, headrest-hung, or floor-standing — based on how often the front passenger seat is occupied.
- Secure any straps or hooks so the can doesn’t tip when you brake or turn.
- Line it with a small plastic bag if the can isn’t fully waterproof, to make cleanup faster.
- Empty it at least once a week, or after any road trip, to prevent odors from setting in.
- Wipe the interior with a damp cloth and mild soap every couple of weeks to keep it sanitary.
Safety Notes
Keep dash camera cables away from airbag deployment zones and never mount the camera so low that it blocks your line of sight. When waxing, avoid working near hot brake components or exhaust, and always ventilate the garage if you’re using spray products indoors. For the trash can, position it so it can’t roll under the brake or accelerator pedal, and avoid overfilling it to the point where it tips during sudden stops.
Common Mistakes to Avoid
- Buying a dash camera without checking maximum supported microSD card size, then being stuck with a card that’s too small
- Waxing a dirty or wet car, which traps debris and creates swirl marks instead of protecting the paint
- Choosing a trash can that’s too tall and blocks the view of side mirrors or the shifter
- Forgetting to update the dash camera’s date and time, which makes footage useless as evidence after an incident
- Skipping regular trash can cleaning, which leads to odors and stains that are hard to remove later
Building a Simple Maintenance Routine
Once all three upgrades are in place, a light routine keeps everything working well. Check your dash camera’s storage and mounting adhesive every couple of months, since suction mounts and adhesive pads can loosen with temperature swings. Reapply wax roughly every two to three months, or sooner if you notice water no longer beads on the surface. Treat the trash can like any other cabin accessory — a quick weekly empty and monthly wipe-down is usually enough to keep it fresh.
Frequently Asked Questions
Do budget dash cameras under $100 actually hold up in court or insurance claims?
Yes, as long as the footage is clear enough to identify plates, timestamps are accurate, and the file hasn’t been overwritten by loop recording. Choose a camera with at least 1080p resolution and a locked “event” file feature for accident footage.
How often should I wax my car?
Most drivers get good results waxing every two to three months, though vehicles parked outdoors in strong sun or near the coast may need more frequent applications.
Is a car trash can worth it if I already vacuum regularly?
Yes — vacuuming removes existing mess, but a trash can prevents it from accumulating in the first place, which means less staining and fewer odors between cleanings.
Can I install all three upgrades in one afternoon?
Easily. The dash camera and trash can typically take under 15 minutes each to mount, and a full wax job usually takes one to two hours depending on your car’s size and the product you choose.
Final Thoughts
Upgrading your car accessory kit doesn’t require a big budget or a full weekend — it just requires picking the right three items and installing them properly. A solid dash camera protects you on the road, a good wax routine protects your paint, and a simple trash can protects your sanity on longer drives. Start with whichever upgrade solves your most immediate problem, then work through the rest as time and budget allow.









