

A tangle of cables snaking across your desk is more than an eyesore — it slows you down every time you sit to work. If you use a laptop as your primary machine but still need a full-size monitor, keyboard, mouse, and peripherals, a USB-C hub or a laptop docking station is the fastest way to turn a chaotic desk into a clean, single-cable workstation. This guide walks you through exactly how to simplify your monitor and laptop setup using these two tools, what to look for when choosing between them, and how to avoid the common mistakes that leave people frustrated after their first purchase.
Why Simplify Your Setup in the First Place
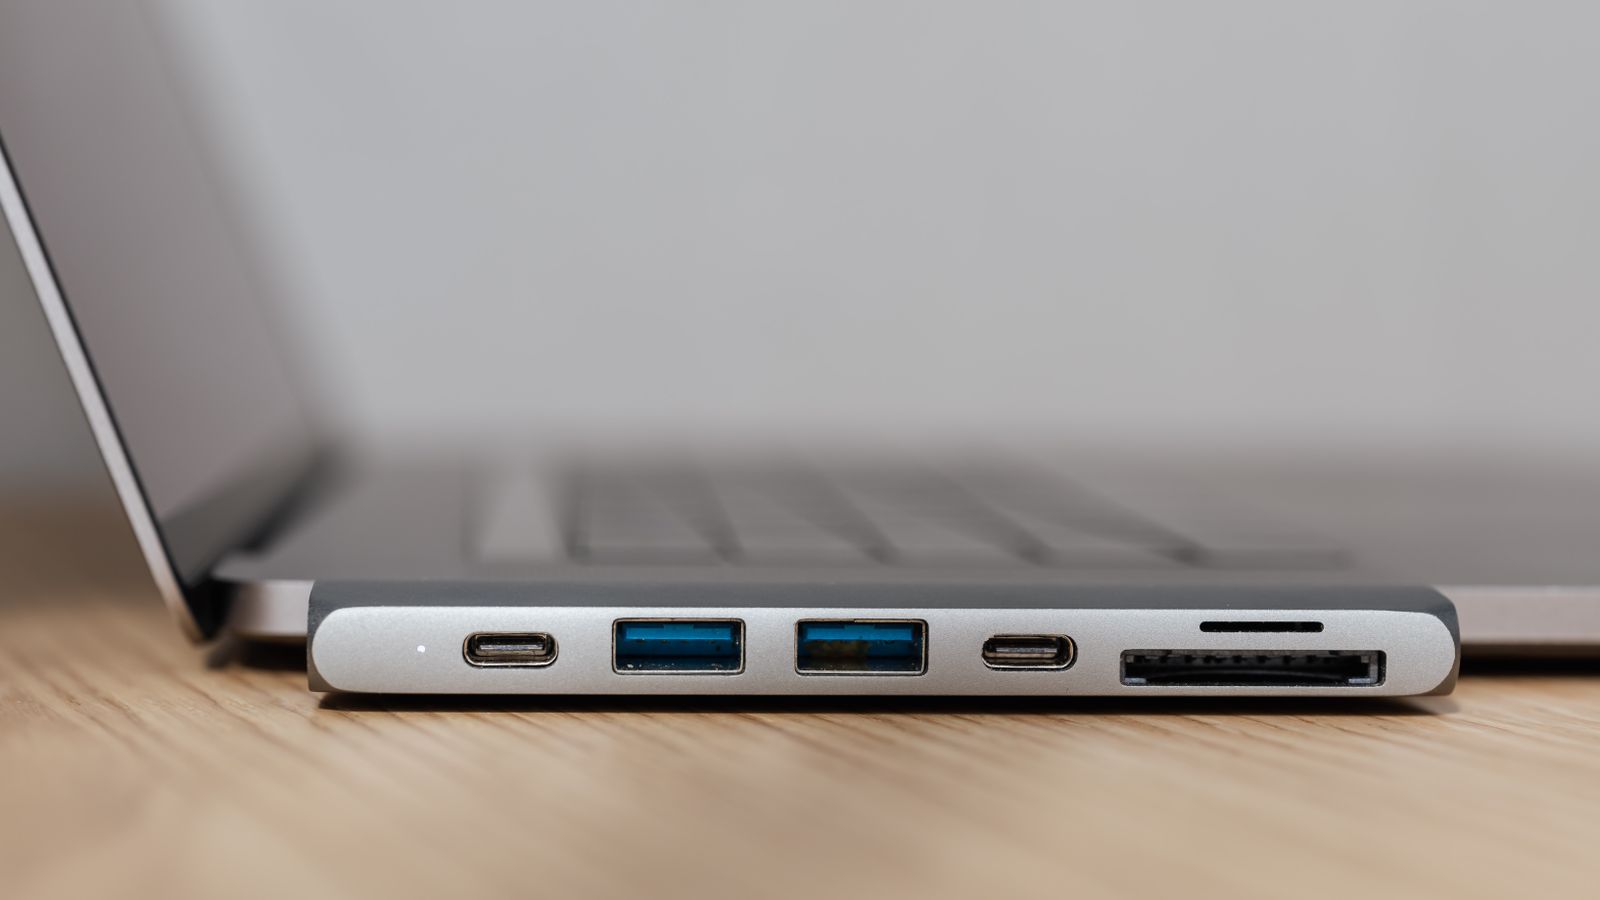
Most laptops today ship with only two or three ports, and none of them are the full-size HDMI, Ethernet, or SD card slots that professionals still rely on. Without a hub or dock, you end up juggling dongles, unplugging and replugging cables every time you move from your desk to a meeting room, and risking a wobbly connection that drops your external display mid-task. A single well-chosen accessory solves all of this at once, letting you connect your monitor, charger, keyboard, mouse, and storage through one cable — or in the case of a dock, one click.
USB-C Hub vs Laptop Docking Station: What’s the Difference
Both devices expand your laptop’s connectivity, but they serve slightly different needs.
USB-C Hub
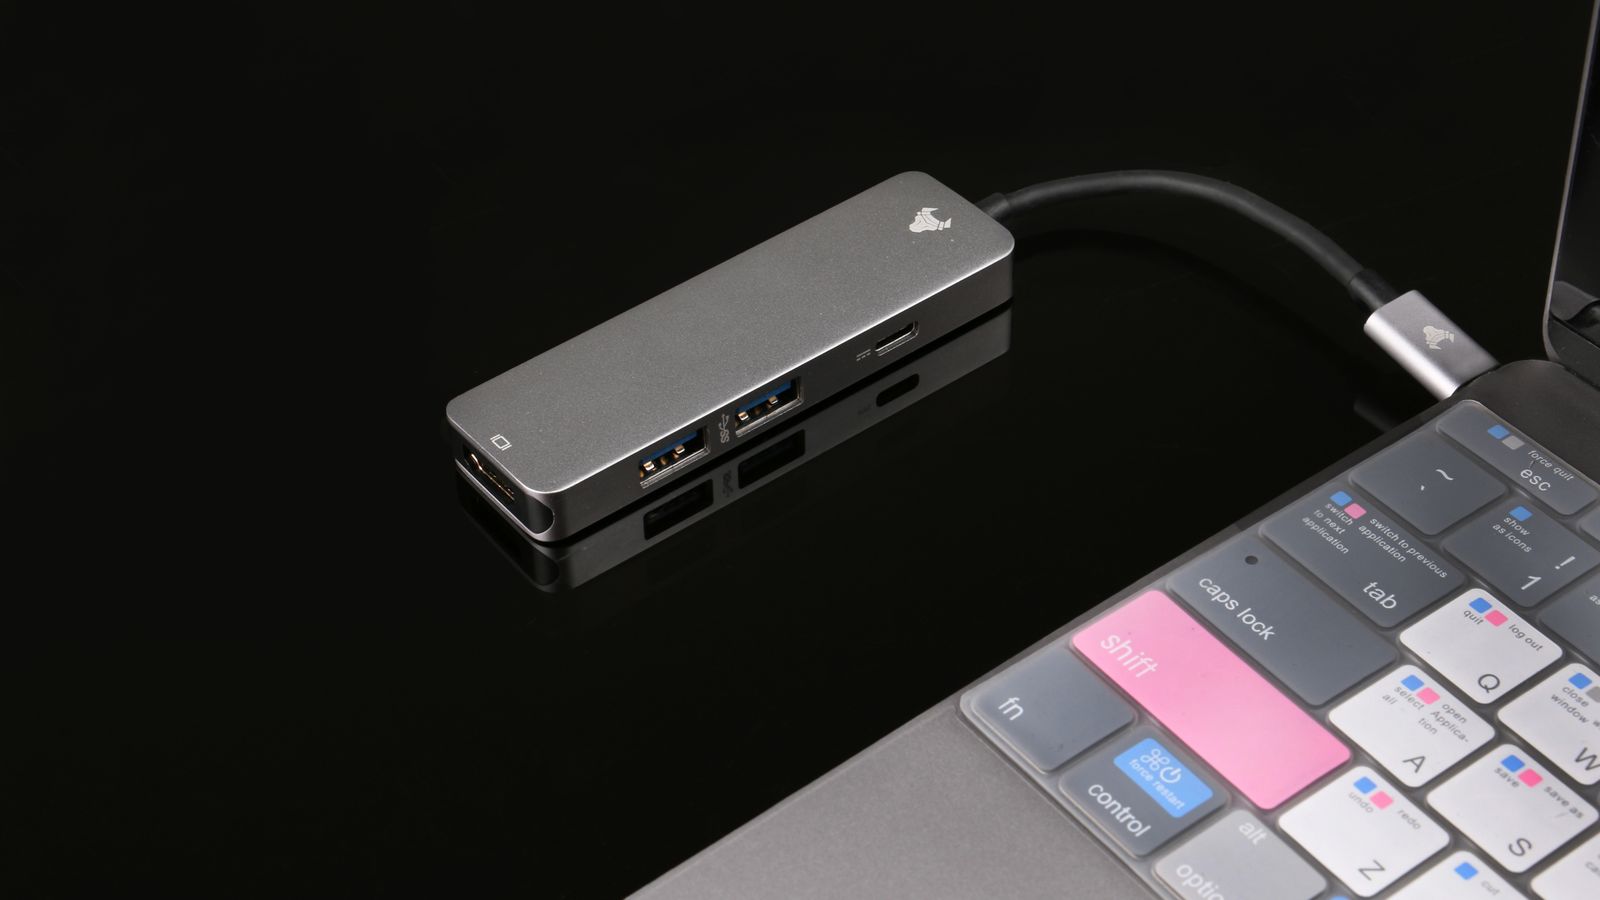
A USB-C hub is a small, portable adapter that plugs directly into your laptop’s USB-C port and fans out into multiple connections — typically HDMI or DisplayPort, USB-A, an SD card reader, and sometimes Ethernet. Hubs are compact, affordable, and ideal if you travel often or only need to add a display and a couple of accessories.
Laptop Docking Station
A docking station is a larger, desk-anchored hub that usually supports more ports, higher power delivery, and often dual or triple monitor output. Many docks use a single cable to both charge your laptop and drive multiple displays, and some let you “dock” your laptop with one connection rather than plugging in each peripheral separately. Docks are the better choice for a permanent desk setup where you want maximum simplicity every time you sit down.
If you’re still comparing models, browsing a curated list of USB-C hubs or a roundup of laptop docking stations is a good way to see current options side by side before you commit.
What You’ll Need Before You Start
- Your laptop, with the make/model and available ports noted (USB-C, Thunderbolt, USB-A)
- A USB-C hub or docking station compatible with your laptop’s port and power requirements
- Your external monitor(s), along with their cable type (HDMI, DisplayPort, USB-C)
- A power adapter for the hub or dock, if it isn’t laptop-powered
- Any additional peripherals you want connected: keyboard, mouse, external drive, Ethernet cable
How to Set Up Your Monitor and Laptop with a USB-C Hub or Dock
- Confirm your laptop’s port type and video support. Not every USB-C port carries a video signal. Check your laptop’s specifications to confirm it supports DisplayPort Alt Mode or Thunderbolt over USB-C, since this is what allows a hub to output video to an external monitor.
- Choose a hub or dock that matches your monitor count and resolution. If you only need one external display at standard resolution, a compact hub is enough. If you run two or three monitors, or want 4K at 60Hz, look specifically for a dock rated to handle that bandwidth — this is where checking a list of best monitors for home offices alongside your dock’s specs helps you match resolution and refresh rate correctly.
- Connect the hub or dock to your laptop. Plug the USB-C connector firmly into your laptop’s port. For docking stations, this is typically the only cable you’ll need to connect each time you sit down.
- Attach your monitor cable to the hub or dock. Use the HDMI, DisplayPort, or USB-C output that matches your monitor. If your hub has multiple video outputs, note which port maps to which display for a smoother multi-monitor setup later.
- Plug in your peripherals. Connect your keyboard, mouse, external drive, and Ethernet cable into the hub or dock’s remaining ports rather than directly into your laptop.
- Connect power. If your hub or dock supports pass-through charging, plug your laptop’s power adapter into the hub instead of the laptop directly — this keeps your laptop charged while using only one cable.
- Power on and configure your displays. Once everything is connected, go into your operating system’s display settings to arrange monitor positions, set resolution, and choose extended or mirrored display mode.
- Test each connection. Move a window across every screen, type on the external keyboard, and transfer a small file to confirm data ports are working, not just power and video.
- Label or route your cables. Once you’re confident everything works, use cable clips or a sleeve to route wires along your desk edge so the single hub or dock cable is the only thing you touch daily.
Safety and Performance Notes
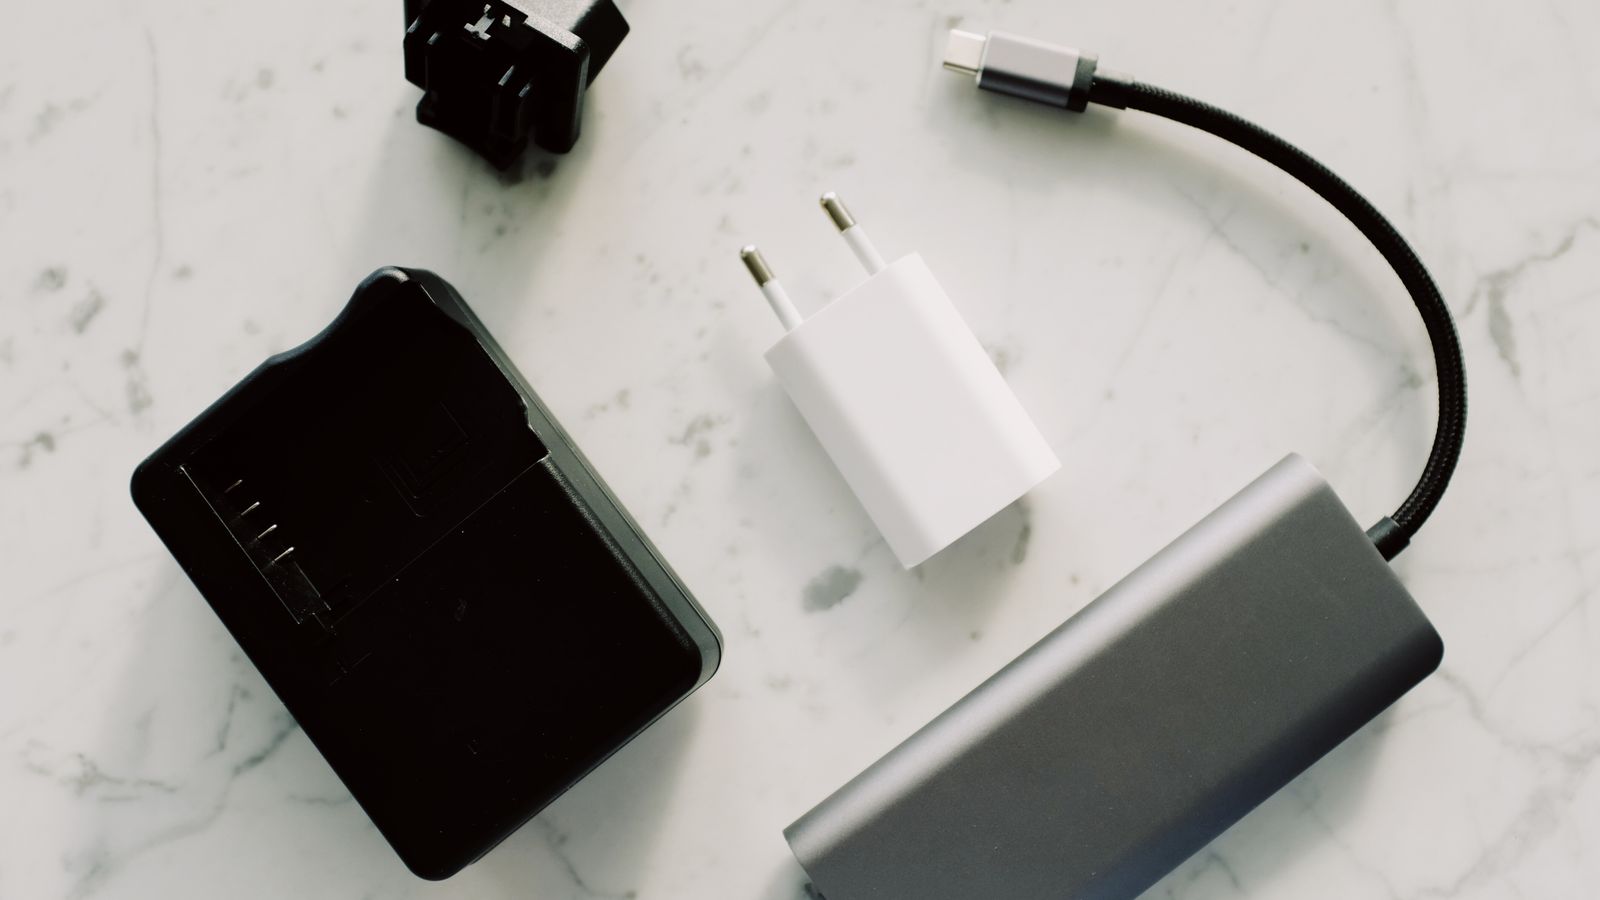
Cheap, uncertified hubs can deliver inconsistent power or overheat under sustained use, so it’s worth spending a little more on a unit with proper certification and adequate power delivery (65W or higher if you’re also charging your laptop through it). Avoid stacking multiple 4K displays on a hub that isn’t rated for the combined bandwidth — this is a common cause of flickering or dropped signals. If you’re regularly transferring large files, prioritize a hub or dock with USB 3.0 or higher data ports rather than relying solely on USB 2.0 speeds for storage devices.
Common Mistakes to Avoid
- Buying based on port count alone. A hub with ten ports is useless if its video output can’t handle your monitor’s resolution or refresh rate.
- Ignoring power delivery wattage. If the hub can’t pass enough power through to your laptop, your battery will slowly drain even while “charging.”
- Mixing incompatible cable standards. Not all USB-C cables carry video or full power; using a cheap charge-only cable between your laptop and hub can leave your monitor blank.
- Overloading a single hub with high-bandwidth devices. Running two 4K monitors and a fast external SSD off a basic hub can exceed its total bandwidth, causing lag or disconnects.
- Skipping a dedicated monitor arm or stand. A tidy cable setup still looks cluttered if your monitor itself isn’t positioned at eye level — pairing your hub with a proper stand keeps the whole desk clean.
Maintaining a Clean Setup Long-Term
Once your hub or dock is installed, periodic maintenance keeps everything running smoothly. Dust out the ports every few months, check for firmware updates if your dock supports them, and re-seat cables if you notice intermittent video or charging issues. If you eventually add a second monitor or switch to a laptop with different port requirements, revisit your hub or dock’s specifications before assuming it will still meet your needs — bandwidth and power requirements scale quickly with additional displays.
Frequently Asked Questions
Can a USB-C hub power my laptop and run a monitor at the same time?
Yes, as long as the hub supports USB Power Delivery (PD) pass-through with sufficient wattage for your laptop model. Check the hub’s PD rating against your laptop’s charger wattage before relying on it as your sole power source.
Do I need a docking station instead of a hub?
If you only need one external monitor and a couple of accessories, a hub is usually enough. If you run multiple monitors, want a single-cable desk setup, or need higher power delivery, a docking station is the better long-term choice.
Why does my external monitor flicker or disconnect randomly?
This is usually caused by a hub or dock that can’t handle the combined bandwidth of your monitor’s resolution and refresh rate, or a loose/low-quality cable. Try a shorter, certified cable first, then confirm the hub’s specifications match your monitor’s requirements.
Will a USB-C hub work with any laptop?
Only if your laptop’s USB-C port supports video output (DisplayPort Alt Mode or Thunderbolt). Charging-only USB-C ports will not send a video signal to an external monitor no matter which hub you use.
How many monitors can I run through one dock?
This depends entirely on the dock’s chipset and your laptop’s graphics capabilities. Many docks support two external displays, while higher-end models rated for Thunderbolt can support three, though your laptop’s own specifications still set the upper limit.
Simplifying your monitor and laptop setup comes down to matching the right hub or dock to your actual needs — number of displays, power requirements, and how often you move between locations. Get that match right, and you’ll go from a cluttered, cable-heavy desk to a single-connection workstation you can sit down at and start working in seconds.









