

A cluttered desk with a laptop balanced on a stack of books and cables snaking everywhere is not just unsightly — it slows you down every time you sit to work. If you use a laptop as your primary machine but want the comfort of a full desktop setup, pairing a laptop stand with a laptop docking station is the single best upgrade you can make. Together they raise your screen to eye level, free up your hands for a real keyboard and mouse, and let you connect an external monitor with one cable instead of five. This guide walks you through exactly how to plan, connect, and organize your monitor and laptop setup so everything works together instead of fighting for desk space.
Why You Need Both a Laptop Stand and a Docking Station
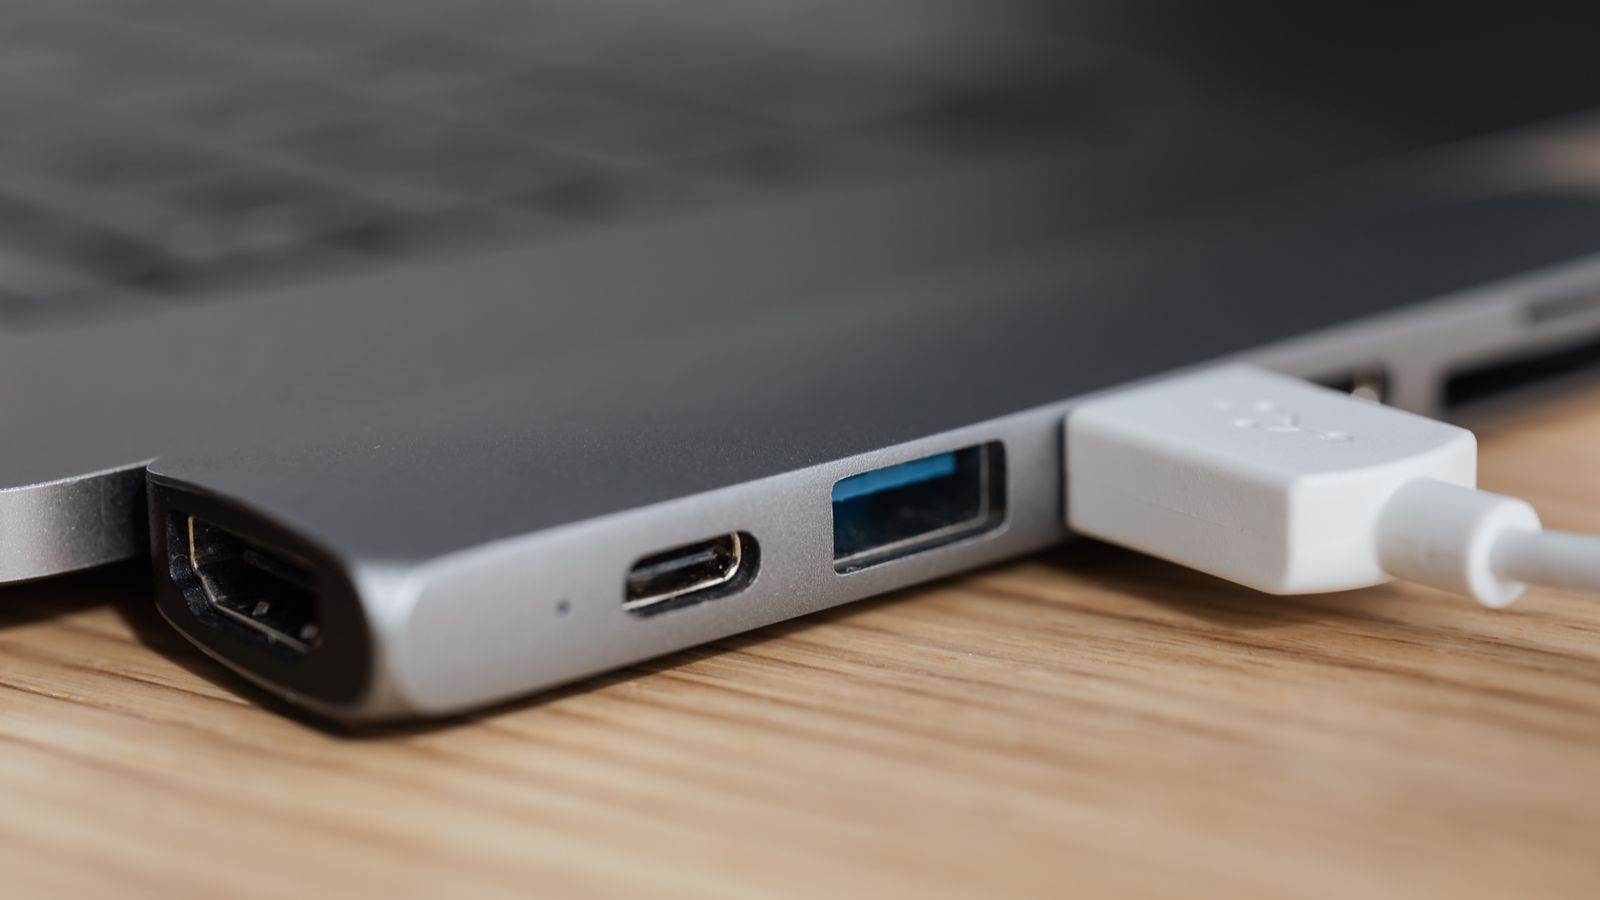
It’s tempting to buy just one accessory and assume it solves the whole problem, but a stand and a dock actually solve two different issues. A laptop stand fixes your posture: it lifts the built-in screen to roughly eye level so you’re not hunching your neck forward for hours at a time. A docking station fixes your connectivity: it lets a single cable carry video, power, network, and USB data between your laptop and everything else on your desk. When you combine the two, your laptop becomes a secondary or tertiary screen sitting neatly at the back of your desk, while your primary display, keyboard, mouse, and other peripherals plug into the dock instead of directly into your laptop’s limited ports.
This setup matters most if you work from a laptop full time, switch between office and home, or simply want a cleaner desk. Instead of unplugging four or five individual cables at the end of the day, you disconnect a single dock connector and take your laptop with you.
What You’ll Need Before You Start
- A laptop stand rated for your laptop’s weight and screen size (most aluminum stands handle 11–17 inch laptops).
- A laptop docking station compatible with your laptop’s port — USB-C/Thunderbolt is the most common today, though some older laptops use USB-A hubs.
- An external monitor, or two, depending on how many displays your dock and laptop’s graphics chip can support.
- A monitor mount or monitor arm if you want to free up desk depth (optional but recommended).
- A USB keyboard and mouse, since the laptop’s built-in keyboard becomes hard to reach once it’s elevated.
- Enough desk depth to fit the stand behind or beside your monitor without crowding your arms.
Before buying anything, check your laptop’s available ports and your monitor’s input type (HDMI, DisplayPort, or USB-C) so the dock you choose actually bridges the two without extra adapters.
Step 1: Choose the Right Laptop Stand for Your Desk
Start with the stand, since it determines how your whole setup is oriented. Look for a stand with adjustable height and tilt so you can match the top third of the laptop screen to your eye line when sitting upright. Foldable aluminum stands are a good middle ground — they’re sturdy enough for daily use, ventilated to help with cooling, and portable if you move between rooms. If you want your laptop completely out of the way, a vertical stand that docks the laptop closed (clamshell mode) next to your monitor works well, though it requires an external keyboard, mouse, and webcam since the built-in ones are inaccessible.
If you’re unsure which style fits your workflow, browsing a curated list of laptop stands is the fastest way to compare weight capacity, adjustability, and price before committing.
Step 2: Pick a Docking Station That Matches Your Ports
Once the stand is sorted, focus on the dock. The right docking station depends entirely on what your laptop supports:
- USB-C/Thunderbolt docks are the simplest — one cable delivers video, data, and charging power to the laptop, and the dock fans out to monitors, Ethernet, and USB peripherals.
- USB-A hubs work for older laptops without USB-C but usually can’t pass through charging power, so you’ll still need the original laptop charger plugged in separately.
- Dual-monitor docks are worth the extra cost if you plan to run two external displays plus the laptop screen, since not every dock or laptop graphics chip supports three simultaneous displays.
Check the maximum resolution and refresh rate the dock supports (for example, 4K at 60Hz) against your monitor’s specs — a mismatch here is the most common reason people end up with a flickering or capped-resolution display. Compare a range of tested options in this roundup of laptop docking stations before buying.
Step 3: Position the Stand, Dock, and Monitor on Your Desk
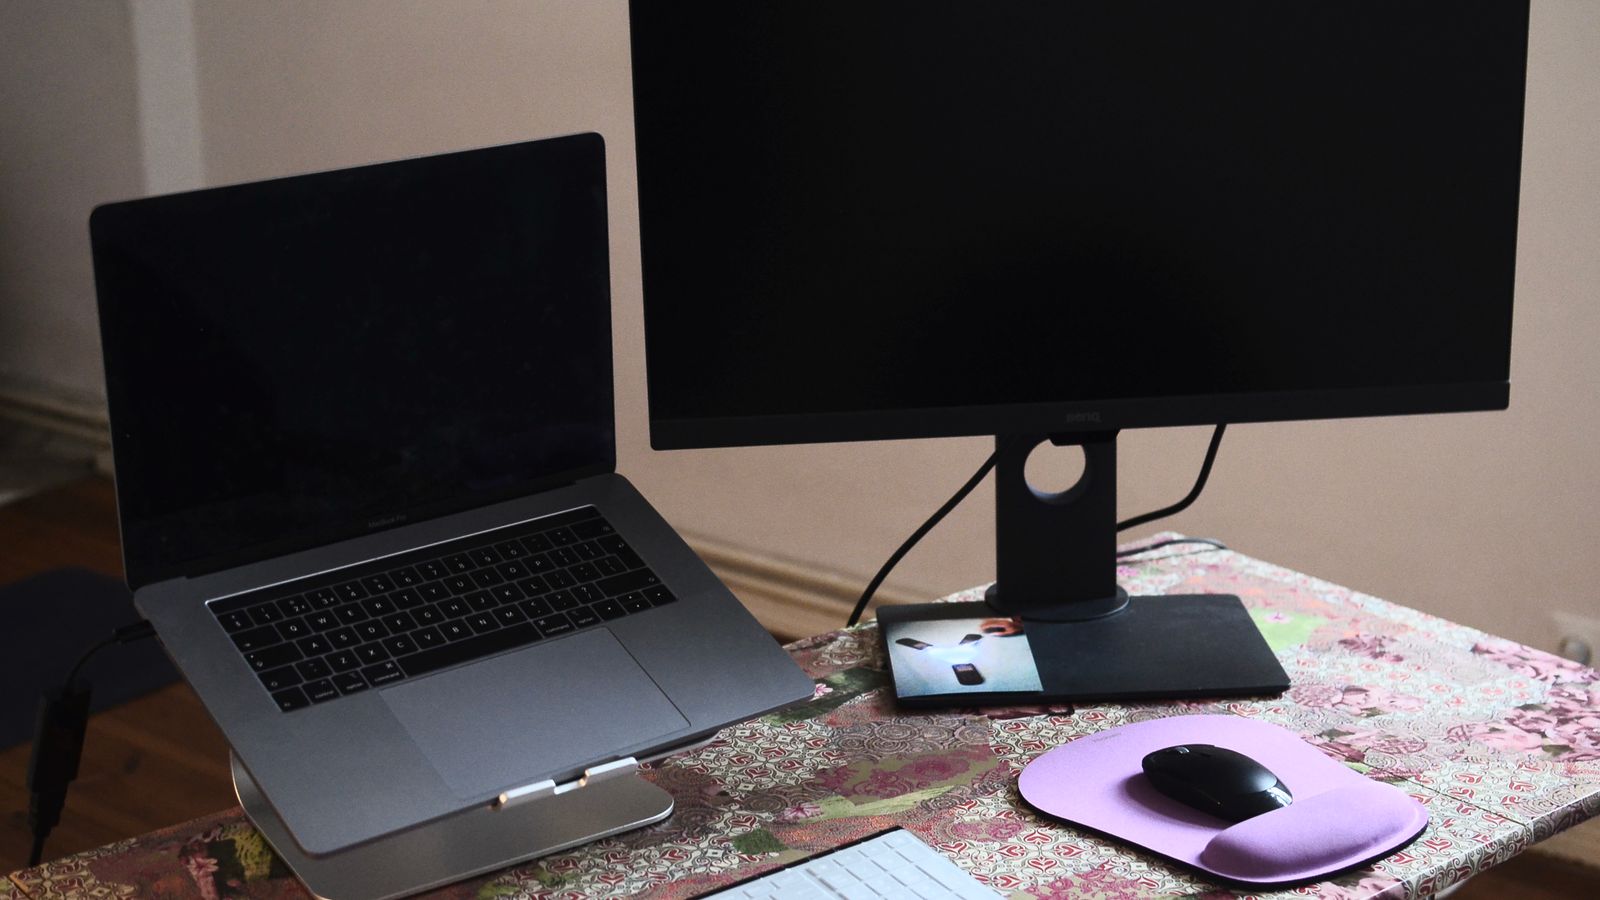
- Place your external monitor directly in front of your seating position, centered with the top of the screen roughly at or slightly below eye level.
- Set the laptop stand off to one side (or behind the monitor if desk depth allows), angled so the laptop screen can still serve as a secondary display without turning your head too far.
- Mount the docking station within easy reach — many people tuck it just behind the monitor or attach it under the desk with a bracket to keep the desktop surface clear.
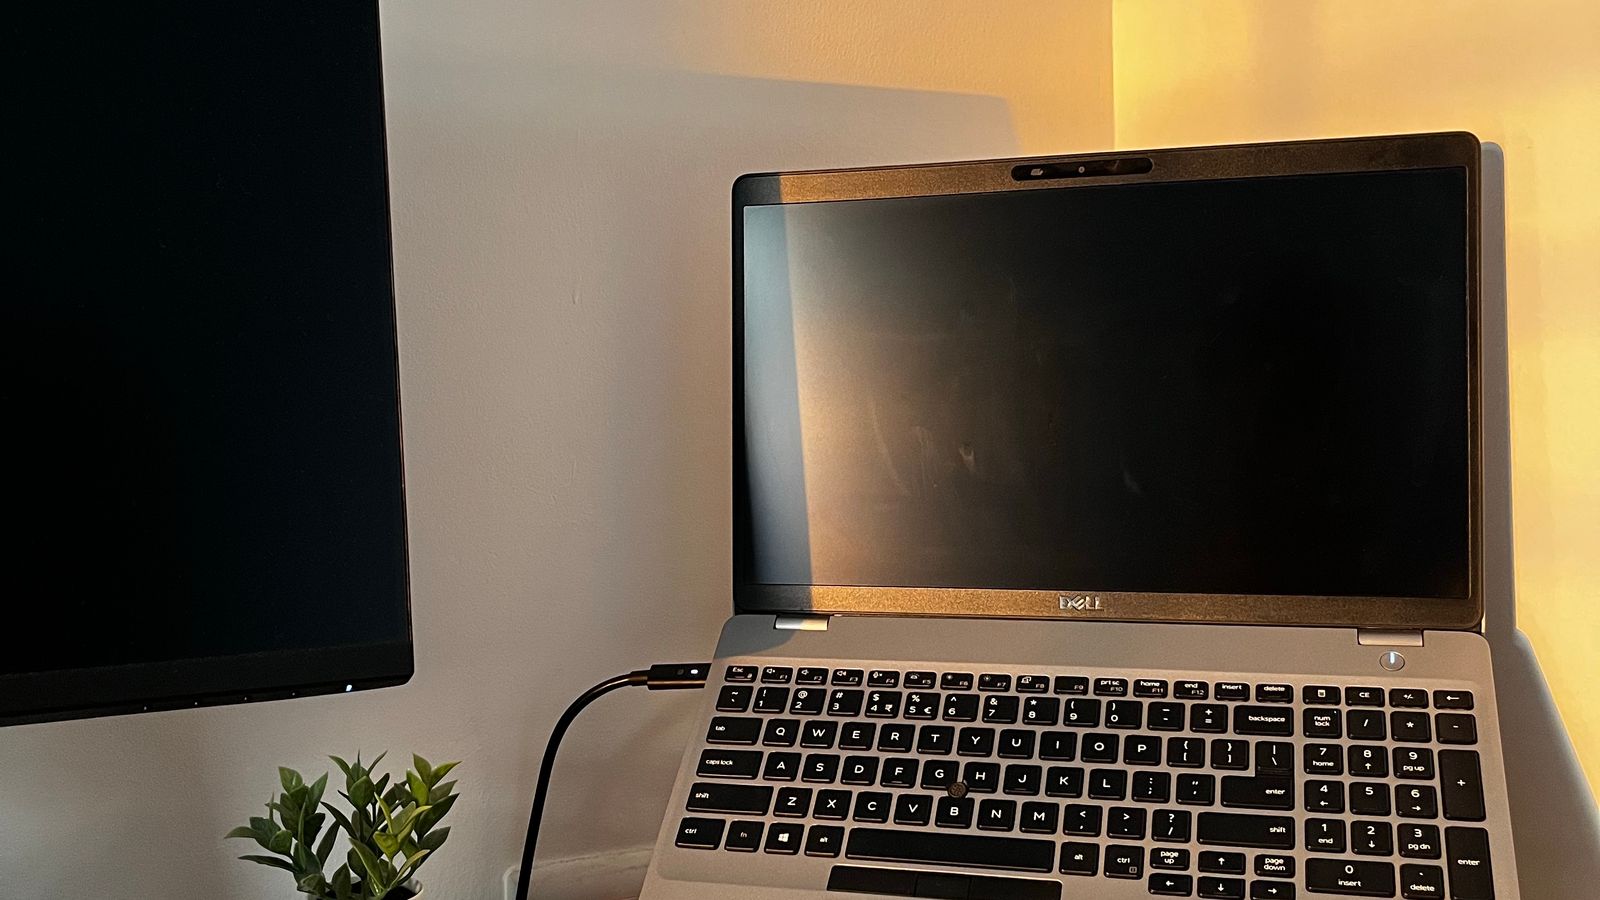
- Run the single dock cable from the dock to the laptop’s USB-C or USB-A port; this is now the only connection you’ll plug and unplug daily.
- Connect your monitor, keyboard, mouse, Ethernet, and any other peripherals into the dock itself, not the laptop.
Step 4: Configure Your Display Settings
With everything physically connected, open your operating system’s display settings to arrange the monitors correctly. Drag the display icons to match their real-world positions (laptop on the left, monitor on the right, for example) so your mouse cursor moves naturally between screens. Choose “Extend” rather than “Duplicate” if you want more usable screen space, and set the external monitor as your primary display so windows open there by default. If text looks too small or too large, adjust the scaling percentage for each screen individually rather than relying on a single global setting.
Step 5: Manage Cables and Add a Monitor Mount
Once the connections are confirmed working, take a few minutes to tidy up. Bundle the dock’s outgoing cables with reusable ties or a cable sleeve so they run along the back edge of the desk instead of hanging in your lap. If your desk is shallow or you want the monitor to sit closer to the wall, adding one of the best monitor mounts frees up desk depth by lifting the display off its stock stand entirely, giving you room to slide the laptop stand and dock further back.
A short strip of adhesive cable clips along the underside of the desk also keeps the dock cable and power brick from sliding around every time you move the laptop.
Common Mistakes to Avoid
- Buying a dock before checking laptop ports. A Thunderbolt dock is wasted on a laptop that only has USB-A, and vice versa.
- Ignoring wattage on charging docks. If the dock’s power delivery is lower than your laptop’s charger, the battery may drain slowly even while “charging.”
- Setting the stand too high or too low. Eye level should hit roughly the top third of the screen — too high strains your neck upward, too low causes slouching.
- Overloading a single dock with too many displays. Check the dock’s official specification sheet rather than assuming it supports whatever monitors you already own.
- Forgetting cable management until after the setup is “done.” It’s much easier to route cables while the desk is still open than to redo it later.
Maintaining an Organized Setup Over Time
Once your stand and dock are dialed in, keep the system tidy by resisting the urge to add “just one more” peripheral directly to the laptop’s own ports — route new devices through the dock so the single-cable convenience stays intact. Periodically check that firmware or driver updates for your dock are installed, since manufacturers occasionally release fixes for resolution or charging bugs. If you upgrade to a new laptop down the line, verify the dock’s port type still matches before assuming your existing accessories will carry over.
Frequently Asked Questions
Do I need both a stand and a dock, or just one?
You can use either on its own, but combining them solves both problems at once: the stand improves posture and screen height, while the dock reduces cable clutter and adds connectivity your laptop alone doesn’t have.
Can I use a laptop dock without an external monitor?
Yes — a dock is still useful for adding a keyboard, mouse, Ethernet, and extra USB ports even if you’re only using the laptop’s built-in screen on a stand.
Will a docking station slow down my laptop’s performance?
No, a quality dock simply passes data and video through; it doesn’t add processing overhead. Performance issues are almost always due to an outdated dock driver or an underpowered USB port, not the dock itself.
How many monitors can I run through one dock?
It depends on the dock and your laptop’s graphics capability — most support one or two external displays, while higher-end Thunderbolt docks can support two 4K monitors simultaneously.
Do I still need the laptop’s original charger?
Only if your dock doesn’t support power delivery at a wattage equal to or greater than your laptop’s charger. Many USB-C docks handle charging entirely, letting you retire the separate power brick.
Building an organized monitor and laptop setup doesn’t require an expensive overhaul — it just requires choosing a stand and dock that actually match your hardware, then taking a few extra minutes to route cables and configure your displays properly. Once it’s in place, sitting down to work becomes as simple as plugging in one cable.









