

A fresh coat of wax is one of the cheapest ways to protect your car’s paint from sun, rain, and road grime while giving it a showroom shine. But if you rush the process or use the wrong technique, you can end up with streaks, hazy patches, or wax buildup in trim and seams. This guide walks you through exactly how to set up and apply car wax the right way, from gathering supplies to buffing the final coat, so you get a durable, even finish every time.
What You’ll Need Before You Start
Waxing goes faster and looks better when everything is within reach before you begin. Here’s a basic supply checklist:
- A quality car wax — paste, liquid, or spray, depending on your experience level and how much time you have
- Foam or microfiber applicator pads
- Several clean, lint-free microfiber towels for buffing
- A pH-neutral car wash soap and two wash buckets (one for soap, one for rinsing)
- A clay bar or clay mitt for removing embedded contaminants (optional but recommended)
- Painter’s tape to protect trim, badges, and rubber seals if your wax tends to stain plastic
If your car hasn’t been detailed in a while, keep a trash bag or small bin nearby for used towels and packaging — a tidy work area makes the whole job easier to manage from start to finish.
Step-by-Step: How to Apply Car Wax
- Wash and dry your car thoroughly. Wax should never go on top of dirt, dust, or bird droppings, since trapping debris under a wax layer can scratch the paint during buffing. Use the two-bucket wash method, rinse completely, and dry with a clean microfiber towel or a leaf blower to avoid water spots.
- Park in the shade on a cool, dry day. Direct sunlight and hot paint cause wax to dry too fast, making it difficult to spread evenly and much harder to buff off. Aim for a shaded spot with a surface temperature between roughly 50°F and 80°F.
- Decontaminate the paint if needed. Run your hand over the hood after washing — if it feels gritty rather than glass-smooth, use a clay bar or clay mitt with a lubricant spray to lift embedded contaminants before waxing. Skipping this step traps grit under the wax and creates fine scratches.
- Apply a small amount of wax to your applicator pad. A pea-sized dab is usually enough for a section of a body panel. Overloading the pad wastes product and makes buffing harder.
- Work in small, overlapping sections. Apply the wax in thin, even circular or straight-line motions, covering one panel — like a hood or door — at a time rather than the whole car at once. Thin coats cure more evenly and buff off far more easily than thick ones.
- Let the wax haze before buffing. Most waxes need a few minutes to dry to a light haze; check the product label for the exact time. You’ll know it’s ready when a light swipe with your finger leaves a clear streak.
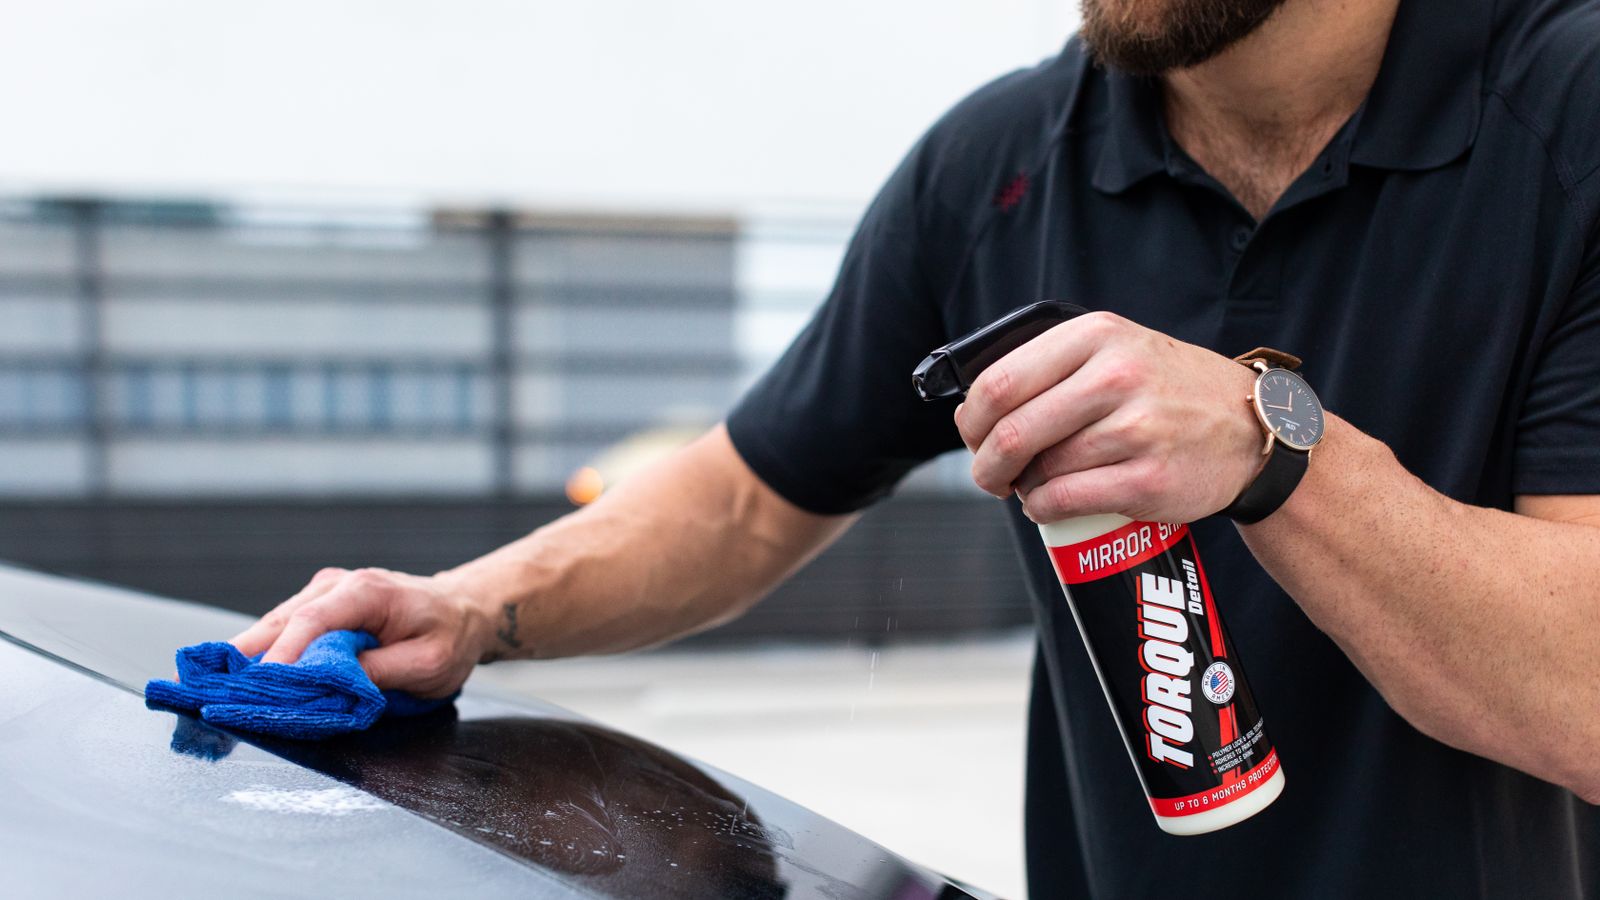
- Buff to a shine with a clean microfiber towel. Use light, even pressure and fold the towel frequently to expose a clean surface. Buff in straight lines rather than circles for the most even finish, and switch to a second towel for a final polish pass.
- Check trim, seams, and emblems for leftover residue. Wax loves to hide in body lines, badge edges, and rubber trim. A detailing brush or a toothbrush wrapped in a microfiber cloth works well for these tight spots.
Safety and Prep Tips
- Wear nitrile or latex gloves if you have sensitive skin, since some waxes contain solvents that can dry it out.
- Work in a well-ventilated area, especially with spray or aerosol waxes.
- Never wax over a hot engine hood or in direct midday sun — besides making the job harder, it can also cause uneven curing that shows up as cloudy patches later.
- Test a new wax on a small, inconspicuous panel first if your car has a matte, satin, or ceramic-coated finish, since not all waxes are compatible with these surfaces.
Common Mistakes to Avoid
Even experienced DIYers run into the same handful of waxing problems. Watch out for these:
- Applying too much product. A thick layer doesn’t mean better protection — it just means more effort to buff off and a higher chance of streaking.
- Waxing a dirty or wet car. Any leftover moisture or grime will get sealed under the wax, dulling the finish and shortening how long the protection lasts.
- Letting wax dry too long before buffing. If wax sits for hours instead of minutes, it can bond too tightly to the paint and become difficult to remove without extra product or elbow grease.
- Ignoring plastic trim and rubber seals. Some waxes leave a white residue on unpainted plastic that’s a hassle to scrub off later — tape these areas off first if you’re unsure.
- Using old, dried-out towels. A towel with caked-on wax or dirt will scratch the clear coat instead of buffing it smooth. Wash your applicators and microfiber towels regularly and retire any that feel stiff or gritty.
How Often Should You Wax Your Car?
Most traditional carnauba and synthetic waxes last anywhere from four to twelve weeks, depending on the product, your climate, and how often the car is washed or exposed to sun and rain. As a general rule:
- Spray waxes: reapply every 2–4 weeks for a quick refresh
- Paste and liquid waxes: reapply every 6–8 weeks
- Ceramic-boosted waxes: can last 3–6 months depending on the formula
A simple way to check is the water-bead test — if water no longer beads up tightly and sheets off the paint, it’s time to wax again.
Keeping Your Car Clean Between Waxes
Protecting a fresh wax job doesn’t stop at the paint. Keeping the cabin tidy helps too — loose wrappers, cups, and trash rubbing against interior panels can track grime onto door sills and carpets that eventually finds its way outside. A dedicated car trash can keeps clutter contained and makes it easier to maintain a clean vehicle overall, inside and out. If you’re already investing time in your car’s appearance, it’s also worth thinking about affordable dash cameras to help protect that investment from accidents, break-ins, and parking-lot dings.
Frequently Asked Questions
Can I wax my car in direct sunlight?
It’s best to avoid it. Heat causes wax to dry too quickly, making it much harder to spread and buff evenly, and can lead to streaking or hazy spots.
Do I need to wash my car before every wax application?
Yes. Waxing over dirt or residue traps contaminants against the paint and can cause fine scratches when you buff it off.
Is paste wax better than liquid or spray wax?
Paste waxes often provide slightly deeper gloss and longer-lasting protection, but liquid and spray waxes are faster to apply and better for frequent touch-ups. The “best” option really depends on how much time you want to spend and how often you’re willing to reapply.
What’s the difference between wax and ceramic coating?
Traditional wax is a sacrificial protective layer that wears away over weeks and needs regular reapplication. Ceramic coatings bond more permanently to the paint and can last a year or more, but they cost more and typically require professional application for best results.
Can I apply wax with a machine buffer instead of by hand?
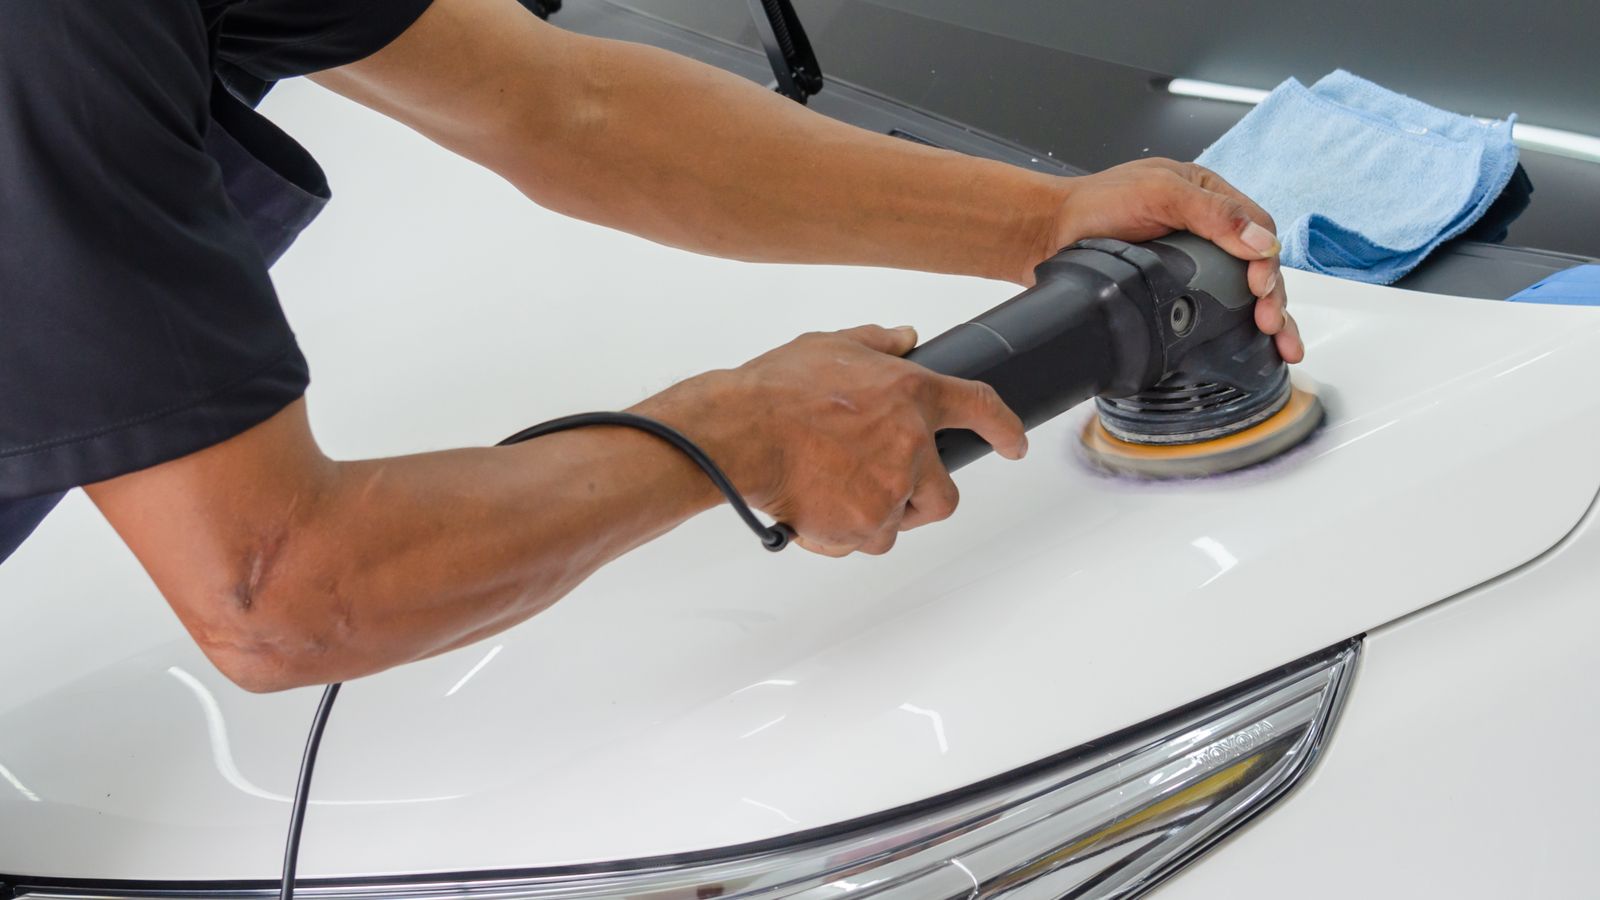
Yes, a dual-action polisher can speed up both application and buffing, especially on larger vehicles. Just use a light touch and a clean pad, since machine buffing spreads product much faster than doing it by hand.
Final Thoughts
Setting up your car wax routine correctly comes down to a few fundamentals: start with clean, dry paint, work in the shade, apply thin coats in small sections, and buff with clean microfiber towels. Follow these steps consistently every few weeks and your car’s finish will stay protected, glossy, and noticeably easier to keep clean between full details.









