

A chair assembly kit is easy to forget about once your office chair is built and rolling — until a wobbly base, a stripped bolt, or a squeaky bracket reminds you it exists. Since the kit holds together the base, casters, gas cylinder mount, and backrest, worn or damaged hardware can turn a solid chair into a safety risk. Knowing how often to replace your chair assembly kit, and which warning signs to watch for, keeps your seating stable and prevents small hardware problems from becoming bigger, more expensive ones.

What’s Actually in a Chair Assembly Kit?
Before you can judge when to replace one, it helps to know what it includes. A typical chair assembly kit contains the bolts, screws, washers, Allen wrenches, plastic caps, brackets, and sometimes replacement casters or a cylinder collar used to attach the seat, back, base, and armrests. Some kits are sold as standalone maintenance packs specifically for re-tightening or replacing worn fasteners on an existing chair, rather than assembling a brand-new one.
Because these components are made from a mix of metal and plastic, they age differently. Metal bolts and brackets can loosen or corrode over years of use, while plastic caps, washers, and cam locks tend to crack or wear down faster, especially with frequent adjustment or rolling movement.
Signs Your Chair Assembly Kit Needs Replacing
Most assembly kits don’t fail all at once — they show gradual signs of wear first. Watch for these indicators:
- Persistent wobbling in the seat or base even after re-tightening every visible bolt.
- Stripped screw heads that no longer grip your Allen wrench or screwdriver properly.
- Cracked or missing plastic caps over bolt holes, which exposes hardware to dust and moisture.
- Squeaking or grinding noises from the base or backrest connection points during normal movement.
- Rust or corrosion on metal bolts and brackets, especially in humid rooms or garages used as home offices.
- Loose casters that wobble side to side instead of rolling smoothly, which often points to a worn stem or mounting hardware.
If you notice two or more of these signs together, it’s usually more efficient to replace the full kit rather than hunting for individual mismatched parts.
How Often Should You Replace It? Typical Replacement Intervals
There’s no single fixed timeline, since wear depends heavily on how often the chair is used, adjusted, and moved. That said, a few general guidelines apply to most home and office setups:
Light home use (a few hours a day)
For a chair used casually a few hours a day, the original assembly hardware often lasts 3 to 5 years before bolts start loosening or plastic caps become brittle. Annual tightening checks can extend this significantly.
Daily full-time office use
Chairs used 6-8 hours a day, especially ones that get adjusted frequently or rolled across hard flooring, tend to show hardware wear within 2 to 3 years. Higher weight loads and more frequent recline/tilt use accelerate stress on bolts and brackets.
Shared or high-traffic chairs
Chairs used by multiple people, such as in shared workspaces, classrooms, or family offices, often need hardware inspection every 12 to 18 months because different users apply different amounts of force when adjusting height or recline.
Regardless of category, if your chair starts wobbling, squeaking, or feels less stable than it used to, treat that as the real signal to replace the kit — not a calendar date.
How to Inspect Your Chair’s Hardware
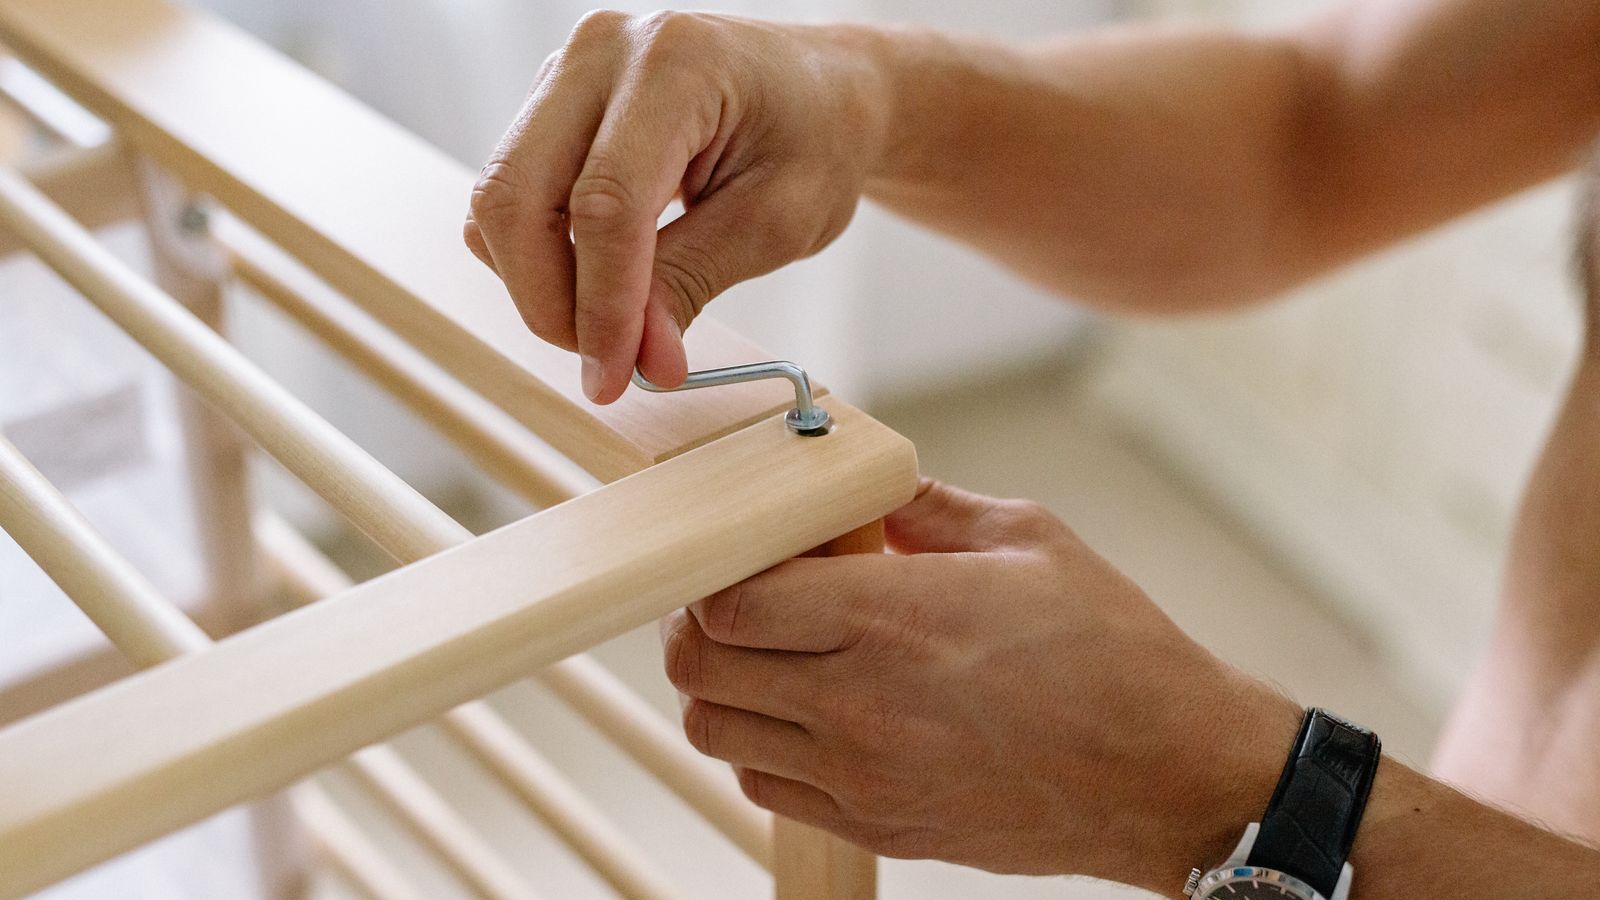
A quick inspection routine every few months can catch problems before they cause instability. Here’s a simple process to follow:
- Flip the chair over or tilt it back so you can access the base and seat-mounting bolts.
- Check each visible bolt and screw with the appropriate Allen wrench or screwdriver, tightening any that have loosened.
- Inspect plastic caps and washers for cracks, discoloration, or missing pieces.
- Spin each caster by hand to check for wobble, grinding, or resistance that suggests worn hardware or a damaged stem.
- Look at the base-to-cylinder connection and backrest brackets for rust, stripped threads, or visible gaps.
- Sit in the chair and gently rock side to side and front to back, noting any creaking or shifting that wasn’t there before.
If you find stripped threads, cracked brackets, or casters that won’t stop wobbling after tightening, it’s time to source a replacement kit rather than continuing to patch individual pieces.
Choosing a Replacement Kit
When your existing hardware is beyond simple tightening, look for a kit that matches your chair’s mounting pattern and bolt sizes. Universal Chair Assembly Kits typically include a range of bolt lengths, washers, and Allen wrenches designed to fit most standard office chair bases, making them a practical option if you no longer have the original hardware documentation.
If the wobble is coming specifically from the wheels rather than the seat or backrest connections, you may only need new casters instead of a full kit. Checking options like rolling chair wheels for hardwood can solve caster-specific noise or instability without replacing every bolt and bracket in the chair.
Common Mistakes to Avoid
- Over-tightening bolts — this can strip threads or crack plastic components, making the problem worse rather than fixing it.
- Mixing metric and imperial hardware — using the wrong bolt size can damage threads permanently, even if it seems to “fit” at first.
- Ignoring small squeaks — a minor noise today often signals a loosening bracket that will fail completely within months if left unaddressed.
- Skipping lubrication — a small amount of silicone-based lubricant on moving joints can reduce wear on both metal and plastic components.
- Replacing only the visible parts — if one bolt has stripped threads, nearby hardware under similar stress is often close behind it.
Extending the Life of Your Chair Assembly Kit
A few simple habits can meaningfully delay the need for replacement:
- Re-tighten all visible bolts every 3 to 6 months, especially after moving the chair to a new room.
- Keep the chair on appropriate flooring for its casters — hard casters on hardwood, for example, cause more strain than soft casters designed for that surface.
- Avoid exceeding the chair’s weight capacity, which puts extra stress on every bolt and bracket in the assembly.
- Store spare washers and caps from the original kit so you can replace small worn pieces without buying a full new set right away.
- Wipe down metal hardware occasionally to prevent rust buildup, particularly in garages, basements, or humid climates.
When to Consider Additional Chair Accessories
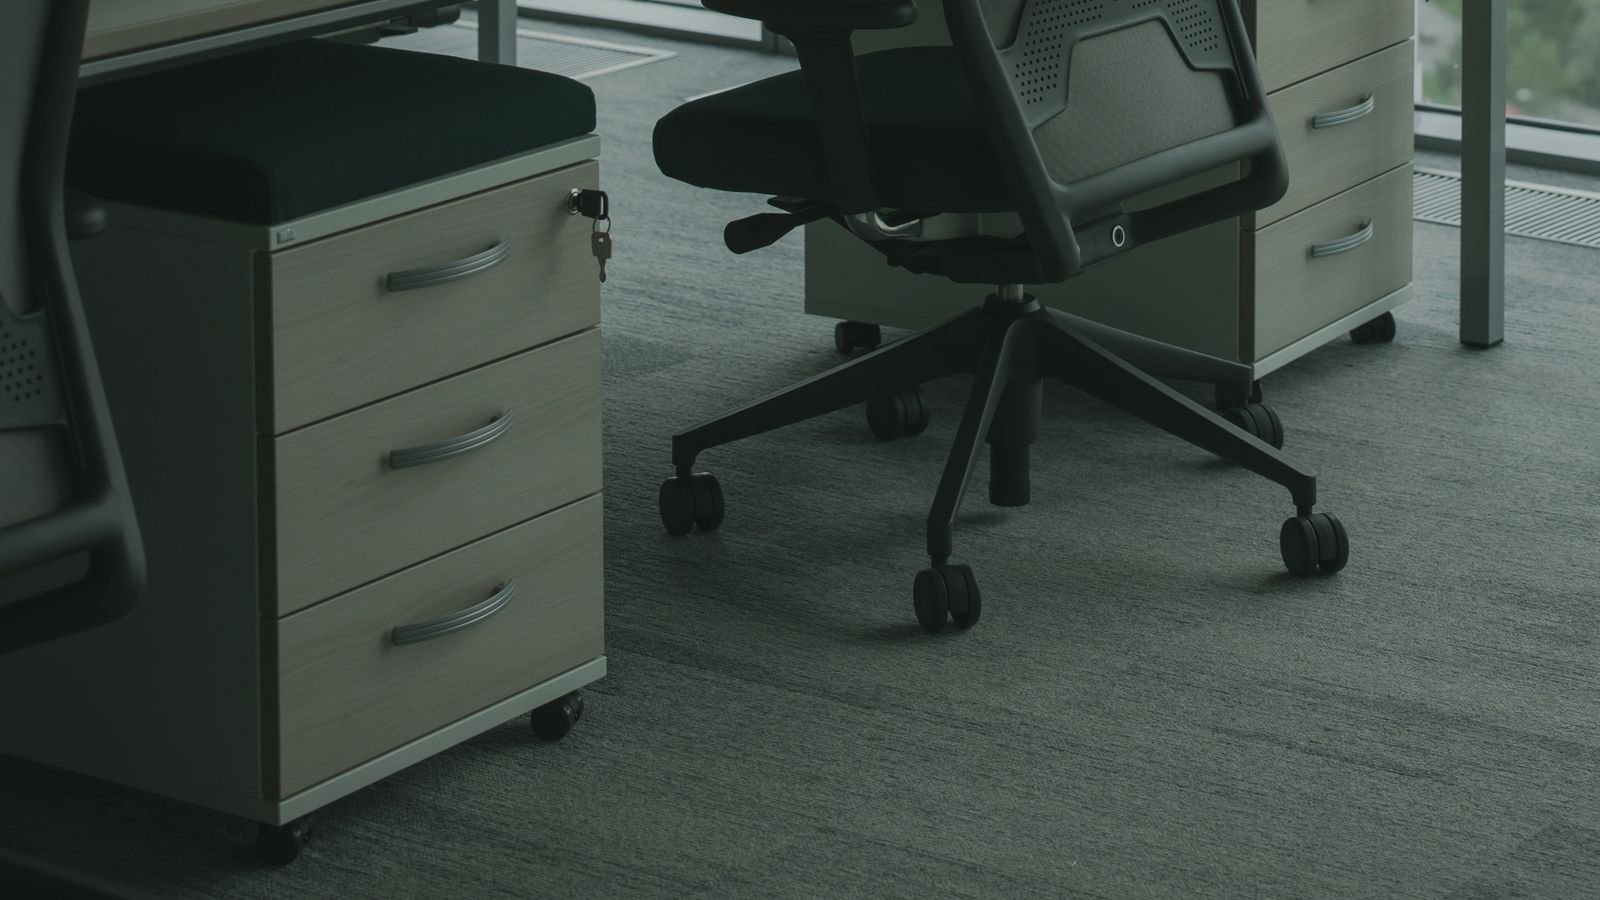
Sometimes what feels like a hardware failure is actually a fit issue. If your chair feels unstable specifically when someone larger sits in it, or if the seat pan feels too small under normal use, the wobble may be related to seating capacity rather than the assembly kit itself. In that case, looking into best chair seat extenders can improve stability and comfort without requiring a full hardware replacement.
Frequently Asked Questions
Can I replace just one bolt instead of the whole kit?
Yes, if only a single bolt or cap is damaged and the rest of the hardware is in good shape, replacing that one piece is usually enough. Full kit replacement is more practical when multiple components show wear at once.
How do I know what size hardware my chair needs?
Check the original assembly instructions if you kept them, or measure the existing bolts’ diameter and length before ordering a universal kit. Many replacement kits include a range of sizes to cover common variations.
Is it normal for a new chair to need tightening within the first few weeks?
Yes, this is common. New hardware often settles slightly after the first several uses, so a check and re-tighten after the first month is a good habit even on a brand-new chair.
Does chair weight capacity affect how often I need to replace the kit?
Yes. Chairs used consistently near their maximum weight rating tend to experience faster hardware wear, since bolts and brackets absorb more stress with every adjustment or recline.
Final Thoughts
There’s no universal expiration date for a chair assembly kit, but the pattern is consistent: light use can stretch hardware life to several years, while daily heavy use, humidity, or shared usage shortens that window considerably. Regular inspections, prompt tightening, and replacing worn components before they fail completely will keep your chair stable, quiet, and safe far longer than waiting for something to break outright.









