

Shopping for a new keyboard under $100 usually comes down to one core decision: do you want a standard wireless keyboard for its slim design and simplicity, or an ergonomic keyboard built to reduce wrist and shoulder strain during long typing sessions? Both categories now offer solid options at this price point, but they solve different problems. This guide walks you through exactly how to compare wireless keyboards and ergonomic keyboards under $100 so you can pick the right one for your desk, your hands, and your budget.

What You’ll Need Before You Start Comparing
Before opening a dozen browser tabs and comparing spec sheets, gather a few basics so your comparison is grounded in your actual setup rather than marketing copy.
- Your desk depth and available space (ergonomic keyboards are often wider or split into two pieces)
- Notes on any current wrist, hand, or shoulder discomfort you experience while typing
- The devices you need to connect to (laptop, desktop, tablet — and how many at once)
- A rough budget ceiling, since $100 is the cap but not necessarily the target
- Whether you type primarily for writing, coding, data entry, or general office work
Step 1: Define What Problem You’re Actually Solving
The single biggest mistake buyers make is comparing keyboards purely on price or looks instead of the problem they’re trying to solve. A standard wireless keyboard is about convenience — cutting the cable clutter, freeing up desk space, and connecting easily to a laptop or desktop. An ergonomic keyboard is about physical comfort — reducing the ulnar deviation (the outward bend of your wrists) and forearm pronation that traditional flat keyboards force on your hands over hours of typing.
If you already experience tingling, soreness, or fatigue in your wrists by the afternoon, that’s a strong signal to prioritize ergonomics over aesthetics. If your main frustration is cable clutter or wanting a cleaner desk setup, a standard wireless keyboard will likely satisfy you without the learning curve that split or curved layouts require.
Step 2: Compare Physical Layout and Learning Curve
Standard wireless keyboards keep the familiar flat, single-piece layout most people have typed on for decades — there’s essentially no adjustment period. Ergonomic keyboards vary widely in design:
- Curved/contoured keyboards keep keys in one piece but arch the layout to follow natural hand movement — a gentle introduction to ergonomic typing.
- Split keyboards separate the two halves so each hand types at a natural shoulder-width angle — more effective for reducing strain but require a short adjustment period.
- Tented keyboards raise the center so your palms face each other rather than flat down, further reducing wrist rotation.
When comparing options under $100, note that fully split and tented designs are less common at this price — many budget ergonomic keyboards use a fixed curved layout, which is still a meaningful upgrade over flat keyboards but won’t offer the full adjustability of premium split models.
Step 3: Check Connectivity and Compatibility
Both keyboard types typically connect via USB receiver (2.4GHz dongle) or Bluetooth, but the details matter:
- Confirm whether the keyboard supports multi-device Bluetooth pairing if you switch between a laptop and tablet.
- Check battery type — replaceable AA/AAA batteries last longer between changes but add weight, while built-in rechargeable batteries are lighter but need periodic charging.
- Verify OS compatibility, especially if you use Mac, since some budget ergonomic keyboards are optimized primarily for Windows key layouts.
- Look for a USB-C charging port over older micro-USB if the keyboard is rechargeable — it charges faster and is more universally compatible with modern chargers.
Browsing a curated list of Wireless Keyboards is a fast way to see which connectivity features are common at different price tiers before you commit.
Step 4: Weigh Typing Feel and Key Travel
Under $100, most keyboards in both categories use membrane or scissor-switch keys rather than premium mechanical switches. Still, there are differences worth testing or reading reviews for:
- Key travel — deeper travel (around 2-4mm) tends to feel more tactile but can slow typing speed for some users.
- Actuation force — lighter keys reduce finger fatigue during long sessions but may increase accidental keystrokes.
- Wrist rest inclusion — many ergonomic models include a built-in or attachable palm rest, which meaningfully reduces pressure on the carpal tunnel area during extended use.
If your chosen keyboard doesn’t include a wrist rest, it’s worth pairing it with one separately — see our roundup of best mouse wrist rests for compatible options that also support your mousing hand.
Step 5: Compare Extra Features Worth Paying For
At the under-$100 price point, a few extra features can meaningfully tip the scales between two otherwise similar keyboards:
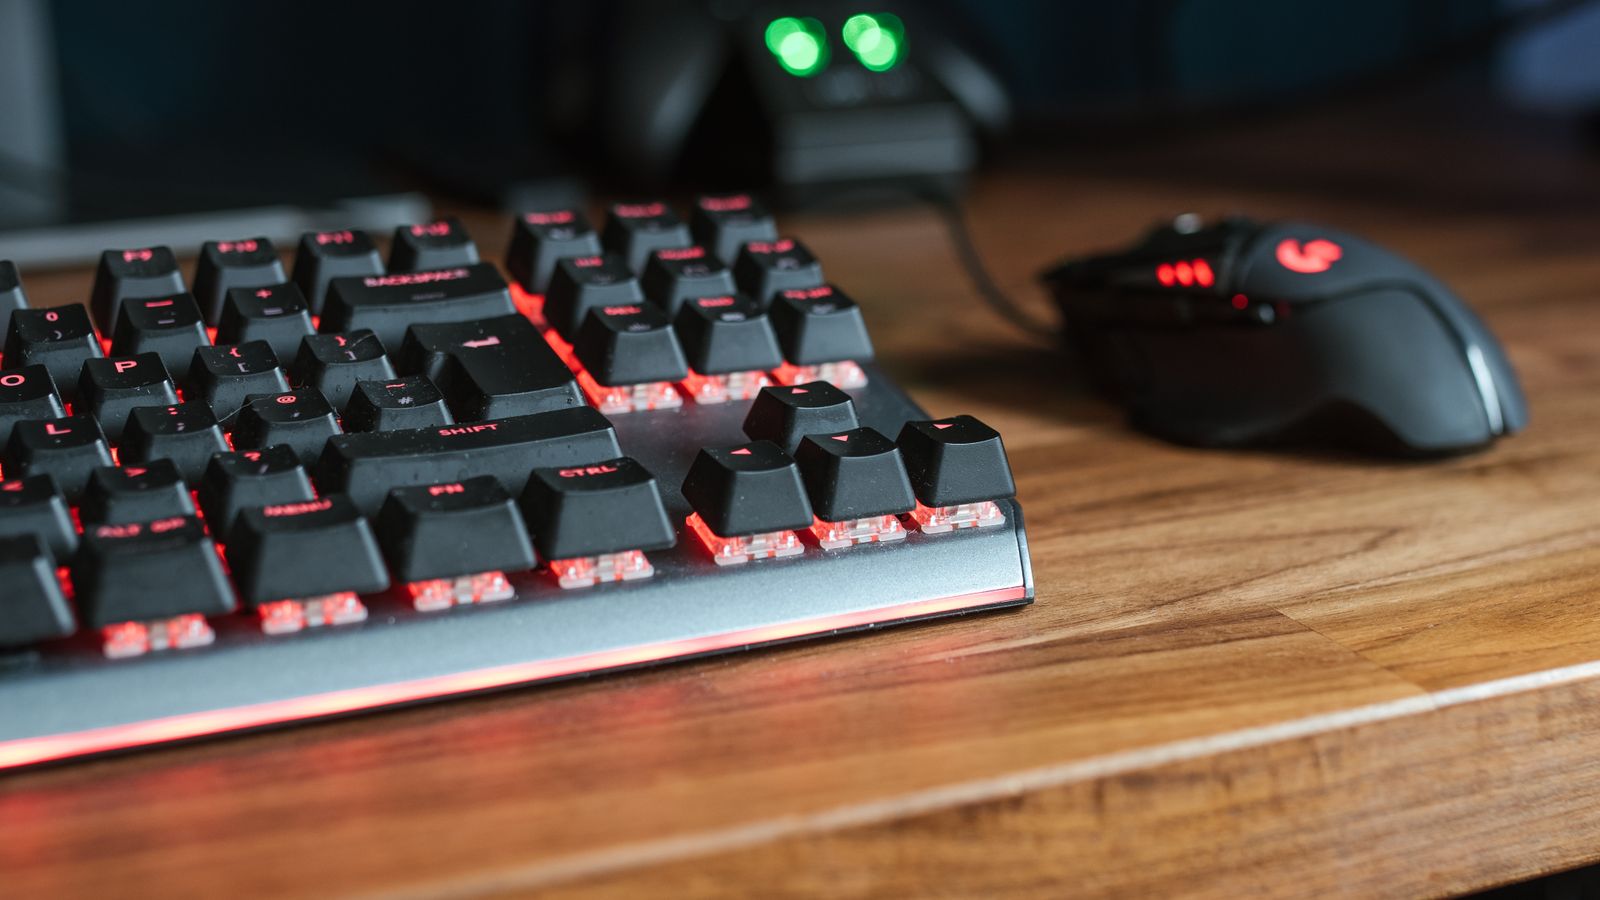
- Backlighting for low-light environments (more common on wireless gaming-style boards than ergonomic ones)
- Dedicated media and volume keys to reduce reaching for a mouse
- Adjustable tenting feet or negative tilt (tilting the back edge down instead of up), which is a hallmark of well-designed ergonomic keyboards
- Spill resistance, especially useful if you keep coffee or water near your desk
- A companion app for remapping keys or saving custom profiles across devices
Not every feature is worth a premium — prioritize the ones that address your Step 1 problem statement rather than checking every box on a spec sheet.
Step 6: Test the Adjustment Period Honestly
One thing budget shoppers often overlook: switching to a split or curved ergonomic layout typically slows your typing speed for one to two weeks while your hands relearn key positions. This is normal and expected, not a sign the keyboard is defective. Give yourself a fair trial period — most retailers and manufacturers offer 30-day return windows, which is usually enough time to judge whether the ergonomic benefits outweigh the temporary speed dip.
If you’re specifically choosing between a handful of well-reviewed ergonomic models, our guide to ergonomic keyboards under $100 breaks down which layouts adjust fastest for new users.
Common Mistakes to Avoid
- Buying ergonomic purely for the look — a split keyboard only helps if you actually position the halves at shoulder width; leaving them pushed together defeats the purpose.
- Ignoring desk space — some ergonomic keyboards are noticeably wider or require more depth for a wrist rest; measure your desk first.
- Skipping the battery math — a keyboard that eats AA batteries every two weeks becomes an ongoing cost that erodes the “under $100” value.
- Assuming all ergonomic keyboards feel the same — curved, split, and tented designs each solve slightly different strain points; read which one matches your specific discomfort.
- Overlooking the numpad question — many compact wireless and ergonomic keyboards drop the numpad to save space, which matters if you do heavy data entry.

Safety and Comfort Notes
If you’re switching keyboards specifically to address wrist pain, treat the keyboard as one part of a broader setup, not a standalone fix. Keep your wrists neutral (not bent up, down, or sideways) while typing, position the keyboard so your elbows stay close to a 90-degree angle, and take short breaks every 30-45 minutes to stretch your hands. A wrist rest helps during pauses between typing bursts but should not bear constant pressure while your fingers are actively moving across the keys, as resting weight on it while typing can itself contribute to strain.
FAQ
Is an ergonomic keyboard worth it if I don’t have wrist pain yet?
Yes, many people choose ergonomic keyboards preventively, especially if they type for several hours a day. Establishing better wrist posture before pain develops is generally easier than correcting an existing repetitive strain issue.
Can I find a truly split ergonomic keyboard under $100?
It’s possible but less common — most budget-friendly split models sit right around the $100 mark, while fixed-curve designs are more widely available well under it.
Do wireless keyboards have noticeable input lag compared to wired ones?
Modern 2.4GHz wireless keyboards typically have negligible lag for everyday typing and office work; Bluetooth can introduce a very slight delay, which is rarely noticeable outside of fast-paced gaming.
Should I buy the keyboard and wrist rest together or separately?
Either works, but buying separately lets you choose a wrist rest sized and shaped specifically for your hands rather than settling for whatever ships in the box.
Final Thoughts
Comparing wireless keyboards and ergonomic keyboards under $100 comes down to matching the design to your actual typing habits and any physical discomfort you’re trying to prevent or resolve. Standard wireless keyboards win on simplicity and zero learning curve, while ergonomic options — even budget ones — offer real posture benefits once you push through the short adjustment period. Use the steps above to test layout, connectivity, key feel, and extra features side by side, and you’ll land on a keyboard that earns its spot on your desk for years, not weeks.









