

An adjustable or detachable headrest is one of the easiest chair accessories to misplace, dent, or leave sitting in a spot where it slowly loses its shape. Whether you are swapping chairs, moving offices, packing for a move, or simply switching between a headrest and a lower-back setup, storing the piece correctly protects the padding, the mounting hardware, and the pole or bracket that holds it in place. This guide walks through exactly how to remove, clean, and store your chair headrest so it is ready to reattach whenever you need it, without cracked foam, rusted screws, or a wobbly fit.
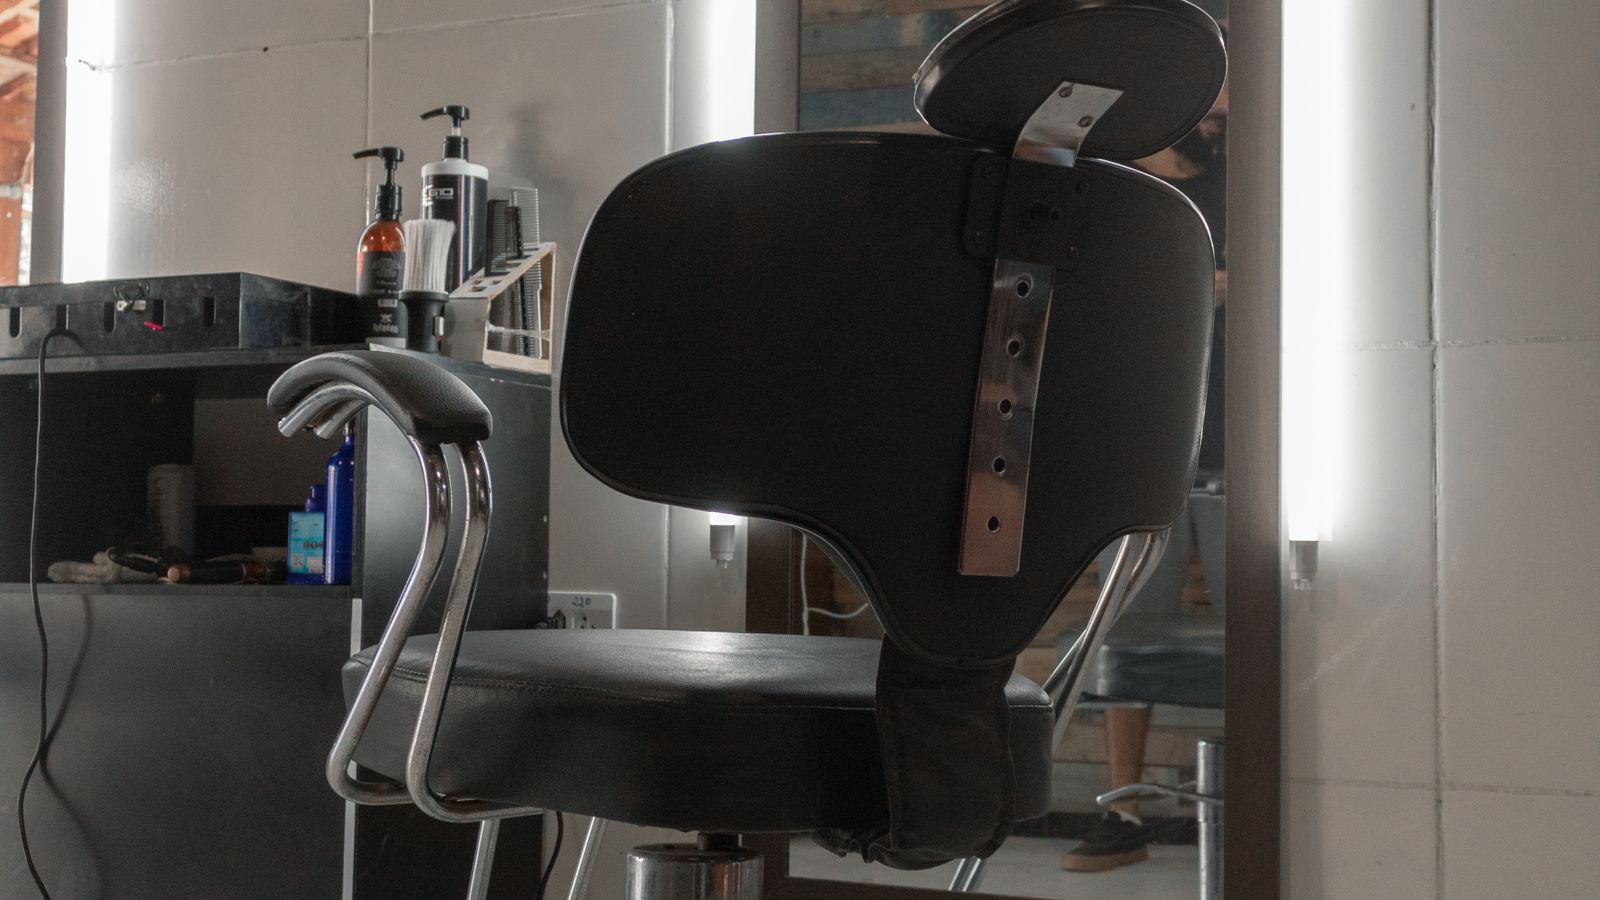
What You’ll Need
Before you start, gather a few basic supplies. None of this requires special tools, but having everything ready makes the process faster and lowers the risk of losing small parts.
- A soft, lint-free cloth or microfiber towel
- Mild soap and water, or an upholstery-safe cleaner
- A small zip-top bag or container for screws and bolts
- A breathable storage bag or a cardboard box lined with a soft cloth
- Painter’s tape or a labeled sticky note
- An Allen wrench or screwdriver, if your headrest is hardware-mounted
Step 1: Identify Your Headrest Mounting Type
Chair headrests generally attach in one of three ways: a telescoping pole that slides into the backrest frame and locks with a set screw, a bracket-and-bolt system that clamps onto the top of the backrest, or a clip-on pad that snaps over the frame with no tools required. Knowing which type you have determines how carefully you need to handle the hardware and whether you risk stripping a screw if you rush the removal.
Step 2: Remove the Headrest Safely
- Recline the chair slightly or tilt it forward so you have clear access to the top of the backrest.
- If your headrest uses a set screw or Allen bolt, loosen it a few full turns rather than removing it completely on the first pass, so the pole does not suddenly drop.
- Slide the pole or bracket straight up and out, keeping it level to avoid bending the metal rod inside the backrest frame.
- Place any screws, washers, or Allen keys into a small labeled bag immediately so they don’t roll off the desk or get vacuumed up later.
- Set the headrest pad down on a flat, clean surface rather than leaning it against something, which can crease the foam.
Step 3: Clean the Headrest Before Storing
Dust and body oils left on the pad will set into the fabric or foam over time, so a quick clean before storage saves you from a harder cleaning job later.
- Wipe mesh or fabric headrests with a cloth dampened in mild soapy water, then blot dry with a clean towel.
- For leather or faux-leather pads, use a dedicated leather-safe cleaner instead of general upholstery spray, which can dry out the surface.
- Let the headrest air dry completely before packing it away. Storing it damp encourages mildew and a musty smell that is hard to remove later.
- Wipe down the metal pole or plastic bracket with a dry cloth to remove dust that could scratch the frame during storage.

Step 4: Protect the Padding and Shape
Foam padding is the part most likely to get damaged in storage, since it can compress, crack, or develop a permanent dent if it’s stacked under heavy items or bent at a sharp angle.
- Store the headrest flat or gently supported, never folded or wedged into a tight corner.
- Avoid placing anything heavy on top of it, even for a short period, since foam can take days to recover from compression.
- If the headrest has a curved or contoured shape, place a rolled towel underneath it to help it hold its form rather than flattening against a hard surface.
- Keep it away from direct sunlight or a hot garage, since UV exposure and heat both accelerate foam breakdown and fabric fading.
Step 5: Store the Hardware Separately but Together
Loose screws and Allen keys are the single most common thing people lose during chair storage. Put the small hardware bag inside the storage box or tape it directly to the headrest pole so everything for one chair stays as a single unit. If you’re storing multiple chairs’ headrests at once, label each bag with a piece of painter’s tape noting which chair it belongs to.
Step 6: Choose the Right Storage Container
A breathable fabric storage bag works well for short-term storage and lets any residual moisture escape. For longer-term storage, a cardboard box lined with a soft cloth or bubble wrap protects the pad from dust and minor impacts while still allowing some airflow. Avoid sealing the headrest in a fully airtight plastic bag for extended periods, since trapped humidity can lead to mold on foam and fabric.

Step 7: Pick a Good Storage Location
Where you store the headrest matters as much as how you pack it. Choose a cool, dry spot with stable temperature and low humidity, such as a closet shelf or a storage bin under a bed. Avoid attics, garages, and basements prone to temperature swings or dampness, both of which speed up foam degradation and can warp plastic brackets.
Safety Notes
- Never force a stuck pole out of the backrest frame; a light twist while pulling usually loosens it without bending the metal.
- Keep loose screws away from small children and pets, since they’re an easy choking hazard.
- If you plan to store the headrest for several months, check on it periodically for any signs of moisture or pest activity, especially in a garage or basement.
Common Mistakes to Avoid
- Storing it damp. Even light moisture trapped in foam can lead to a musty smell or mildew within a couple of weeks.
- Losing the mounting hardware. Always bag screws immediately rather than setting them loose on a desk or shelf.
- Compressing the foam. Stacking boxes or books on top of a stored headrest permanently flattens the padding.
- Ignoring the fabric type. Using the wrong cleaner on leather or mesh can dry out, stain, or discolor the material before it’s even packed away.
- Skipping labels. If you manage several chairs, an unlabeled headrest and hardware bag can turn reassembly into a guessing game.
When to Consider Replacing Instead of Storing
If your headrest padding is already cracked, permanently flattened, or the mounting pole is bent, it may not be worth the storage space. In that case, browse a fresh set of chair headrests designed for comfortable neck support, and consider pairing the upgrade with other ergonomic accessories, such as seat cushions under $50 for improved lower-body comfort, or a durable floor mat if you’re rearranging your workspace, since a set of chair mats for hardwood floors protects flooring during the process of moving furniture around.
FAQ
How long can I store a chair headrest before it degrades?
With proper cleaning and a cool, dry storage spot, a headrest can typically sit unused for a year or more without significant damage. Check on it periodically for moisture, dust buildup, or foam compression, especially if it’s stored longer than that.
Can I store the headrest still attached to the chair?
Yes, if space allows. Just make sure the chair itself is covered to keep dust off and stored somewhere dry. Detaching it is mainly useful when space is limited or you’re stacking multiple chairs.
Is it okay to store a mesh headrest folded?
Folding mesh can create a permanent crease line over time. It’s better to lay it flat or gently curved to match its natural shape rather than folding it sharply.
What if I lost the original screws?
Most headrest poles use standard metric Allen bolts or set screws available at any hardware store. Bring the old headrest or a photo of the mounting bracket to match the thread size before buying a replacement.
Should I oil or treat the metal pole before storing?
A light wipe with a dry cloth is usually enough. If you’re in a humid climate, a thin layer of a rust-inhibiting spray on the metal pole can help prevent corrosion during long-term storage.









