

A cluttered desk with tangled charging cables, a wobbly tabletop, and uneven legs is more than an eyesore — it slows you down every single day. The good news is that you can fix all three problems in a single afternoon with three inexpensive upgrades: a desk charging dock to corral your cables, desk leveling feet to stop the wobble at its source, and a desk anti wobble kit for extra stability on shaky or lightweight desks. This guide walks you through the full upgrade process, step by step, so your workspace looks clean and feels rock solid.

What You’ll Need Before You Start
Before you start pulling cables out from under your desk, gather the tools and parts below. Having everything on hand keeps the project moving and prevents you from digging through drawers halfway through.
- A desk charging dock or multi-port charging station with enough ports for your phone, tablet, earbuds, and any other devices you charge daily.
- A set of desk leveling feet sized to fit your desk’s existing leg diameter or footprint.
- A desk anti wobble kit (stabilizer bars, corner braces, or adjustable glides) if your desk has a persistent side-to-side wobble that leveling feet alone won’t solve.
- A small level (a smartphone level app works fine) to check the desk surface is even.
- A screwdriver or hex key, depending on how your desk legs and feet are attached.
- Cable ties, clips, or a cable sleeve for bundling loose cords.
- A soft cloth and mild cleaner to wipe down the desk before reassembly.
Step 1: Diagnose the Wobble Before You Buy Parts
Not every wobble has the same cause, so it pays to diagnose the problem before installing anything. Push down gently on each corner of the desk one at a time. If only one corner rocks, you likely have an uneven floor or a single short leg — a leveling foot will solve it. If the whole desktop twists or sways when you type, the frame itself may be loose at the joints, which calls for a full anti wobble kit rather than a single leveling foot.
Check the floor as well. Hardwood, tile, and carpet all sit at slightly different heights, and a desk that was level in one room can wobble after a move. A quick check with a level placed on the desktop tells you whether the issue is the floor, the legs, or the frame joints.
Step 2: Install Desk Leveling Feet
- Clear everything off the desk and, if possible, have a second person help tip it onto its side or lift it slightly so you can access the legs.
- Remove any existing plastic glides or felt pads from the bottom of each leg.
- Thread or attach the new leveling feet according to the kit’s instructions — most simply screw into a pre-drilled hole or clamp onto the leg’s base.
- Set the desk back down and place a level on top, checking both the front-to-back and side-to-side axis.
- Turn each leveling foot clockwise or counterclockwise in small increments until the bubble sits centered in both directions.
- Give the desk a firm push test on all four corners to confirm the wobble is gone before moving on.
If you’re shopping for a set, browse desk leveling feet that match your leg diameter and the amount of adjustment range you need — taller adjustment ranges are useful for uneven concrete or tile floors.
Step 3: Add a Desk Anti Wobble Kit for Frame-Level Stability
If leveling feet alone didn’t eliminate the sway, the problem is likely in the frame joints rather than the floor. A desk anti wobble kit typically includes diagonal stabilizer bars, corner brackets, or tension rods that bolt between the legs and reinforce the frame’s structure.
- Locate the weak point by watching which joint flexes most when you rock the desk.
- Position the stabilizer bar or bracket diagonally across the affected corner, following the kit’s mounting template.
- Mark and pre-drill pilot holes if the kit requires screws, to avoid splitting the wood or stripping the metal frame.
- Secure the bracket with the provided hardware, tightening evenly on both ends so the bar sits flush.
- Repeat on the opposite corner if your desk wobbles in more than one direction.
- Re-test by pushing on each corner and typing normally for a minute to confirm the frame feels rigid under real use.
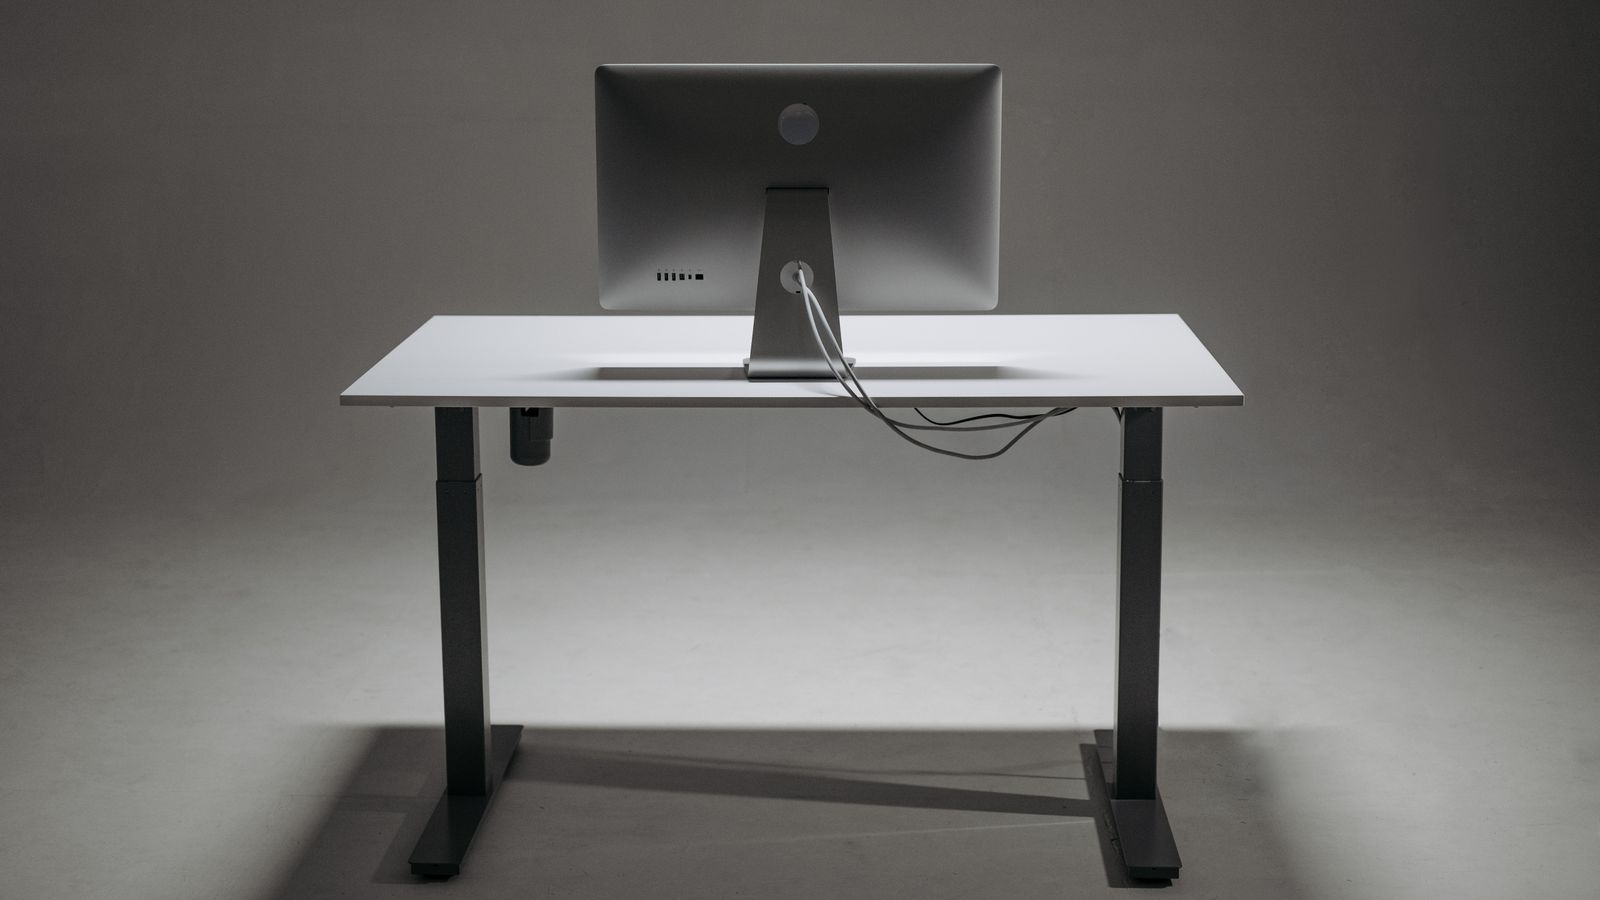
For desks with lightweight metal frames or standing-desk conversions that flex under monitor arms, a dedicated desk anti wobble kit is often more effective than leveling feet alone, since it addresses the frame instead of just the floor contact point.
Step 4: Plan Your Cable Layout
With the desk stable, it’s time to tackle the cable clutter. Start by unplugging everything and laying the cables out so you can see how many you actually have — chargers, monitor cables, a keyboard and mouse cord, a desk lamp, and any peripherals. Group cables by device and decide where each one needs to travel: from the wall outlet, to a power strip, to your devices on the desktop.
Think about where you’ll place your desk charging dock. Ideally it sits within easy reach but off to the side, so cables run in a straight, unobtrusive line rather than crisscrossing your work area.
Step 5: Install the Desk Charging Dock
- Choose a spot on or under the desk that’s close to your power strip and within reach of your seated position.
- If the dock has an adhesive or clamp mount, clean the surface first so it adheres securely.
- Mount or set the dock in place, keeping the cable output pointed toward your power strip rather than across your workspace.
- Connect the dock’s power cable to your outlet or surge protector.
- Plug in your phone, tablet, earbuds case, and any other devices into the dock’s ports, matching each cable length to the shortest practical route.
- Test each port with its intended device to confirm charging speed and connection before you tidy up the remaining slack.
A dedicated Desk Charging Docks option with multiple USB-A, USB-C, and even wireless charging pads means you stop hunting for the right cable every time a device runs low.
Step 6: Route and Secure the Remaining Cables
- Bundle parallel cables (like monitor and keyboard cords) together with reusable ties every 6–8 inches so they move as one unit.
- Use adhesive clips along the underside of the desk to keep cables off the floor and away from your feet.
- Route cables to the back or side edges of the desk rather than through the center, keeping the front clear for legs and chair movement.
- Label power bricks or long cables if you frequently unplug and swap devices, so you’re not tracing cords back to the outlet each time.
- Leave a small amount of slack at connection points so cables aren’t under tension, which can wear out ports over time.
Safety Notes
Always unplug devices before adjusting leveling feet or stabilizer hardware near a power strip, and avoid running cables across walkways even temporarily. When drilling into a desk frame for an anti wobble kit, check for hidden wiring or cable channels first. If your desk is a standing model, cycle it through its full height range after installing leveling feet or a wobble kit to make sure nothing catches or rubs against the frame.
Common Mistakes to Avoid
- Skipping the diagnosis step. Installing an anti wobble kit when the real issue is an uneven floor wastes time — always test with leveling feet first.
- Overtightening leveling feet. Cranking them too far in one direction can tip the desk slightly the other way; make small adjustments and re-check with a level each time.
- Bundling cables too tightly. Cinching cable ties hard enough to pinch the cord jacket can damage the wires inside over time — snug is enough.
- Placing the charging dock too far from the power strip. This forces you to run a long extension cable across the desk, defeating the purpose of a tidy setup.
- Ignoring cable slack at moving joints. On standing desks, leave enough cable length for the desk to rise fully without yanking on ports.
How Often Should You Revisit Your Setup?
A cable management and stability upgrade isn’t a one-time job. Check your leveling feet every few months, especially if you’ve moved the desk or changed flooring, since even a small shift in position can reintroduce a wobble. Inspect your charging dock’s ports periodically for dust buildup, which can slow charging speeds, and re-tie any cables that have worked loose from daily use. A five-minute check every season keeps the whole setup working as well as the day you installed it.
FAQ
Can I use leveling feet and an anti wobble kit together?
Yes. In fact, combining both is the most reliable way to eliminate wobble on desks that have both an uneven floor contact point and a flexible frame — leveling feet handle the floor side, while the wobble kit reinforces the frame itself.
Will a desk charging dock slow down my device’s charging speed?
Most quality docks deliver the same charging speed as a wall adapter, provided the dock’s power input and output ports support your device’s charging protocol. Check the dock’s wattage rating against your device’s charger before assuming it’s underpowered.
Do leveling feet work on all desk types?
Leveling feet fit most desks with legs that have a flat base or a threaded insert, including metal-frame, wood, and standing desks. Desks with rounded or tapered leg bottoms may need an adapter sleeve, so measure your leg diameter before ordering.
How do I know if I need a full anti wobble kit instead of just leveling feet?
If the desk still sways or twists after all four corners are level, the wobble is coming from the frame joints rather than the floor, which means a stabilizer bar or brace-style anti wobble kit is the right fix.
What’s the best way to hide cables once everything is charging?
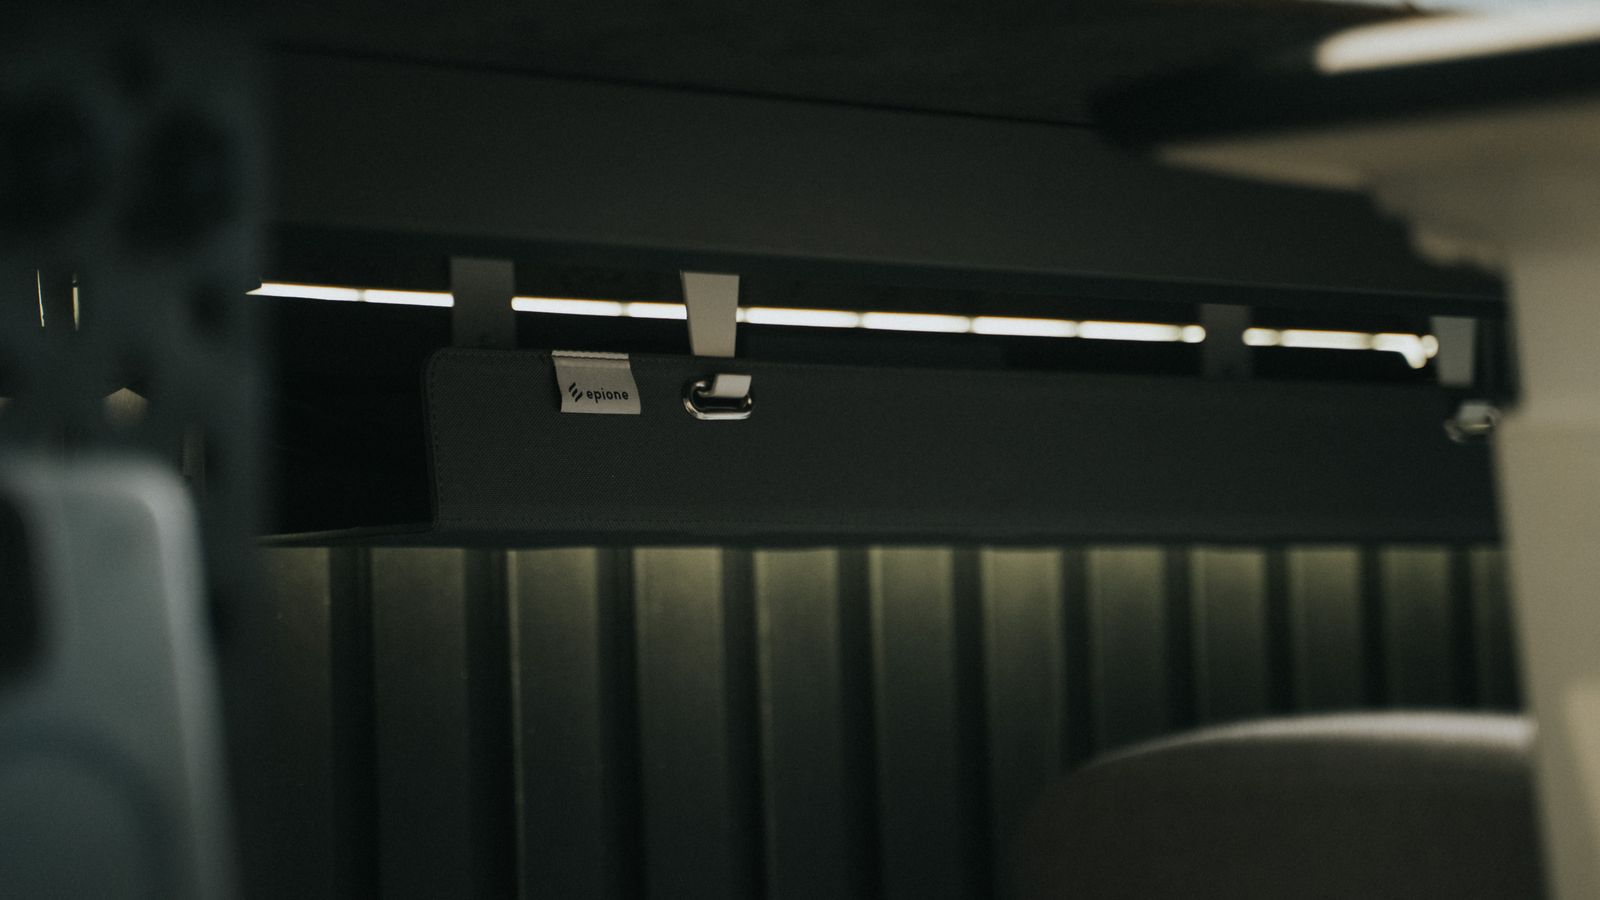
A cable sleeve or under-desk tray keeps bundled cords out of sight while still leaving them accessible for unplugging. Route the sleeve along the back edge of the desk so it doesn’t interfere with your legs or chair.









