

A cluttered desk with tangled charging cables, a phone sliding around next to your keyboard, and a standing desk that creeps across the floor every time you lean on it isn’t just annoying — it makes your workspace less productive and less safe. The good news is that a proper desk cable management setup doesn’t require an electrician or a full desk teardown. With three simple accessories — a desk anti wobble kit, a phone desk mount, and a standing desk anti slip pad — you can turn a chaotic desk into a clean, stable, distraction-free workstation in under an hour.
This guide walks you through exactly what you’ll need, in what order to install everything, and how to avoid the most common mistakes people make when tackling cable management for the first time.
What You’ll Need Before You Start
Before touching a single cable, gather your tools and materials. Having everything on hand keeps the project moving and prevents you from having to stop halfway through with wires half-disconnected.
- A desk anti wobble kit (self-adhesive stabilizer pads, shims, or leg braces)
- A phone desk mount (clamp-style or weighted-base, depending on your desk edge)
- A standing desk anti slip pad (rubber or silicone mat sized for your desk feet)
- Cable clips, sleeves, or a cable tray/basket
- Velcro cable ties or reusable zip ties
- A small screwdriver (for clamp-style mounts)
- Isopropyl wipes (to clean surfaces before applying adhesives)
- A tape measure or ruler
Most of these items are inexpensive and widely available, but if you’re still deciding which specific products to buy, it helps to compare options before committing. For stabilizer options, see this roundup of Desk Anti Wobble Kits that cover different desk weights and leg styles.
Step 1: Audit Your Current Cable Situation
Start by unplugging everything and laying your cables out flat. This sounds tedious, but it’s the fastest way to spot duplicate chargers, cables you no longer use, and lengths that are far longer than necessary. Sort cables into three groups: power cables, data cables (USB, HDMI, Ethernet), and charging cables for phones or accessories. Anything you haven’t used in the last few months can likely be coiled and stored away rather than left tangled under your desk.
Step 2: Stabilize the Desk Itself
Before you mount anything to your desk or run cables along its legs, make sure the desk is actually stable. A wobbly desk will loosen adhesive mounts over time and make cable routing harder to keep tidy, since everything shifts slightly whenever you type or lean on the surface.
- Identify which leg or corner is causing the wobble by pressing down gently on each corner.
- Clean the contact point on the floor and the bottom of the desk leg with an isopropyl wipe.
- Apply the anti wobble kit’s stabilizer pad, shim, or clamp according to the included instructions — most self-adhesive pads need 24 hours to fully bond.
- Rock the desk gently to confirm the wobble is gone before moving to the next step.
If your desk still rocks after applying a basic pad, you may need a thicker shim or an adjustable leg brace kit. Compare a few styles in the Desk Anti Wobble Kits guide before buying — some are designed for glass-top desks while others suit heavier wood surfaces.
Step 3: Route and Bundle Your Cables
With a stable desk surface, you can now route cables without worrying about them shifting later. Work from the power source outward.
- Group cables by device and bundle each group with a Velcro tie every 8–10 inches.
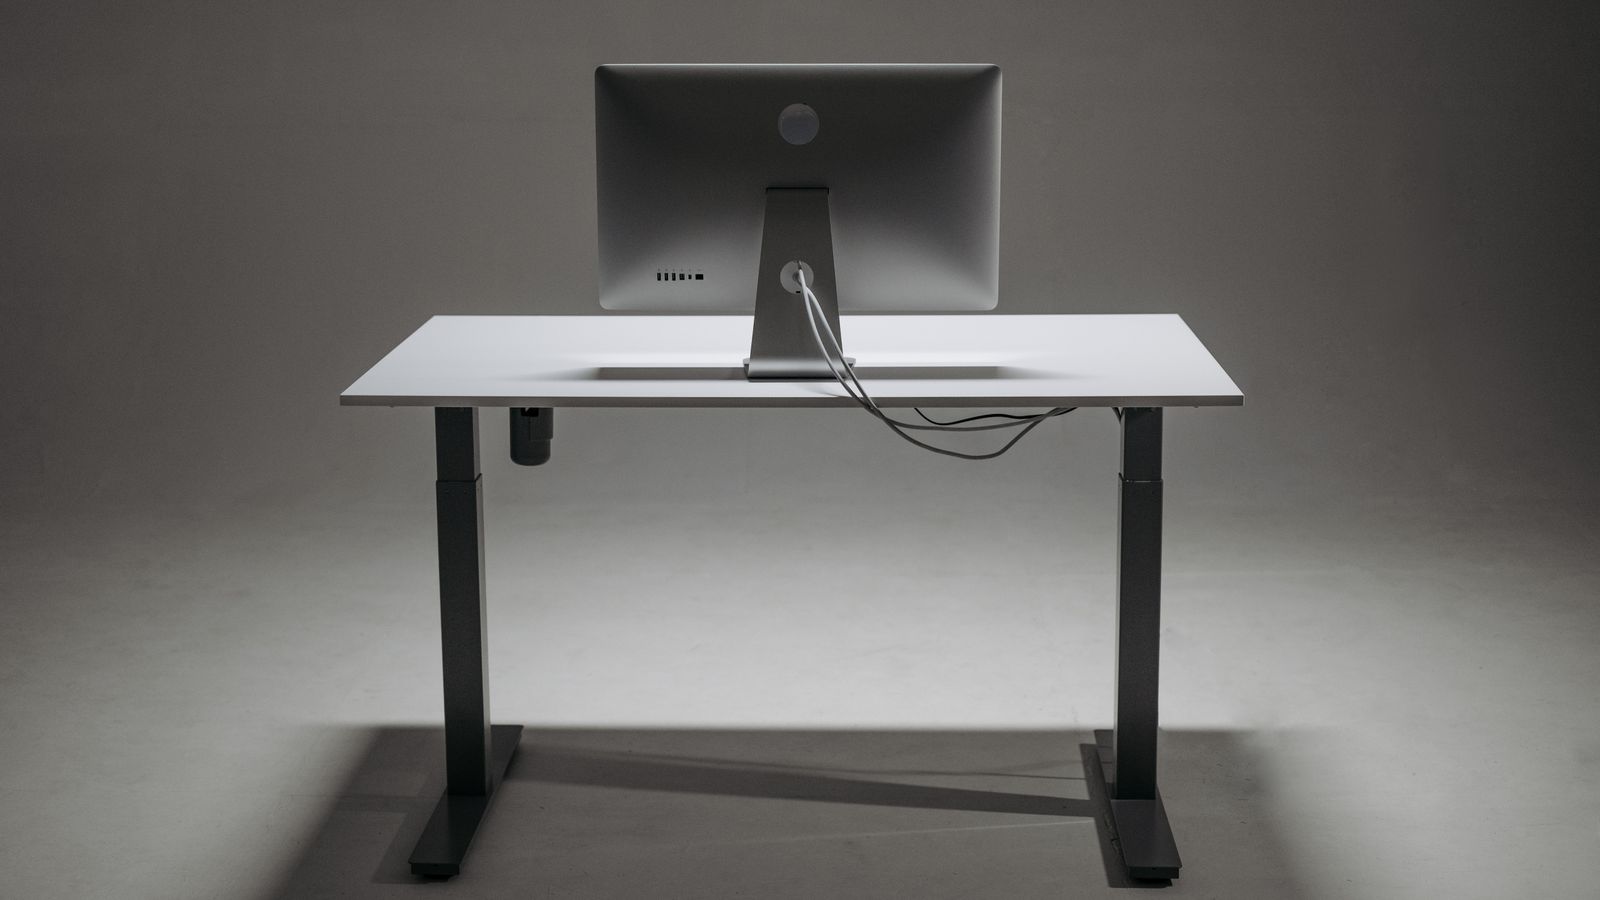
- Attach cable clips along the underside of the desk to keep bundles off the floor.
- Use a cable tray or basket under the desk to hide the power strip and excess cable length.
- Label each cable at the plug end with a small tag or washi tape if you have multiple similar chargers.
- Leave a small amount of slack near moving parts (like a monitor arm or a sit-stand desk’s height adjustment) so cables don’t snap taut when you raise or lower the desk.
Step 4: Install the Phone Desk Mount
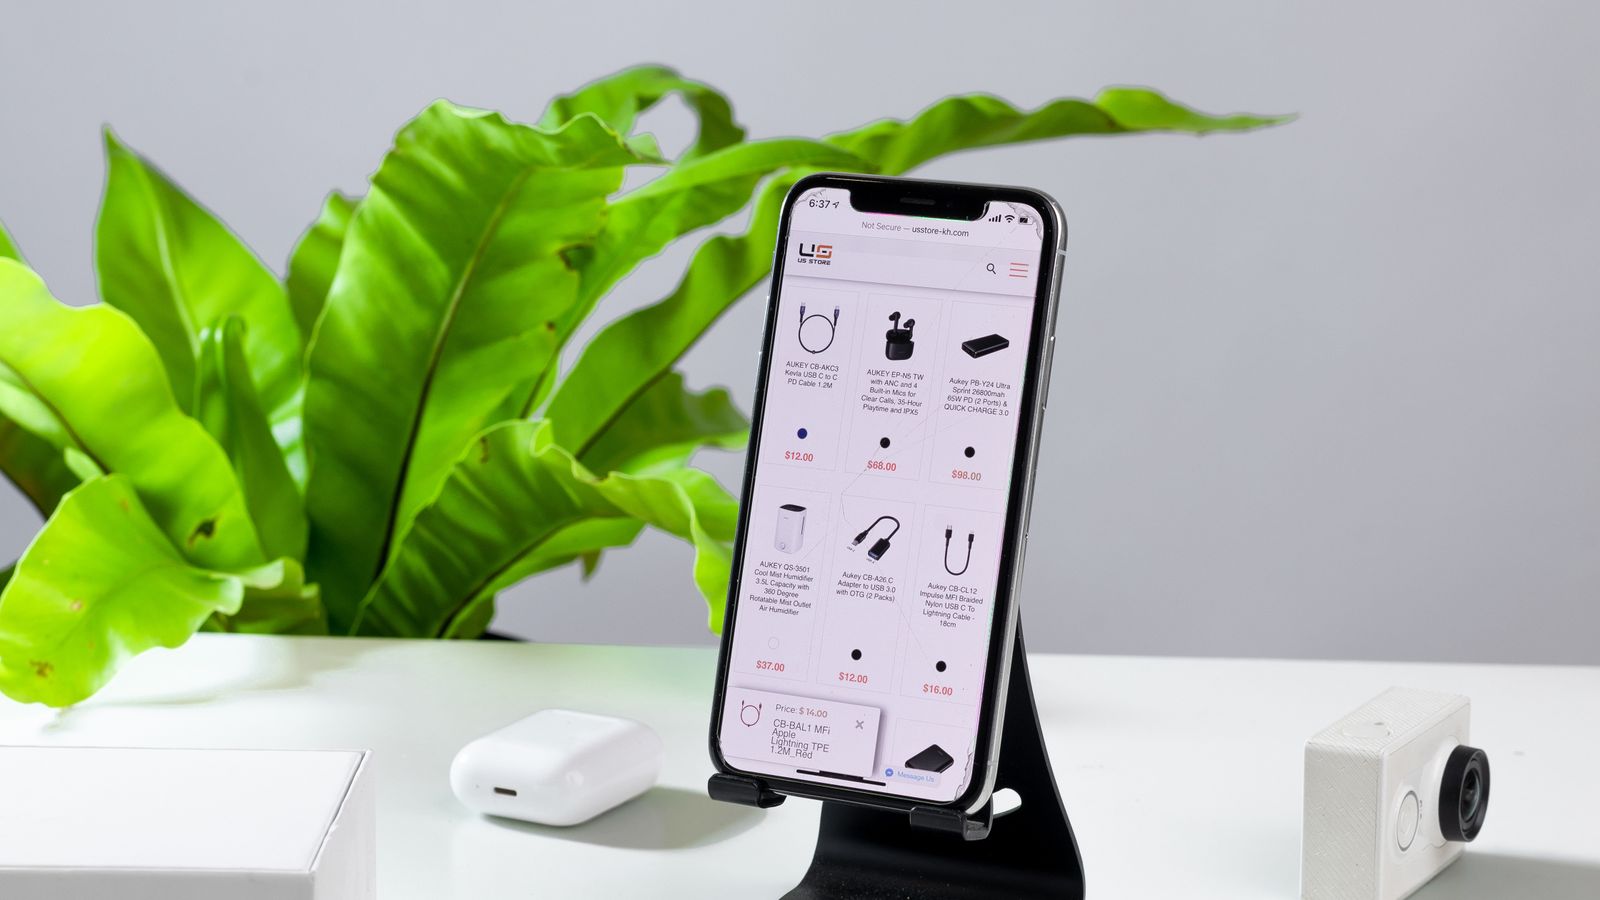
Once cables are tidy, add the phone desk mount. This keeps your phone visible for notifications and calls without letting it slide into the cable mess or off the edge of the desk.
- Choose a mounting spot within easy reach but away from your keyboard’s typing zone.
- For clamp-style mounts, tighten onto the desk edge (usually up to 2 inches thick) with the included screw mechanism.
- For weighted-base or adhesive mounts, clean the surface first and let any adhesive cure fully before placing your phone on it.
- Run the charging cable from the mount down to your power strip using the same clip system from Step 3, rather than leaving it loose across the desktop.
- Test the mount’s angle and stability by gently pushing on it — it shouldn’t tip or slide.
Not all phone mounts fit every desk edge or phone case thickness, so it’s worth comparing a few before buying. This list of phone desk mounts breaks down clamp depth, adjustability, and charging cable compatibility to help you pick the right one for your setup.
Step 5: Add an Anti Slip Pad if You Have a Standing Desk
If your workstation includes a sit-stand or standing desk, a slipping base is a common frustration — especially on hardwood, tile, or laminate flooring. A standing desk anti slip pad sits under the desk feet or casters and keeps the frame from creeping when you push off it to stand up or reach for something.
- Measure the footprint of each desk leg or caster base.
- Clean the floor area where the pad will sit.
- Position the anti slip pad under each leg, making sure it’s centered and flush with the floor.
- Raise and lower the desk through its full height range once to confirm no cables catch on the pad and the desk no longer shifts during adjustment.
Anti slip pads vary in thickness and grip material depending on your flooring type. If you’re not sure which style fits your setup, this guide to the best standing desk anti slip pads compares rubber, silicone, and felt-backed options for different floor surfaces.
Safety Notes
- Never bundle power cables so tightly that they can’t dissipate heat — leave a little breathing room in each bundle.
- Avoid running cables directly under standing desk legs or casters where they could be pinched or crushed.
- Check adhesive-based mounts and pads periodically, especially in warm rooms, since heat can soften some adhesives over time.
- Unplug devices before adjusting cable routing to avoid accidental shocks or shorts.
Common Mistakes to Avoid
- Skipping the desk stabilization step. Mounting a phone holder or running cable clips on a wobbly desk means redoing the work later once the desk settles or shifts.
- Overtightening clamp mounts. This can crack thin desktop materials like glass or laminate veneer.
- Using adhesive pads on dusty or oily surfaces. Always clean and dry the surface first, or the bond will fail within days.
- Leaving zero slack in cables near moving parts. A standing desk that raises and lowers needs cable slack, or you’ll eventually snap a connector.
- Buying a slip pad that doesn’t match your floor type. A pad designed for carpet won’t grip the same way on tile or hardwood.
How Often Should You Check Your Setup?
Once installed, a cable management setup is mostly maintenance-free, but it’s worth a quick check every couple of months. Look for loosened adhesive pads, cable ties that have slipped, or a phone mount that’s developed play in its joint. Standing desk anti slip pads in particular can wear down faster if you adjust your desk height frequently, so inspect them more often if you use a sit-stand routine daily.
FAQ
Do I need all three accessories, or can I start with just one?
You can absolutely start with just one, depending on your biggest pain point. If your desk wobbles when you type, start with the anti wobble kit. If your phone keeps sliding off the desk, start with the mount. If your standing desk creeps across the floor, prioritize the anti slip pad. Many people add all three over time as each issue becomes noticeable.
Will a phone desk mount work with a thick phone case?
Most clamp-style mounts accommodate cases up to a certain thickness, usually specified by the manufacturer. If you use an especially bulky case, look for mounts with adjustable jaw width rather than fixed-size clips.
Can I use a standing desk anti slip pad on carpet?
Yes, but the material matters. Felt-backed pads tend to work better on carpet, while rubber or silicone pads grip best on hard flooring like tile, hardwood, or laminate.
How long does it take to set up all three accessories?
For most desks, expect around 45–60 minutes total, including letting adhesive pads cure. The cable routing step usually takes the longest, especially if you’re untangling an older setup for the first time.
Do anti wobble kits work on all desk materials?
Most kits are designed to be versatile, but glass or metal-frame desks sometimes need a specific shim thickness or clamp style. Check the product details for material compatibility before buying.









