

A cluttered desk and an overflowing inbox tray cost you more time than most people realize. Building a proper office storage system does not require a full renovation — it just requires three core pieces working together: an organizer for daily supplies, a shredder for sensitive paperwork, and a filing cabinet for long-term records. This guide walks you through assembling a functional starter kit around these three categories, so you can stop hunting for a stapler and start trusting your workspace to hold what it should.

Why a Starter Kit Beats Buying Piecemeal
Most home offices grow organically — a drawer here, a stack of folders there — until nothing has a real home. A starter kit approach means you choose the three essential storage tools at once, size them to your actual paper and supply volume, and set them up so they reinforce each other. The organizer handles what you touch daily. The shredder handles what should never leave your desk intact. The filing cabinet handles what you need to keep but rarely touch. Together, they cover the full lifecycle of a piece of paper, from the moment it lands on your desk to the moment it’s archived or destroyed.
What You’ll Need
- A desktop or drawer-based office supply organizer with multiple compartments
- A cross-cut paper shredder rated for home or light office use
- A 2-drawer or lateral filing cabinet with a lock
- Hanging file folders and labels
- A shredder bin liner or bags
- 15–20 minutes to set up each piece before use
Step 1: Map Out What You Actually Store
Before buying anything, sort your existing paperwork and supplies into three rough piles: things you use every day (pens, sticky notes, USB drives, business cards), things that are sensitive and eventually disposable (old bank statements, expired contracts, shipping labels with personal data), and things you must keep long-term (tax records, signed agreements, warranties). This ten-minute sort tells you exactly how much capacity you need in each category, which prevents you from over-buying a filing cabinet that’s mostly empty or under-buying an organizer that’s already full on day one.
Step 2: Choose an Office Supply Organizer That Matches Your Workflow
Desktop organizers work best for people who grab supplies constantly throughout the day — think open trays, pen cups, and stackable bins within arm’s reach. Drawer organizers suit people who prefer a clean desktop and don’t mind opening a drawer for a stapler. Either way, prioritize modular compartments over a single fixed tray, since your supply mix will change over time. If you’re unsure which style fits your desk setup, browsing a curated list of office supply organizers is a fast way to compare desktop, drawer, and rolling-cart options side by side before committing.
Placement Tips
- Keep the organizer within a one-arm reach of your dominant hand
- Group by frequency of use — daily items up front, occasional items in the back
- Leave one compartment empty for whatever new item shows up next month

Step 3: Add a Shredder for Sensitive Documents
Every home office generates paperwork that shouldn’t just go in the recycling bin — old statements, voided checks, shipping labels, expired ID copies. A cross-cut shredder rated for home use handles this without becoming a chore. Look for a model with a reasonable sheet capacity (6–10 sheets per pass is typical for budget units), a bin large enough that you’re not emptying it weekly, and a jam-reversal switch, since jams are the most common reason people stop using their shredder altogether. If you’re shopping on a budget, this roundup of paper shredders under $100 covers models that balance capacity, noise level, and durability without pushing you into commercial-grade pricing.
Setting It Up
- Place the shredder next to or under your desk, close to where mail and statements get opened
- Line the bin with a bag sized to the unit so cleanup is a two-minute job
- Remove staples and large binder clips before feeding documents through
- Run a test sheet first to confirm the cross-cut pattern is fine enough for sensitive data
- Empty the bin once it’s about three-quarters full, not when it’s overflowing
Step 4: Set Up a Filing Cabinet for Long-Term Records
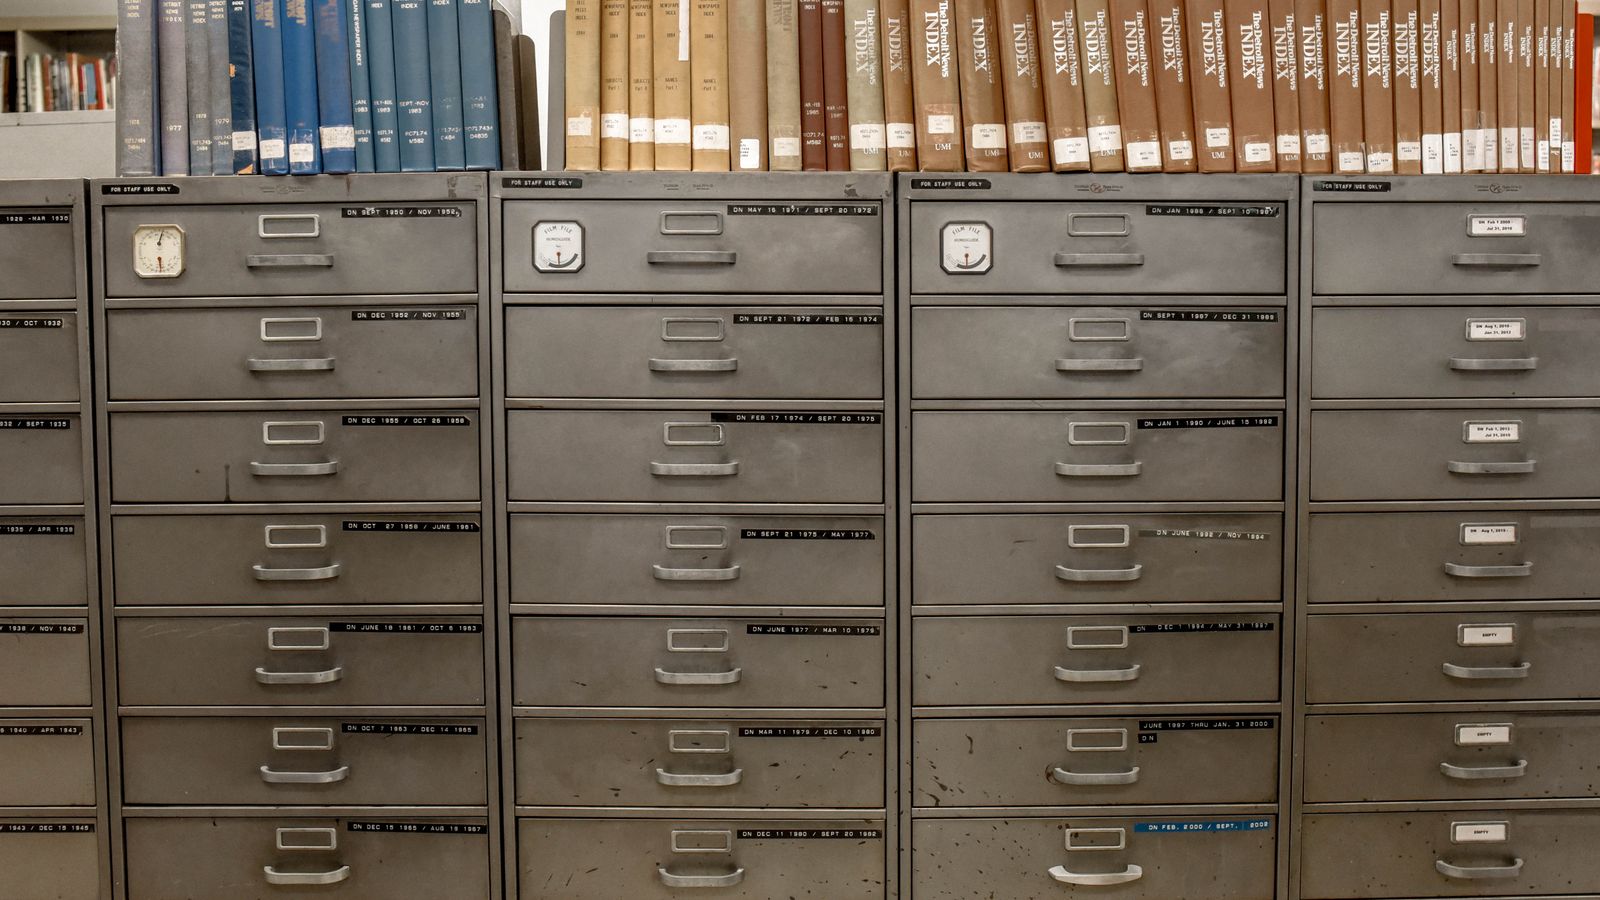
Not everything gets shredded or kept on your desk — tax documents, signed contracts, insurance paperwork, and property records need a stable, lockable home you’re not constantly reorganizing. A 2-drawer vertical cabinet suits most home offices; a lateral cabinet makes more sense if you’re managing folders for multiple clients or projects side by side. Either way, a lock matters if the cabinet holds anything with account numbers or personal identifiers. For options that fit a smaller footprint without sacrificing drawer depth, this list of best filing cabinets under $200 is a solid starting point for comparing steel versus laminate builds and drawer glide quality.
Labeling System
- Use broad categories on hanging folders (Taxes, Insurance, Contracts, Property) and specific labels on interior folders
- Keep the current year’s active documents in the front drawer, older archives further back
- Color-code by category if you manage records for a household plus a side business
Step 5: Build a Weekly Maintenance Habit
A storage system only works if it stays current. Set a recurring 10-minute slot — Friday afternoon works well for most people — to clear loose papers off your desk into one of the three destinations: filed, shredded, or restocked into the organizer. Skipping this for even two weeks is usually when systems collapse back into random piles, so treat it as non-negotiable as taking out the trash.
Common Mistakes to Avoid
- Buying a filing cabinet before sorting your documents — you may need fewer or more drawers than you think.
- Overloading the shredder — feeding more sheets than the rated capacity causes jams and shortens the motor’s life.
- Skipping labels on the organizer — unlabeled compartments quietly become junk drawers within a month.
- Leaving the filing cabinet unlocked — even in a home office, sensitive documents deserve a locked drawer.
- Treating the shredder bin as a trash can — mixing in non-paper waste dulls the blades faster.
Safety Notes
Keep shredders away from small children and pets — the feed slot poses a real entanglement risk, and most home units don’t have a full safety lockout. Unplug the shredder when not in active use if it will be accessible to others. When lifting a loaded filing cabinet drawer, load the heaviest folders toward the back to prevent the cabinet from tipping forward when a top drawer is opened while lower ones are empty.
FAQ
How much desk space does a starter kit realistically need?
A compact organizer and an under-desk shredder can fit in about two square feet combined. The filing cabinet is the only piece that needs dedicated floor space, typically 15–18 inches of width for a 2-drawer vertical unit.
Do I need a cross-cut shredder or is strip-cut enough?
Cross-cut is worth the small price difference for anything with account numbers, signatures, or personal identifiers, since strip-cut shreds are far easier to reconstruct.
How often should I clean out the filing cabinet?
Review and purge outdated files once a year, ideally after tax season when you’re already sorting through recent paperwork.
Can I use a portable file box instead of a cabinet?
A portable box works for very light document volume, but a proper filing cabinet with full-extension drawers holds up better long-term and offers the security of a lock.
Final Thoughts
You don’t need to overhaul your entire office at once. Start with the organizer since it delivers the most immediate relief, add the shredder next to stop sensitive paper from piling up, and finish with the filing cabinet once you know exactly what needs long-term storage. Set up correctly, these three pieces cover nearly every storage need a home office generates, and the weekly ten-minute habit keeps the whole system from sliding back into chaos.









